Jeep Parts Wiki | Ford Parts Wiki
Home | Search | Browse | Marketplace | Messages | FAQ | Guest
|
Body Service Manual August 1964 |
|
Prev

 Next
Next
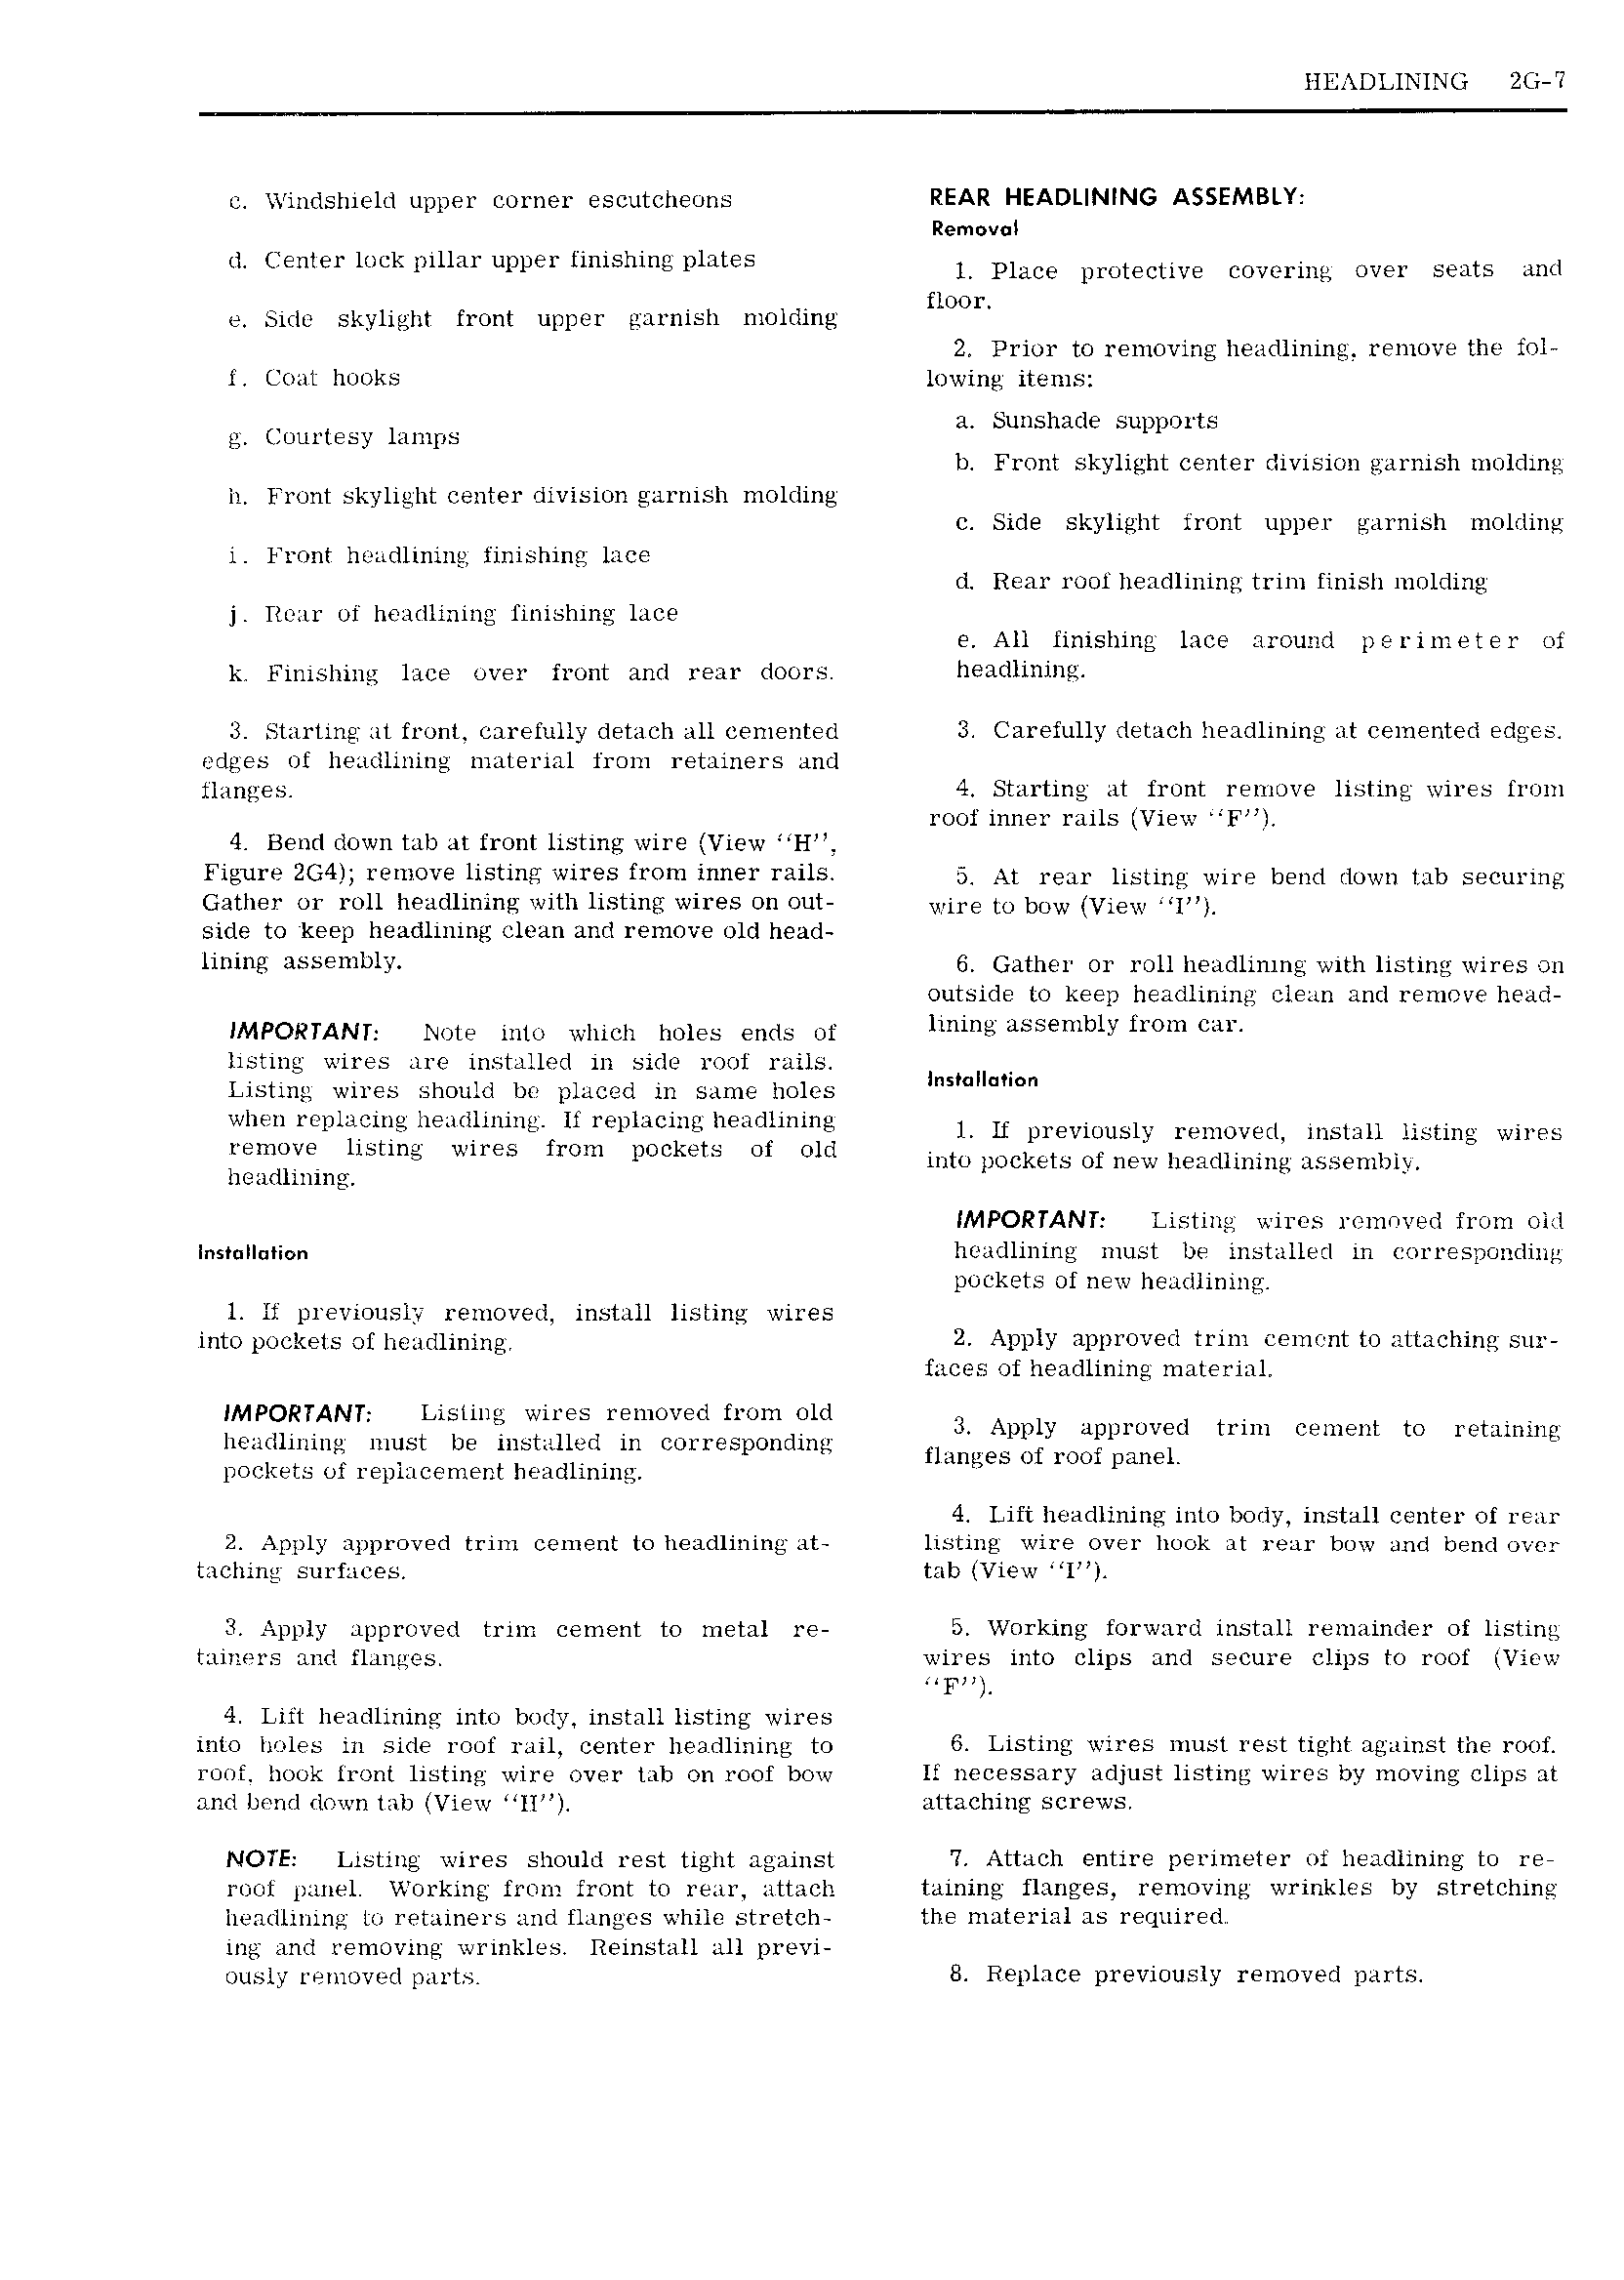
HEADLINING 2G T c Windshield upper corner escutcheons REAR HEADLINING ASSEMBI Yr Removal l mk Flu m Sh g Pmes 1 place protective covering over seats anu floor e side skylight front upper garnish molding 2 Prior to removing headlining remove the fol l Coat hooks lowing items Sunshade supports courtesy lamps b Front skylight center division garnish molding ii Front skylight center division garnish molding c Side skylight front upper garnish molding i Front headlining finishing lace d Rear roof headlining trim finish molding j Rear of headlining finishing lace e All finishing lace around perimeter of k Finishing lace over front and rear doors headlining 3 Starting at front carefully detach all cemented Carefully detach headlining at cemented edges edges of headlining material from retainers and flanges 4 Starting at front remove listing wires from roof inner rails View F 4 Bend down tab at front listing wire View H Fl 2G4 YGIUGVQ listing WUBS from im 1 1 THIS 5 At rear listing wire bend down tab securing Gather or roll headlining with listing wires on out Wim L mw View p side to keep headlining clean and remove old head Uiliil l 3S 3mb1 6 Gather or roll headlining with listing wires on outside to keep headlining clean and remove head IMPORTANT Note into which holes ends of lmme SS mb1yh OmCL listing wires are installed in side roof rails L I s II n n isting wires shoiird bv placed in same holes d 1 e f It Iwltlcldeth mE 1 It previously removed install listing wires s cr ei 4 V V V b To H pm E S O O C into pockets of new headlinmg assembly lieadlining IMPORTANT Listing wires rcinoved from oi l lnsmllutiun hcadlining must be installed in corresponding pockets of new headlining l lf previously removed install listing wires into pockets of 1 g td1i i gV 2 Apply approved trim ceinrnt to attaching stty faces of headlining material IMPORTANT Listing wires removed from old V V V 1 V V 3 Apply approved trim cement to retaining headlining must be installed in corresponding V Y V V V V V flanges of roof panel pockets ot repiiicement headlining 4 Lift headlining into body install center of rear 2 Apply approved trim cement to headlining at listing wire over hook at rear bow and bend over taching surfaces tab View l 3 Apply approved trim cement to metal re 5 Working forward install remainder of listing tainers and flanges wires into clips and secure clips to roof View Lift headlining into body install listing wires into holes in side roof rail center headlining to 6 Listing wires must rest tight against the roof roof hook front listing wire over tab on roof bow It necessary adjust listing wires by moving clips at and bond down tab View MH attaching screws NOTE Listing wires should rest tight against 7 Attach entire perimeter of headlining to re root panel Working from front to rear attach taining flanges removing wrinkles by stretching headlining to retainers and flanges while stretch the material as required ing and removing wrinkles Reinstall all previ ously r moved parts 8 Replace previously removed parts

 Next
Next