Jeep Parts Wiki | Ford Parts Wiki
Home | Search | Browse | Marketplace | Messages | FAQ | Guest
|
Body Service Manual August 1964 |
|
Prev

 Next
Next
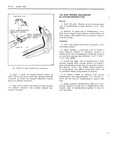
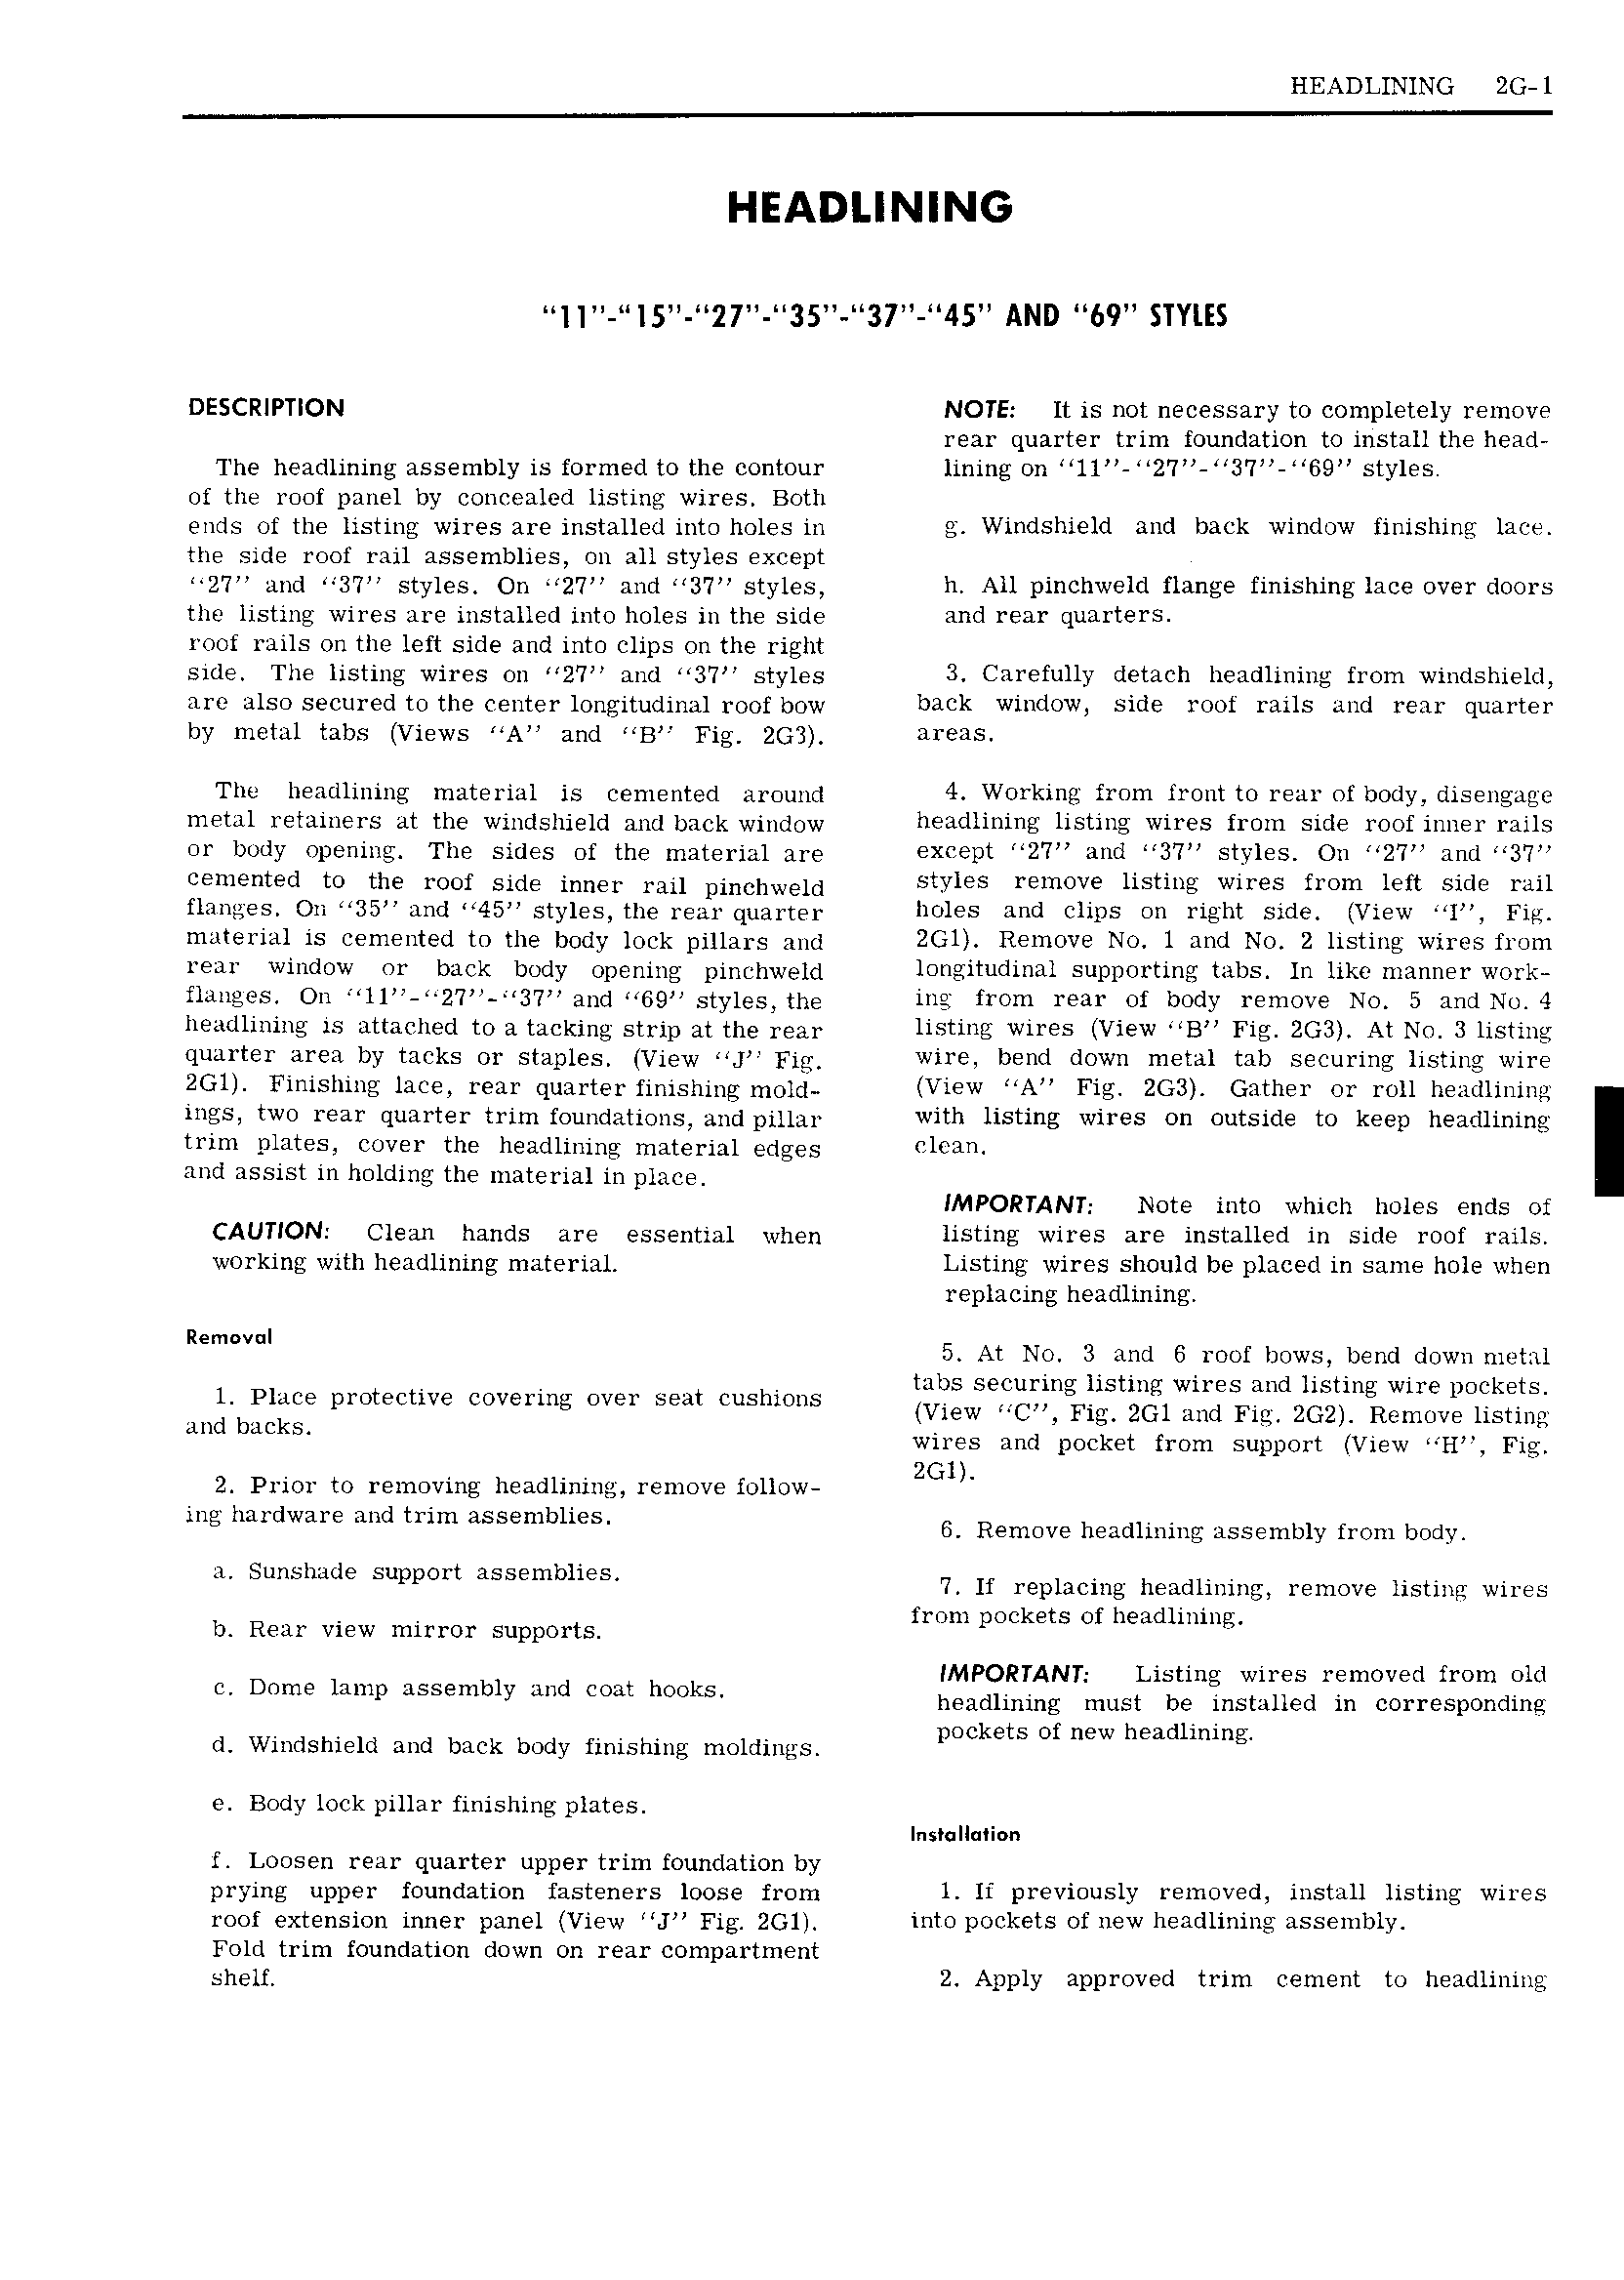
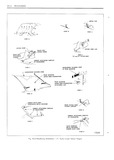
HEADLINING ZG l HEADLINING DESCRIPTION NOTE It is not necessary to completely remove rear quarter trim foundation to install the head The headlining assembly is formed to the contour lining on ll 2 l 3 7 69 styles of the roof panel by concealed listing wires Both ends of the listing wires are installed into holes in g Windshield and back window finishing lace the side roof rail assemblies on all styles except 2 7 and 3 I styles On 27 and 3 7 styles h All pinchwelcl flange finishing lace over doors the listing wires are installed into holes in the side and rear quarters roof rails on the left side and into clips on the right side The listing wires on 27 and 37 styles 3 Carefully detach headlining from windshield are also secured to the center longitudinal roof bow back window side roof rails and rear quarter by metal tabs Views A and B Fig ZG areas The headlining material is cemented around 4 WUi kiil from front to FEHY of UOGY diS 1 J metal retainers at me windshield and back window iiewiiiiiiis iistiiis wires fi iii Side 1 00fi1i1i 1 1 fiUS or body opening The sides of the material are X Dt 27H mid 37 SWIES Oil 27 Mid 3 7 csnientgd tn the roof Side inner mil ninnnweln styles remove listing wires from left side rail flanges On 35 and 45 styles the rear quarter h01 S mid CUPS Oil Tight Side View YY Fit mnterial is cemented to the body lock pillars and 2Gl Remove No 1 and No 2 listing wires from rear window or back body Opening pinnnwnld longitudinal supporting tabs ln like manner work flanges On l1 2 37 and 69 styles the ing from rear of body remove No 5 andNo 4 headlining is attached to a tacking strip at the rear listing wires View B Fig ZG3 At No 3 listing quarter area by tacks or staples View J Fig wire bend down metal tab securing listing wire 2Gl Finishing lace rear quarter finishing mold View A Fig ZG3 Gather or roll headlining ings two rear quarter trim foundations and pillar with listing wires on outside to keep headlining trim plates cover the headlining material edges clean and assist in holding the material in place IMPORTANT Note into which holes ends of CAUTION Clean hands are essential when listing wires are installed in side roof rails working with headlining material Listing wires should be placed in same hole when replacing headlining Remwul 5 At No 3 and G roof bows bend down metal l Place protective covering over seat cushions mils Sefurmg iistmg Wires and listing Wire pO kEtS And mckg View MC Fig 2Gl and Fig ZG2 Remove listing wires and pocket from support View 2 Prior to removing headlining remove follow 2G1 mg hludwawe and tum aSs mbh S 6 Remove headlining assembly from body H Slmshude Suppmit assembhes 7 If replacing headlining remove listing wires from pockets of headlining b Rear view mirror supports IMPORTANT Listing wires removed from old C Dome lamp assembly and com hOOkS headlining must be installed in corresponding d Windshield and back body finishing moldings Imckets Of new headhmngr e Body lock pillar finishing plates l s II i f Loosen rear quarter upper trim foundation by prying upper foundation fasteners loose from l Ii previously removed install listing wires roof extension inner panel View J Fig 2G1 into pockets of new headlining assembly Fold trim foundation down on rear compartment shelf 2 Apply approved trim cement to headlining

 Next
Next