Jeep Parts Wiki | Ford Parts Wiki
Home | Search | Browse | Marketplace | Messages | FAQ | Guest
Prev
 Next
Next
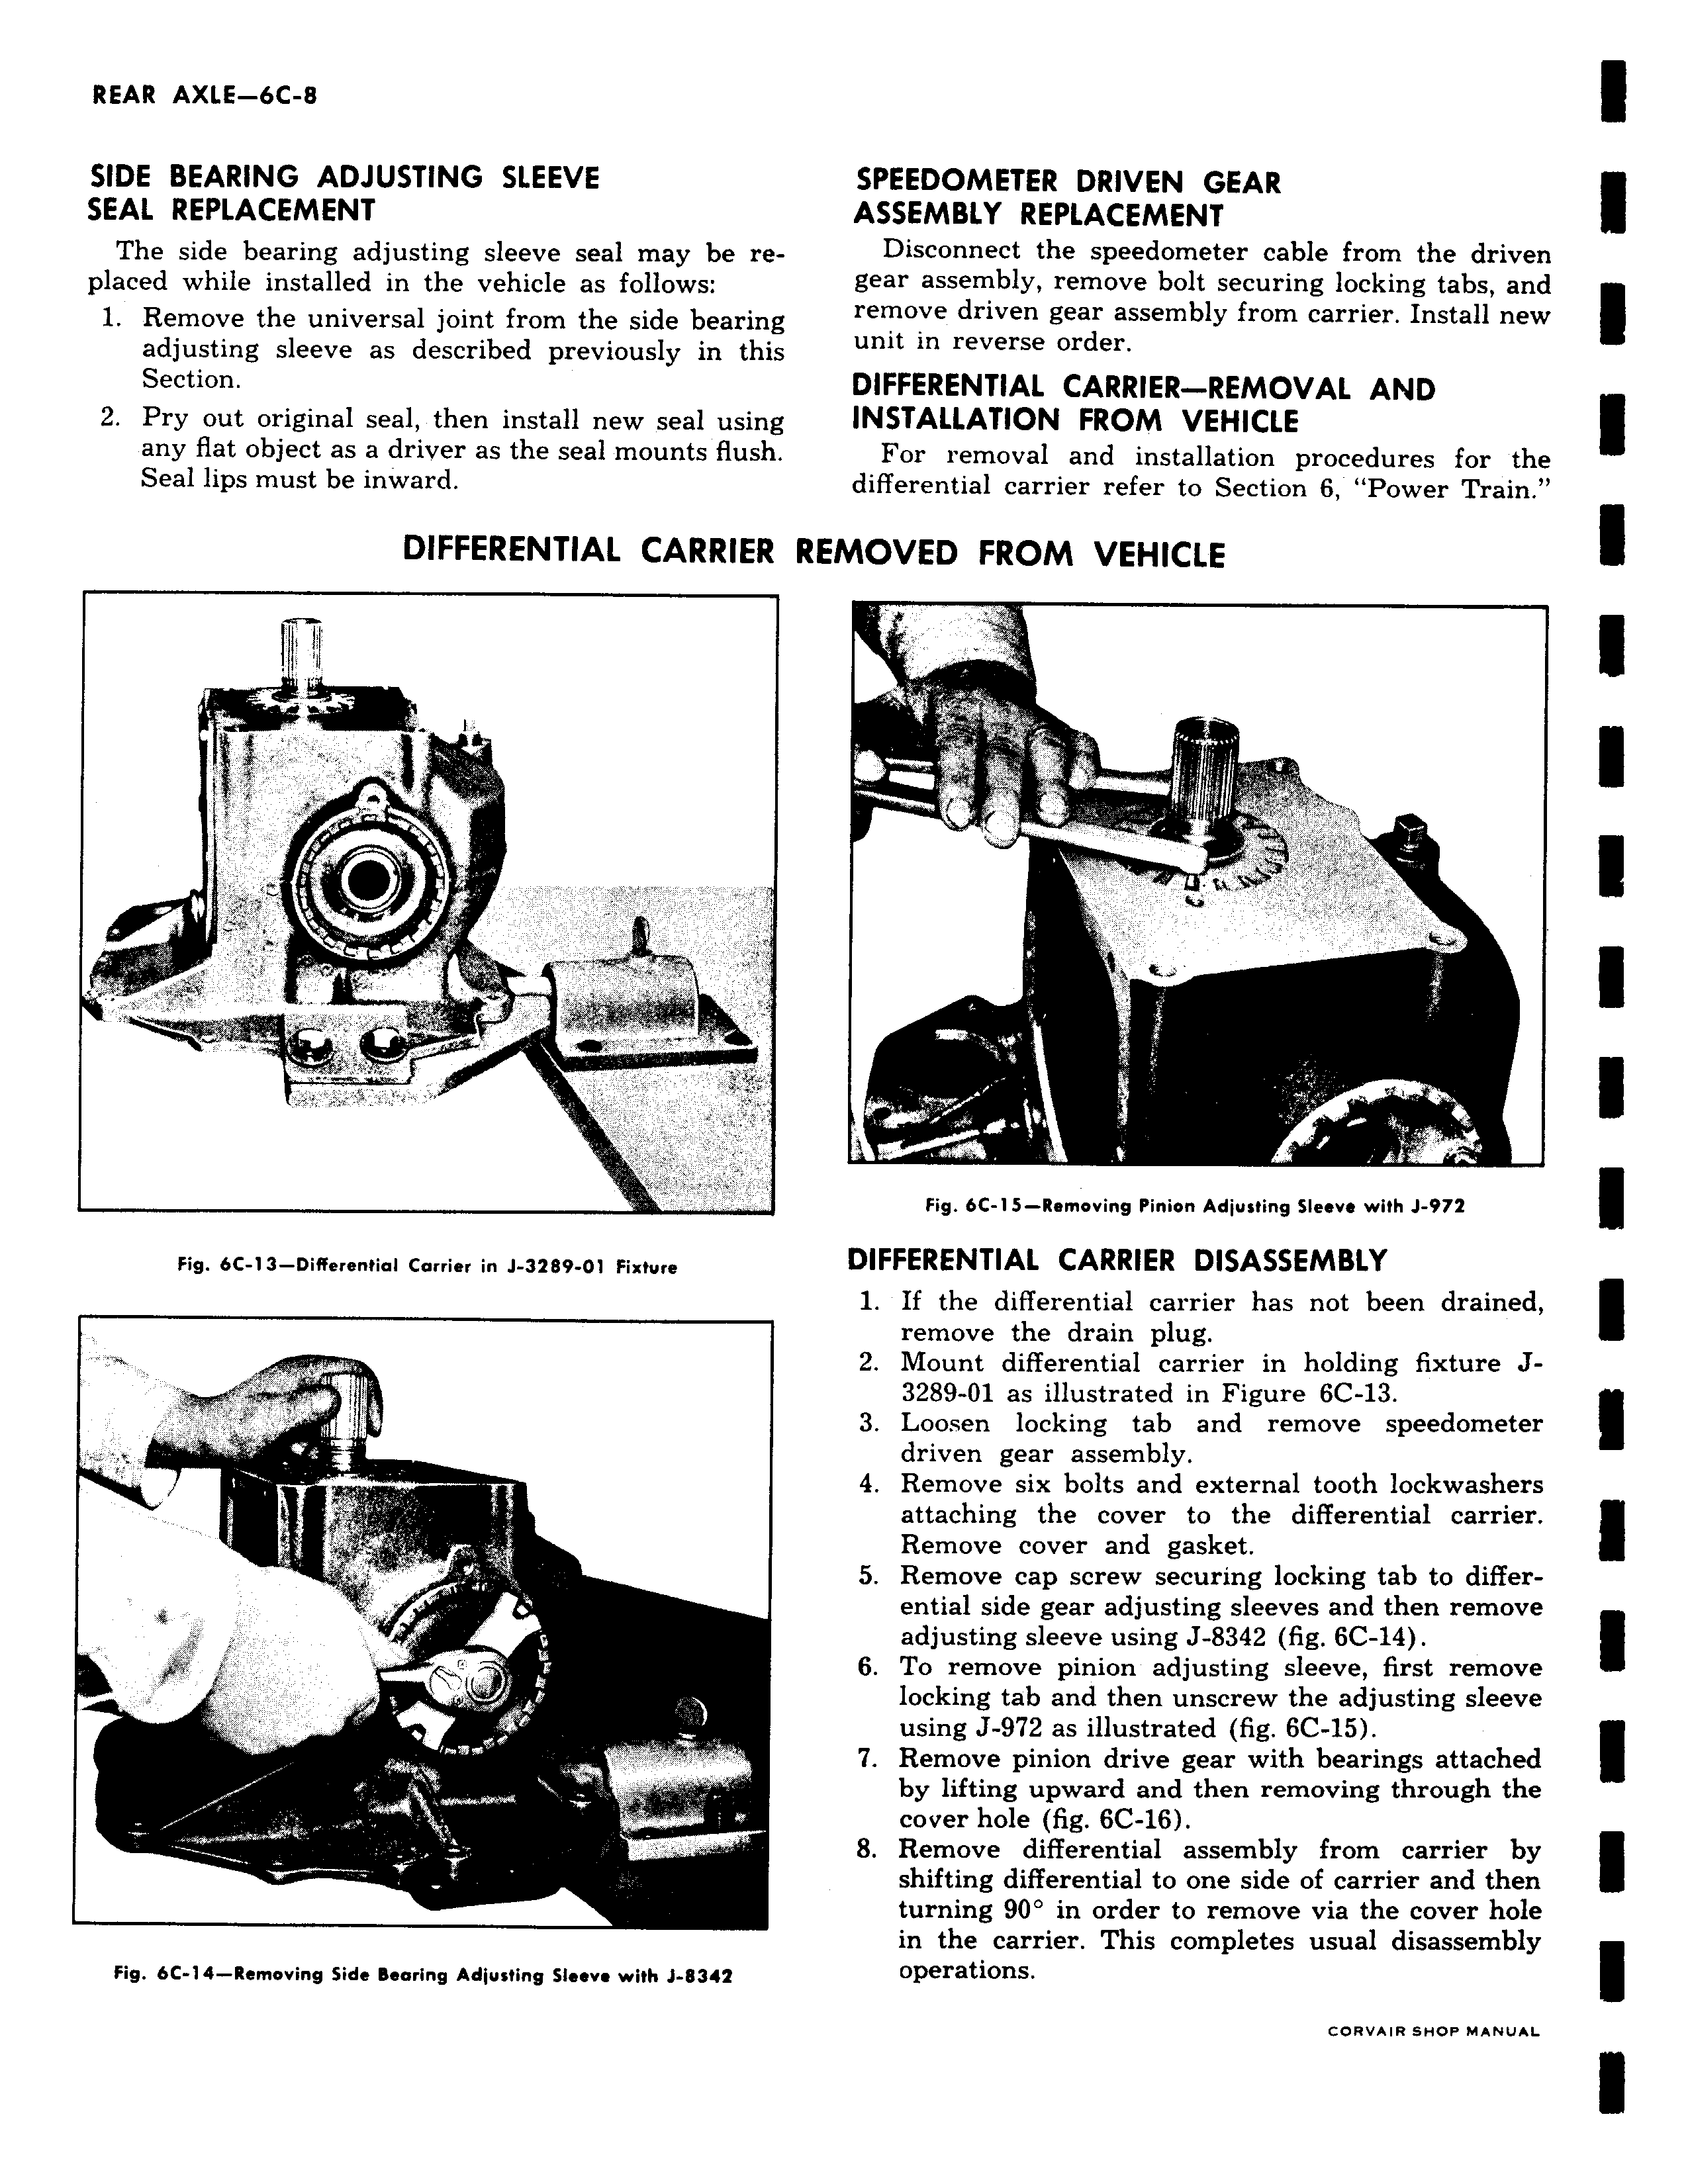
SIDE BEARING ADJUSTING SLEEVE SEAL REPLACEMENT The side bearing adjusting sleeve seal may be replaced while installed in the vehicle as follows 1 Remove the universal joint from the side bearing adjusting sleeve as described previously in this Section 2 Pry out original seal then install new seal using any flat object as a driver as the seal mounts flush Seal lips must be inward DIFFERENTIAL CARRIER I v Fig 6C 13 Differential Carrier in J 3289 01 Fixture s Fig 6C 14 Removing Side Bearing Adjusting Sleeve with J 8342 SPEEDOMETER DRIVEN GEAR ASSEMBLY REPLACEMENT Disconnect the speedometer cable from the driven gear assembly remove bolt securing locking tabs and remove driven gear assembly from carrier Install new unit in reverse order DIFFERENTIAL CARRIER REMOVAL AND INSTALLATION FROM VEHICLE For removal and installation procedures for the differential carrier refer to Section 6 Power Train tEMOVED FROM VEHICLE y o S 1 Fig 6C 15 Removing Pinion Adjusting Sleeve with J 972 DIFFERENTIAL CARRIER DISASSEMBLY 1 If the differential carrier has not been drained remove the drain plug 2 Mount differential carrier in holding fixture J3289 O1 as illustrated in Figure 6C 13 3 Loosen locking tab and remove speedometer driven gear assembly 4 Remove six bolts and external tooth lockwashers attaching the cover to the differential carrier Remove cover and gasket 5 Remove cap screw securing locking tab to differential side gear adjusting sleeves and then remove adjusting sleeve using J 8342 fig 6C 14 6 To remove pinion adjusting sleeve first remove locking tab and then unscrew the adjusting sleeve using J 972 as illustrated fig 6C 15 7 Remove pinion drive gear with bearings attached by lifting upward and then removing through the cover hole fig 6C 16 8 Remove differential assembly from carrier by shifting differential to one side of carrier and then turning 90 in order to remove via the cover hole in the carrier This completes usual disassembly operations CORVAIR SHOP MANUAL