Jeep Parts Wiki | Ford Parts Wiki
Home | Search | Browse
|
Body Service Manual August 1964 |
|
Prev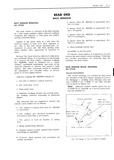
 Next
Next
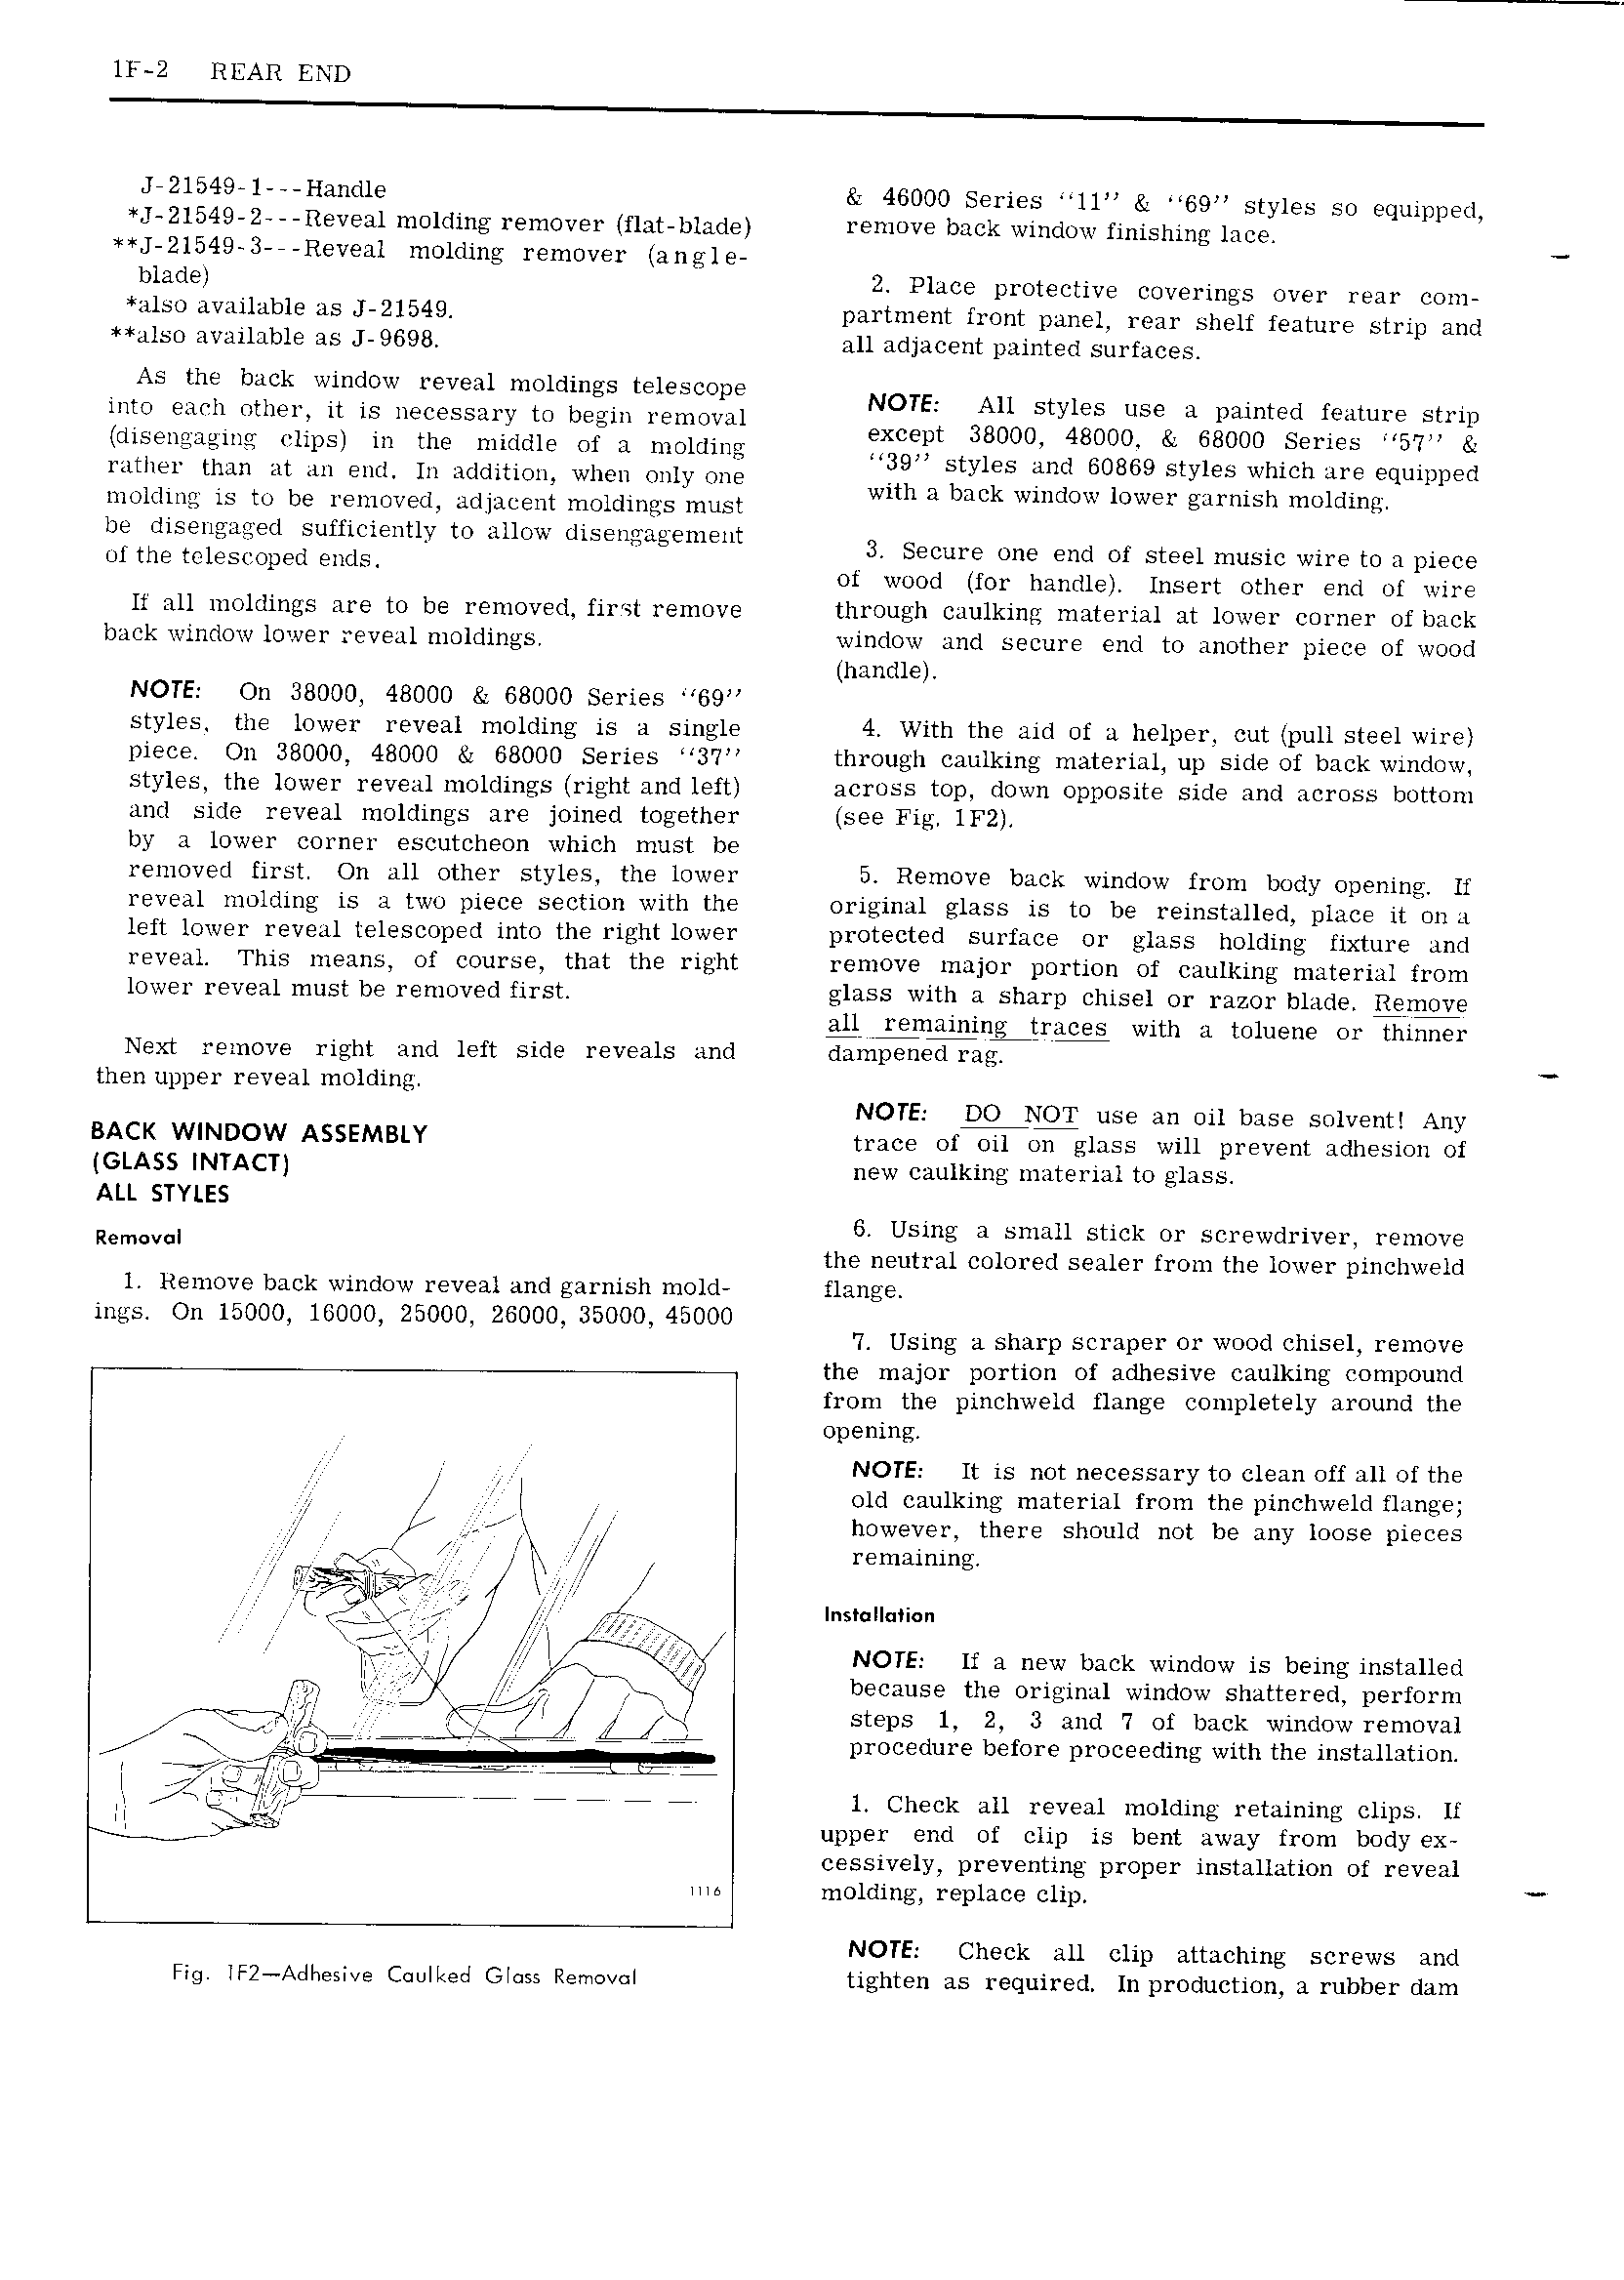
ll 2 REAR END J 2l549 l Handle 46000 Series l1 69 styles equipped J 21549 2 Reveal molding remover flat blade remove back window finishing lace J 2l549 3 Reveal molding remover angle blade 2 Place protective coverings over rear coni also available as J 21549 partment front panel rear shelf feature strip and also available J 9698 all adjacent painted surfaces As the back window reveal moldings telescoie into each other it is necessary to begin remoyfal NOTE Au Styles use B pamtegi L dulig 1 disengaging clips in the middle of a molding c t 38O90 489OO 68000 Pemgs rather than at an end In addition when only one 9 Btyleb md L 0869 Styles fvhmh Lu 6 Eqmpped molding is to be removed adjacent moldings must wml H lmk wmdclw lower gdrmsh moldmgu be disengaged sufficiently to allow disengagement r UI mg tclesmpgd Ends 3 secure one end of steel music wire to a piece ot wood for handle Insert other end of wire lf all moldings are to be removed first remove through caulking material at lower corner of back back window lower reveal moldings window and secure end to another piece of wood handle NOTE On 38000 48000 68000 Series 69 styles the lower reveal molding is a single 4 With the aid of a helper cut pull steel wire piece On 38000 48000 to 68000 Series 3 7 through caulking material up side of back window styles the lower reveal moldings right and left across top down opposite side and across bottom and side reveal moldings are joined together see Fig lF2 by a lower corner escutcheon which must be removed first On all other styles the lower 5 Remove back window from body opening lf reveal molding is a two piece section with the original glass is to be reinstalled place it on a left lower reveal telescoped into the right lower protected surface or glass holding fixture and reveal This means of course that the right remove major portion of caulking material from lower reveal must be removed first glass with a sharp chisel or razor blade Beige g V 1 nLtr with a toluene or thinner Next remove right and left side reveals and dampened rag then upper reveal molding NOTE DO Q use an oil base solvent Any BACK WINDOW ASSEMBLY trace of oil on glass will prevent adhesion of GLASS INTACT new caulking material to glass ALL STYLES 6 Using a small stick or screwdriver remove R m v the neutral colored sealer from the lower pinchweld l Remove back window reveal and garnish molde flange ings On 15000 16000 25000 26000 35000 45000 7 Using a sharp scraper or wood chisel remove the major portion of adhesive caulking compound from the pinchweld flange completely around the opening NOTE lt is not necessary to clean off all of the E old caulking material from the pinchweld flange I however there should not be any loose pieces sq V remaining A x I iitf It gi lns II i n l A l Qi lj NOTE If a new back window is being installed Ei A V ag gv because the original window shattered perform my j7 steps 1 2 3 and 7 of back window removal procedure before proceeding with the installation Q7 L ri 77 i 1 Check all reveal molding retaining clips If l upper end of clip is bent away from body ex cessively preventing proper installation of reveal nw molding replace clip NOTE Check all clip attaching screws and Fig IFZ Adhesive Caulked Gloss Remover tighten as required In production a rubber dam