Jeep Parts Wiki | Ford Parts Wiki
Home | Search | Browse
|
Body Service Manual August 1964 |
|
Prev

 Next
Next
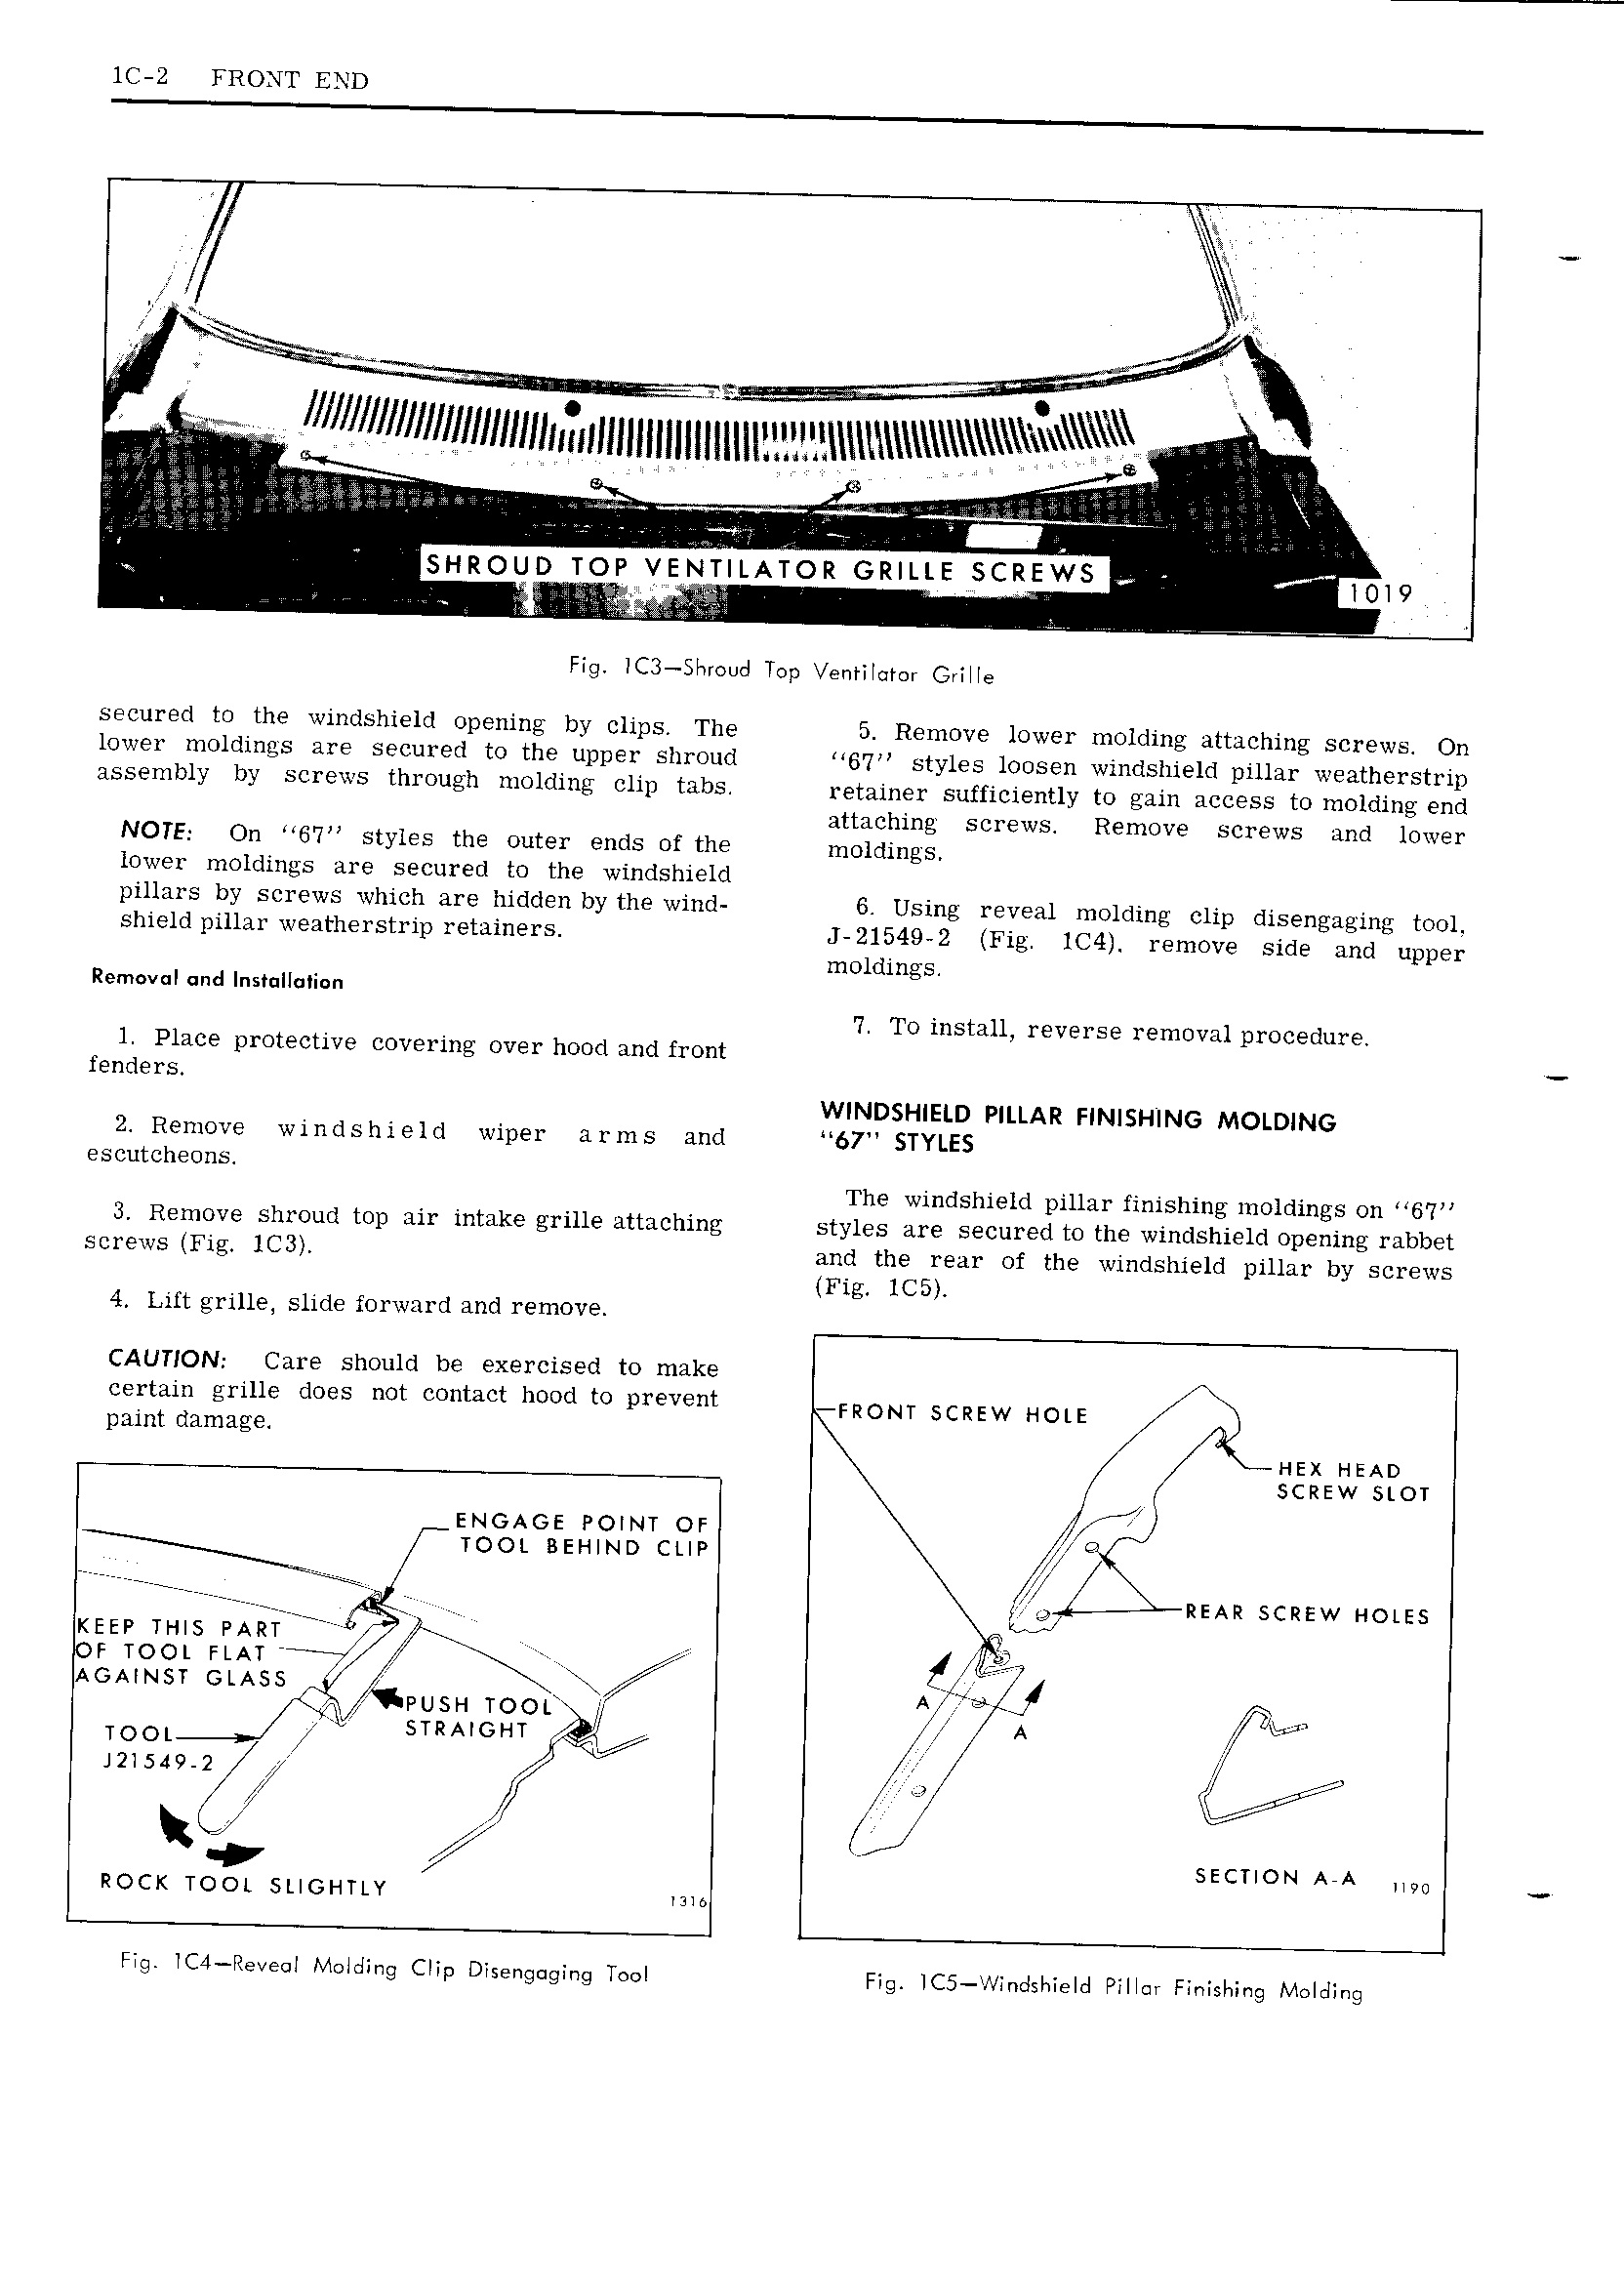
1C 2 FRONT END s I s h mult Y W llllllllll mm nmumm A l l h Q it ever q j2a 5ji g e i igf g s i A H l gee r 1 i A y SHROUD TOP VENTILATOR GRILLE SCREWS 1019 1 W M epi LV V f Fig lC3 Sbroud Top Ventilator Grille secured to the windshield opening by clips The 5 Remove lower molding attaching screws On lower moldings are secured to the upper shroud 67 styles loosen windshield pillar weatherstrip assembly by screws through molding clip tabs retainer sufficiently to gain access to molding end attaching screws Remove screws and lower NOTE On 6 7 styles the outer ends of the moldings lower moldings are secured to the windshield pillars by screws which are hidden by the wind 6 Using reveal molding clip disengaging tool shield pillar weatherstrip retainers J 21549 2 Fig IC4 remove side and upper moldings Removal und Instullulion 7 To install reverse removal procedure 1 Place protective covering over hood and front fenders WINDSHIELD PILLAR FINISHING MOLDING 2 Remove windshield wiper arms and 67 STYLES escutcheons The windshield pillar finishing moldings on 67 3 Remove shroud top air intake grille attaching styles are secured to the windshield opening rabbet screws Fig 1C3 and the rear of the windshield pillar by screws Fig 1C5 4 Lift grille slide forward and remove CAUTION Care should be exercised to make certain grille does not contact hood to prevent FRONT SCREW HOLE paint damage HEX HEAD SCREW SLOT ENGAGE Form or V TOOL BEHIND CLIP V gx r r 7 e REAR SCREW HOLES KEEP Tl us PART 4f Q F TOOL FLAT if or j AGAINST GLASS ay A r A gx PusH TOOL y 1 yds li STRAIGHT ii TOOL X t l A J2l549 2 Li ieee V u ye SECTION AYA wu ROCK T00L SLIGHTLY 3 Fla lC4 Rev Mcldlng Cllp Dlse g gl g Tool Peg lcs llllzndshaeld Paula Finishing Molding

 Next
Next