Jeep Parts Wiki | Ford Parts Wiki
Home | Search | Browse
Prev
 Next
Next
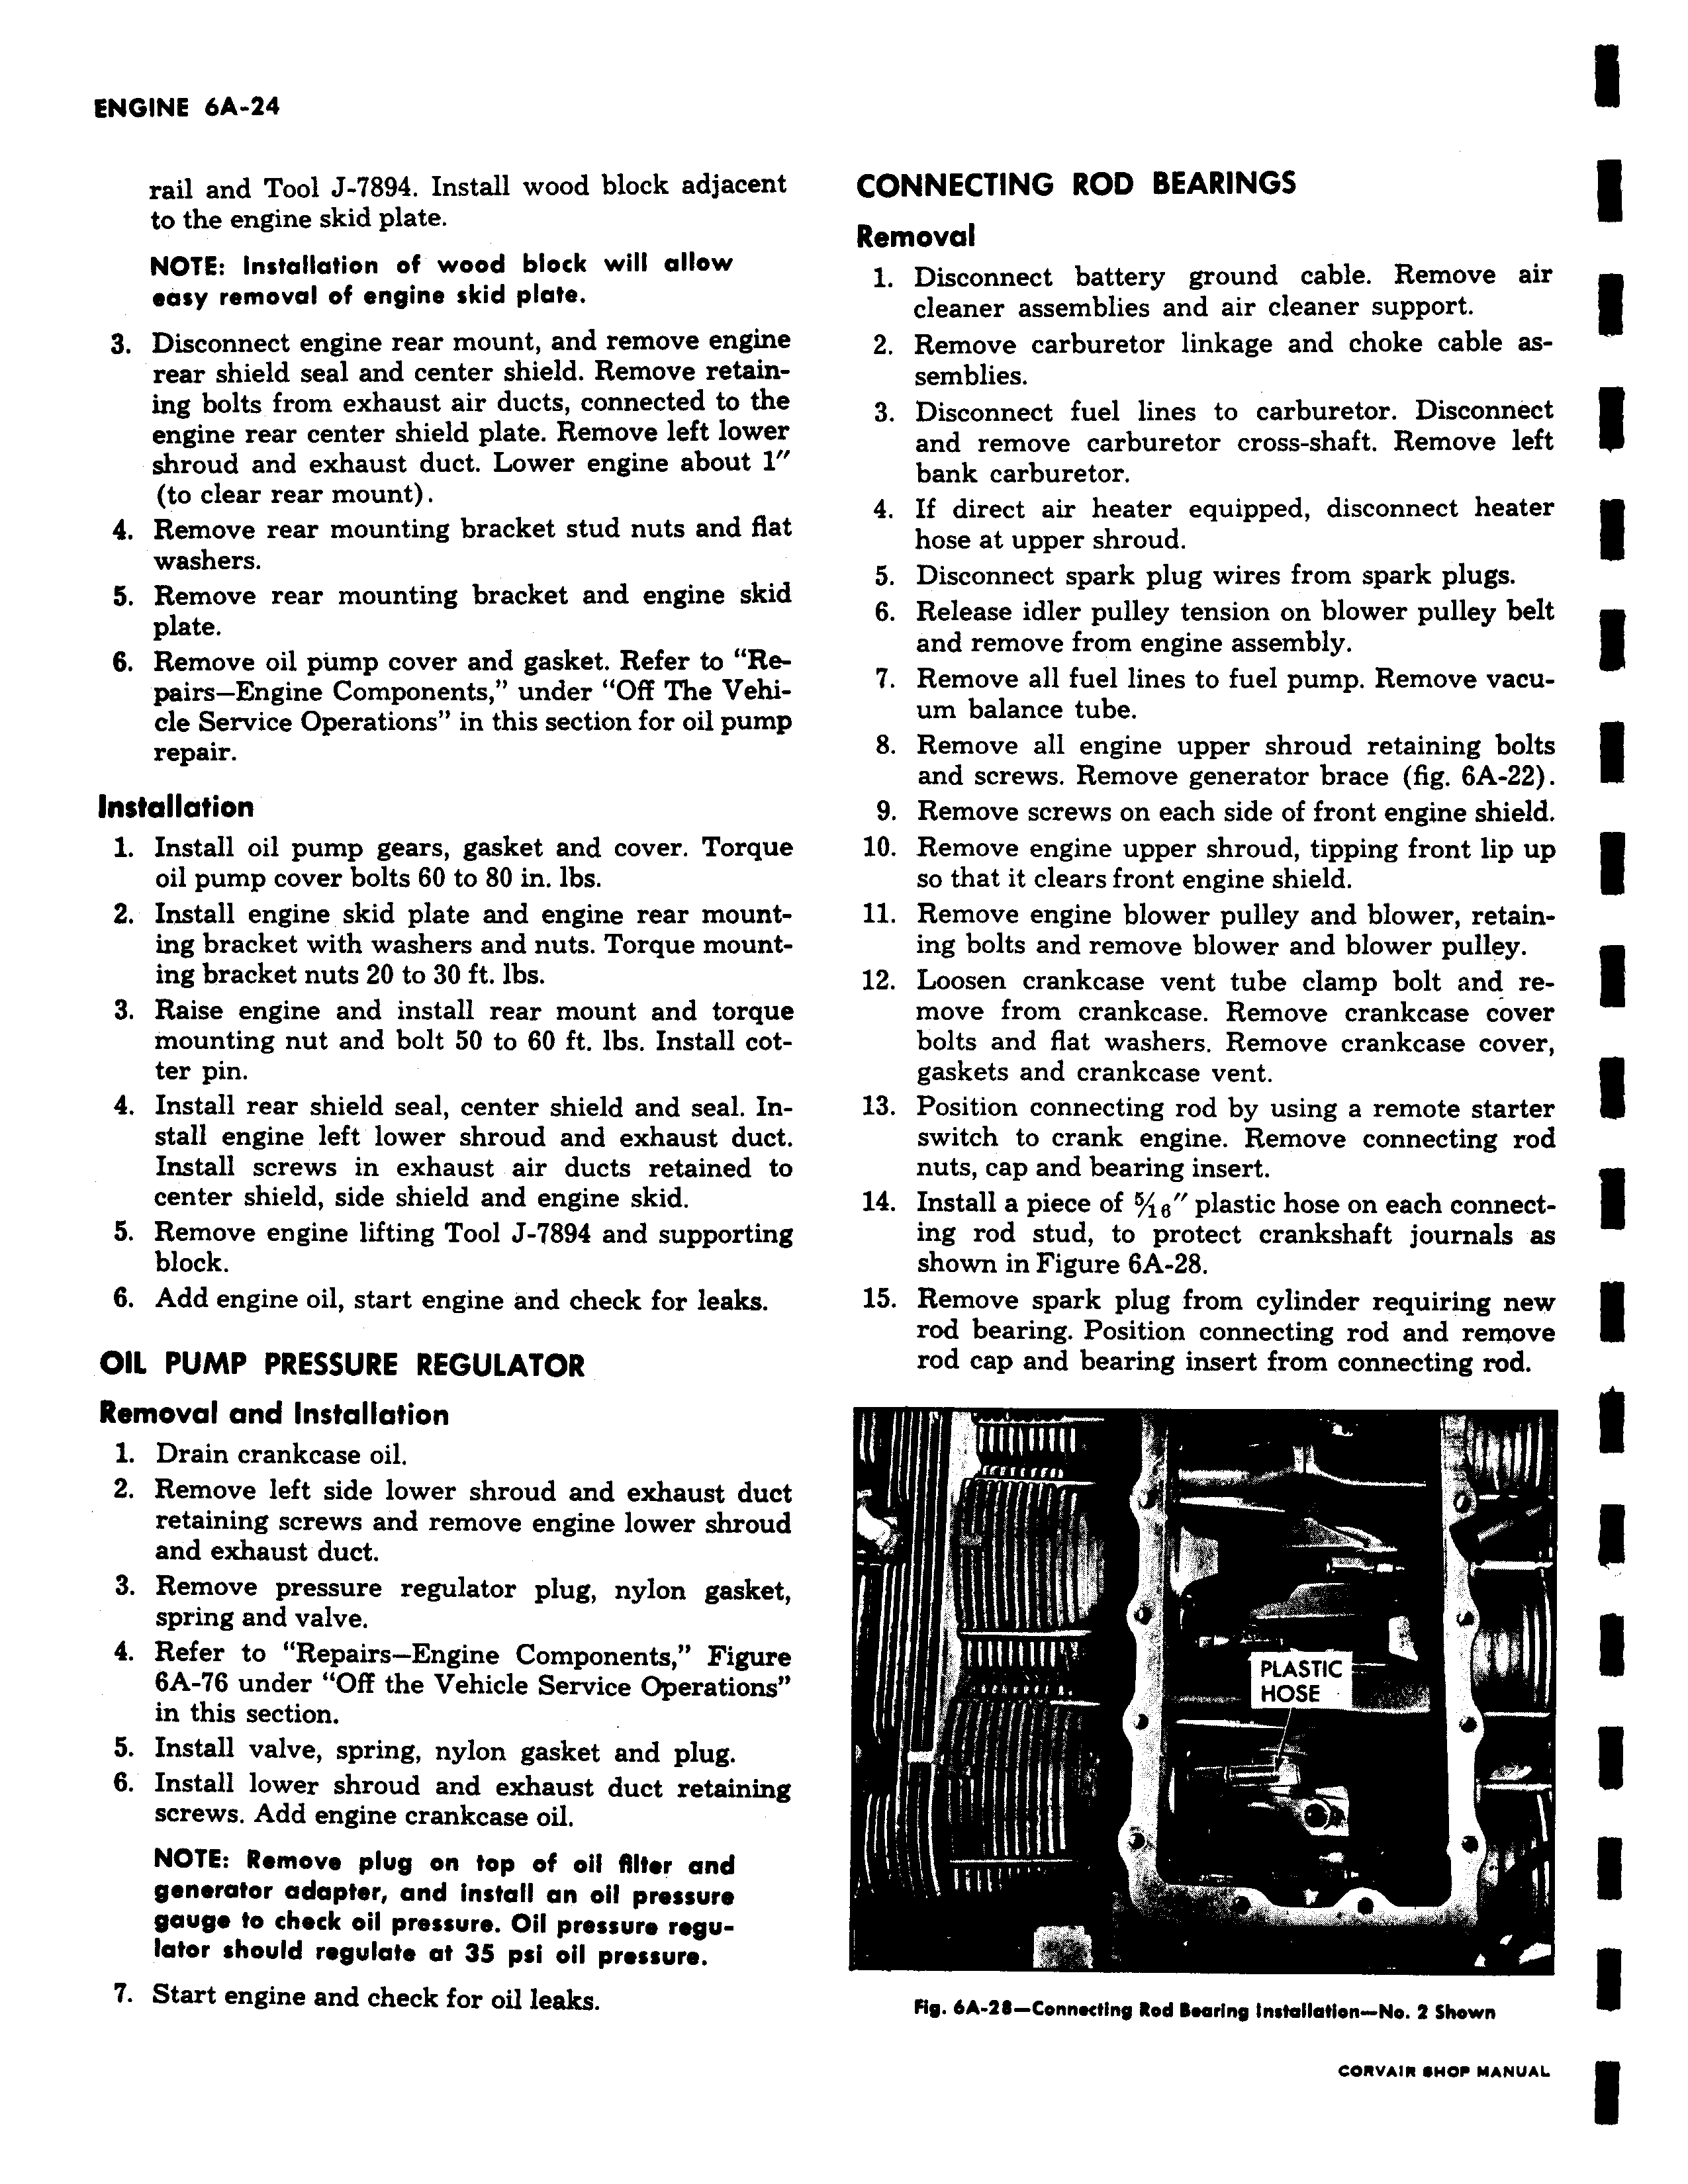
rail and Tool J 894 Install wood block adjacent to the engine skid plate NOTE Installation of wood block will allow easy removal of engine skid plate 3 Disconnect engine rear mount and remove engine rear shield seal and center shield Remove retaining bolts from exhaust air ducts connected to the engine rear center shield plate Remove left lower shroud and exhaust duct Lower engine about 1 to clear rear mount 4 Remove rear mounting bracket stud nuts and flat washers 5 Remove rear mounting bracket and engine skid plate 6 Remove oil pump cover and gasket Refer to Repairs Engine Components under Off The Vehicle Service Operations in this section for oil pump repair Installation 1 Install oil pump gears gasket and cover Torque oil pump cover bolts 60 to 80 in lbs 2 Install engine skid plate and engine rear mounting bracket with washers and nuts Torque mounting bracket nuts 20 to 30 ft lbs 3 Raise engine and install rear mount and torque mounting nut and bolt 50 to 60 ft lbs Install cotter pin 4 Install rear shield seal center shield and seal Install engine left lower shroud and exhaust duct Install screws in exhaust air ducts retained to center shield side shield and engine skid 5 Remove engine lifting Tool J 7894 and supporting block 6 Add engine oil start engine and check for leaks OIL PUMP PRESSURE REGULATOR Removal and Installation 1 Drain crankcase oil 2 Remove left side lower shroud and exhaust duct retaining screws and remove engine lower shroud and exhaust duct 3 Remove pressure regulator plug nylon gasket spring and valve 4 Refer to Repairs Engine Components Figure 6A 76 under Off the Vehicle Service Operations in this section 5 Install valve spring nylon gasket and plug 6 Install lower shroud and exhaust duct retaining screws Add engine crankcase oil NOTE Remove plug on top of oil filter and generator adapter and Install an oil pressure gauge to check oil pressure Oil pressure regulator should regulate at 35 psi oil pressure 7 Start engine and check for oil leaks CONNECTING ROD BEARINGS Removal 1 Disconnect battery ground cable Remove air cleaner assemblies and air cleaner support 2 Remove carburetor linkage and choke cable assemblies 3 Disconnect fuel lines to carburetor Disconnect and remove carburetor cross shaft Remove left bank carburetor 4 If direct air heater equipped disconnect heater hose at upper shroud 5 Disconnect spark plug wires from spark plugs 6 Release idler pulley tension on blower pulley belt and remove from engine assembly 7 Remove all fuel lines to fuel pump Remove vacuum balance tube 8 Remove all engine upper shroud retaining bolts and screws Remove generator brace fig 6A 22 9 Remove screws on each side of front engine shield 10 Remove engine upper shroud tipping front lip up so that it clears front engine shield 11 Remove engine blower pulley and blower retaining bolts and remove blower and blower pulley 12 Loosen crankcase vent tube clamp bolt and remove from crankcase Remove crankcase cover bolts and flat washers Remove crankcase cover gaskets and crankcase vent 13 Position connecting rod by using a remote starter switch to crank engine Remove connecting rod nuts cap and bearing insert 14 Install a piece of 5 18 plastic hose on each connecting rod stud to protect crankshaft journals as shown in Figure 6A 28 15 Remove spark plug from cylinder requiring new rod bearing Position connecting rod and remove rod cap and bearing insert from connecting rod 3Y a PLASTIC t HOSE e Fly 6A 4t Connectiny Rod tearing installation No 2 Shown