Jeep Parts Wiki | Ford Parts Wiki
Home | Search | Browse | Marketplace | Messages | FAQ | Guest
Prev
 Next
Next
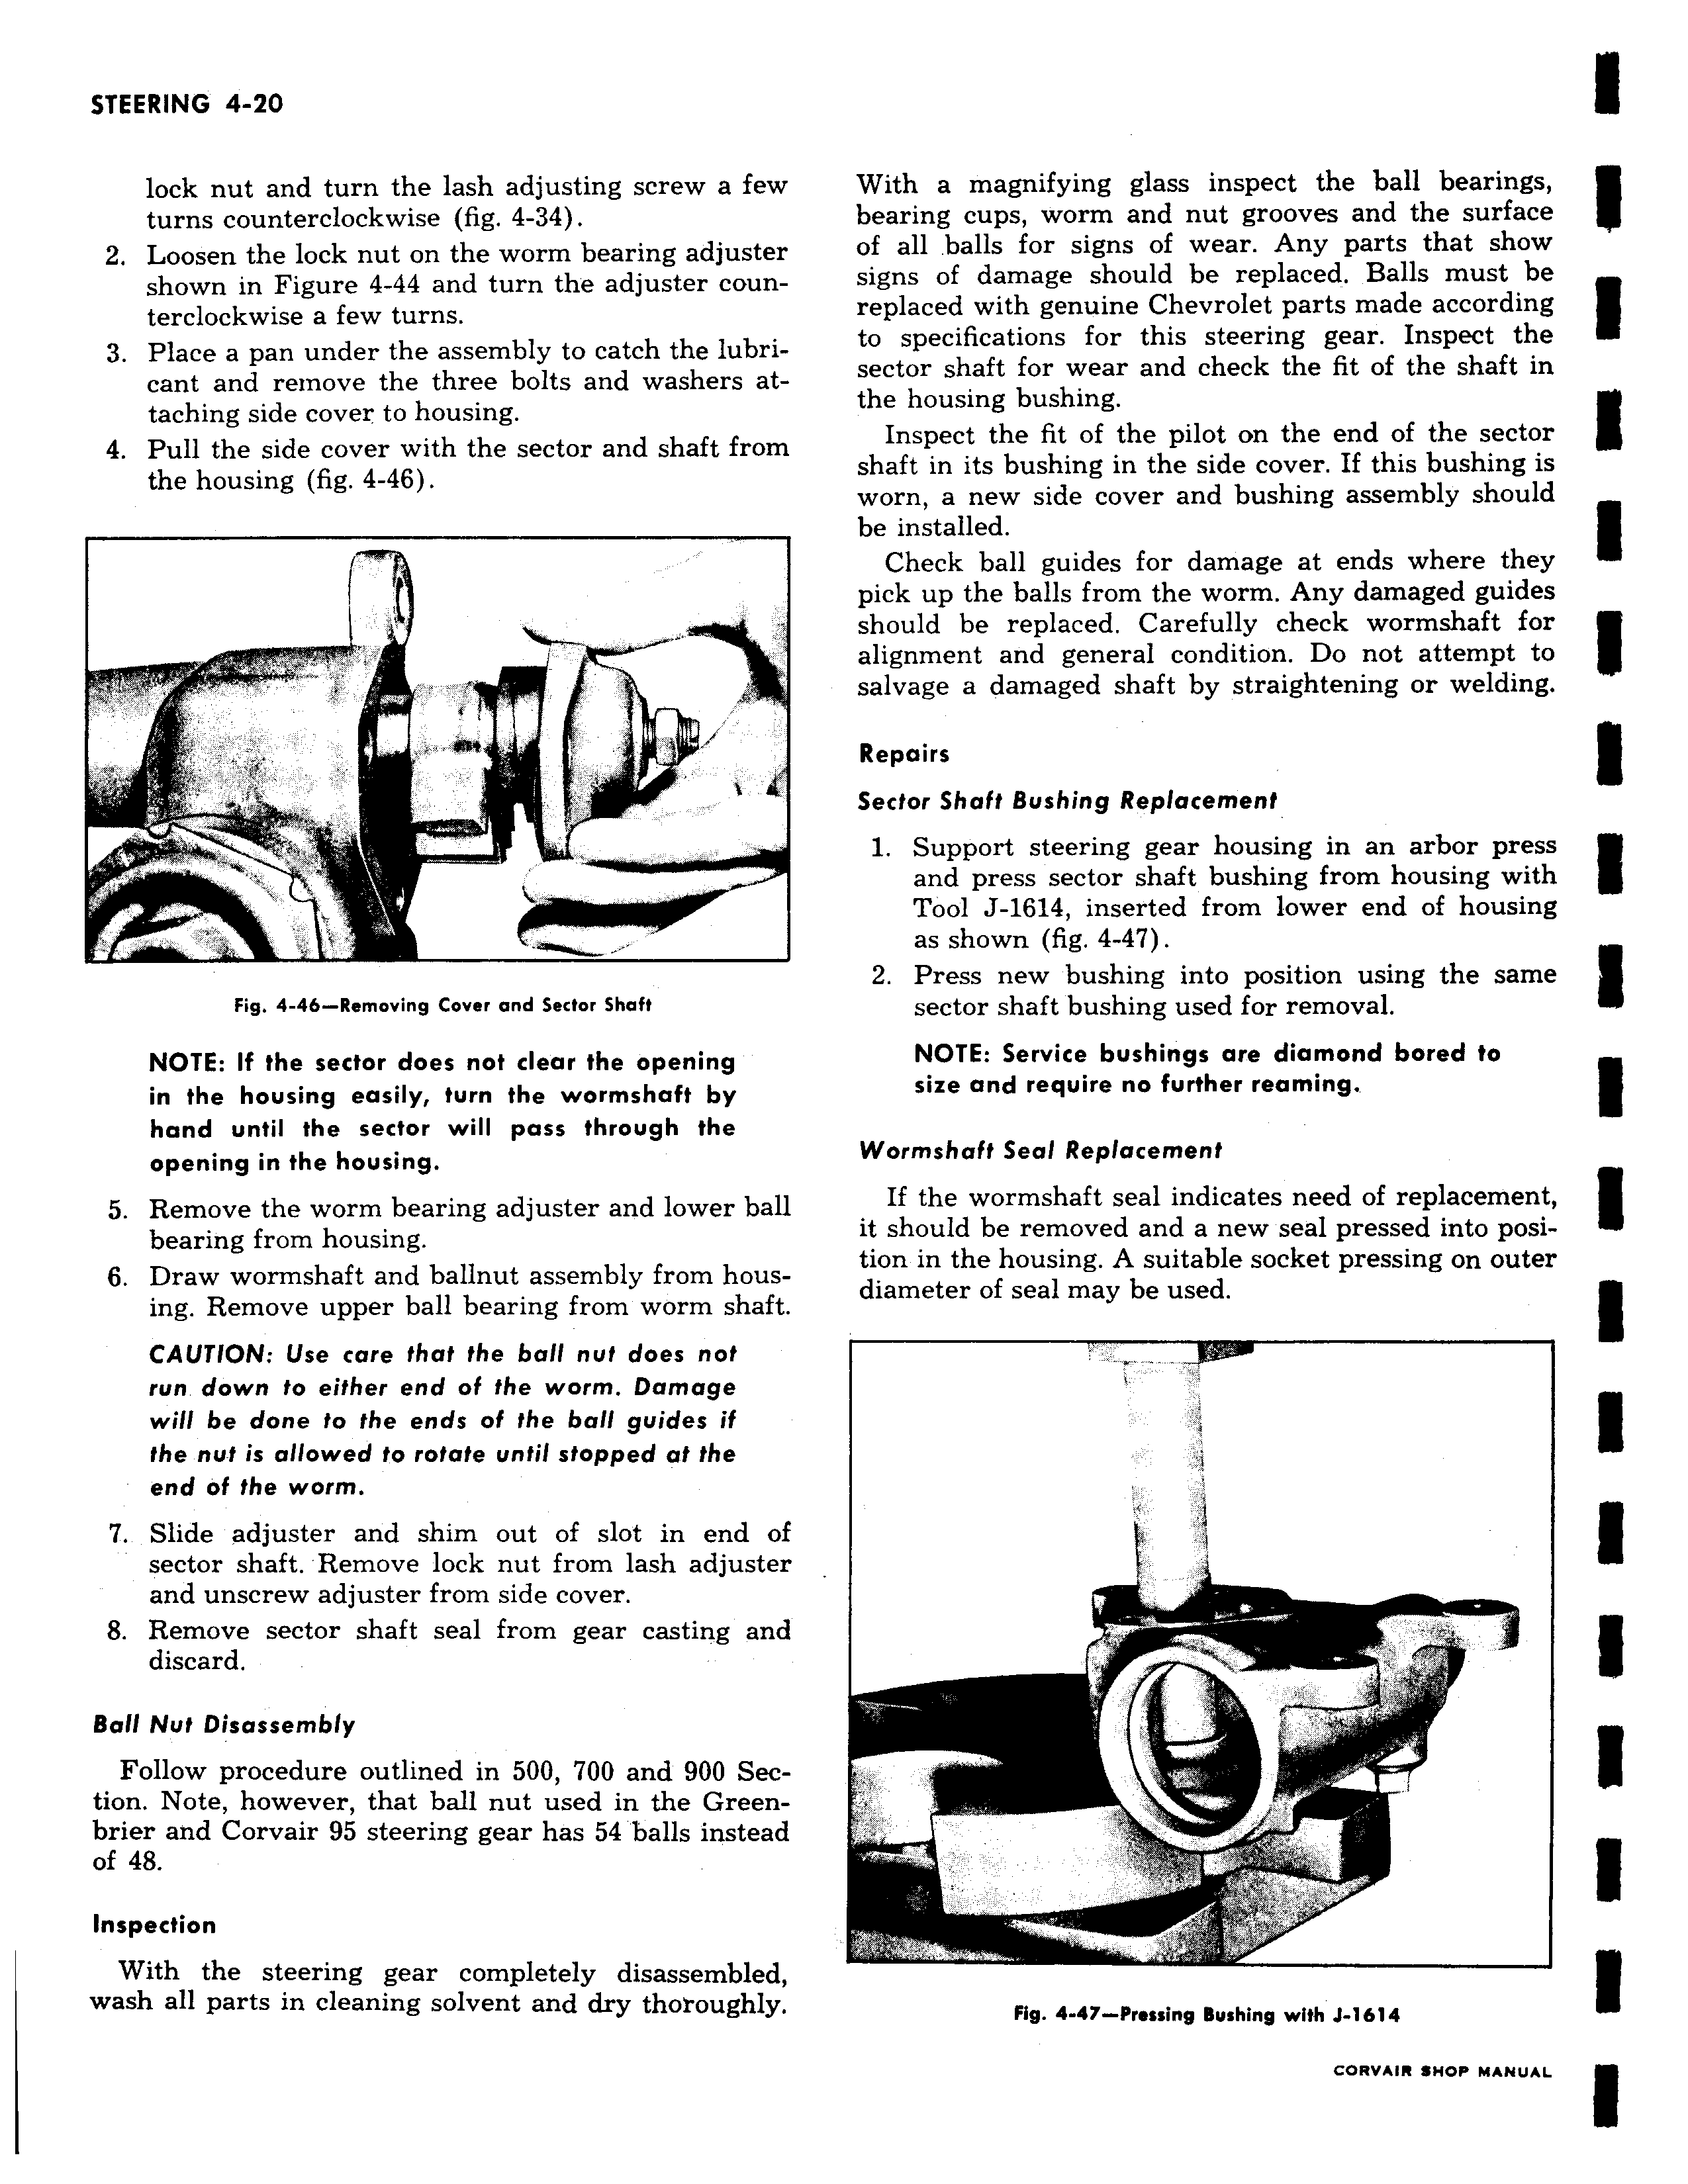
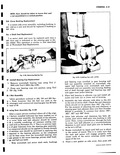
lock nut and turn the lash adjusting screw a few turns counterclockwise fig 4 34 2 Loosen the lock nut on the worm bearing adjuster shown in Figure 4 44 and turn the adjuster counterclockwise a few turns 3 Place a pan under the assembly to catch the lubricant and remove the three bolts and washers attaching side cover to housing 4 Pull the side cover with the sector and shaft from the housing fig 4 46 i r p arrst L y Fig 4 46 Removing Cover and Sector Shaft NOTE If the sector does not dear the opening in the housing easily turn the wormshaft by hand until the sector will pass through the opening in the housing 5 Remove the worm bearing adjuster and lower ball bearing from housing 6 Draw wormshaft and ballnut assembly from housing Remove upper ball bearing from worm shaft CAUTION Use care that the ball nut does not run down to either end of the worm Damage will be done to the ends of the ball guides if the nut is allowed to rotate until stopped at the end of the worm 7 Slide adjuster and shim out of slot in end of sector shaft Remove lock nut from lash adjuster and unscrew adjuster from side cover 8 Remove sector shaft seal from gear casting and discard Ball Nut Disassembly Follow procedure outlined in 500 700 and 900 Section Note however that ball nut used in the Greenbrier and Corvair 95 steering gear has 54 balls instead of 48 Inspection With the steering gear completely disassembled wash all parts in cleaning solvent and dry thoroughly With a magnifying glass inspect the ball bearings bearing cups worm and nut grooves and the surface of all balls for signs of wear Any parts that show signs of damage should be replaced Balls must be replaced with genuine Chevrolet parts made according to specifications for this steering gear Inspect the sector shaft for wear and check the fit of the shaft in the housing bushing Inspect the fit of the pilot on the end of the sector shaft in its bushing in the side cover If this bushing is worn a new side cover and bushing assembly should be installed Check ball guides for damage at ends where they pick up the balls from the worm Any damaged guides should be replaced Carefully check wormshaft for alignment and general condition Do not attempt to salvage a damaged shaft by straightening or welding Repairs Sector Shaft Bushing Replacement 1 Support steering gear housing in an arbor press and press sector shaft bushing from housing with Tool J 1614 inserted from lower end of housing as shown fig 4 47 2 Press new bushing into position using the same sector shaft bushing used for removal NOTE Service bushings are diamond bored to size and require no further reaming Wormshaft Seal Replacement If the wormshaft seal indicates need of replacement it should be removed and a new seal pressed into position in the housing A suitable socket pressing on outer diameter of seal may be used i r Fig 4 47 Pressing Bushing with J 1b14