Jeep Parts Wiki | Ford Parts Wiki
Home | Search | Browse
|
Corvair Chassis Shop Manual December 1964 |
|
Prev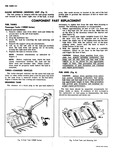
 Next
Next
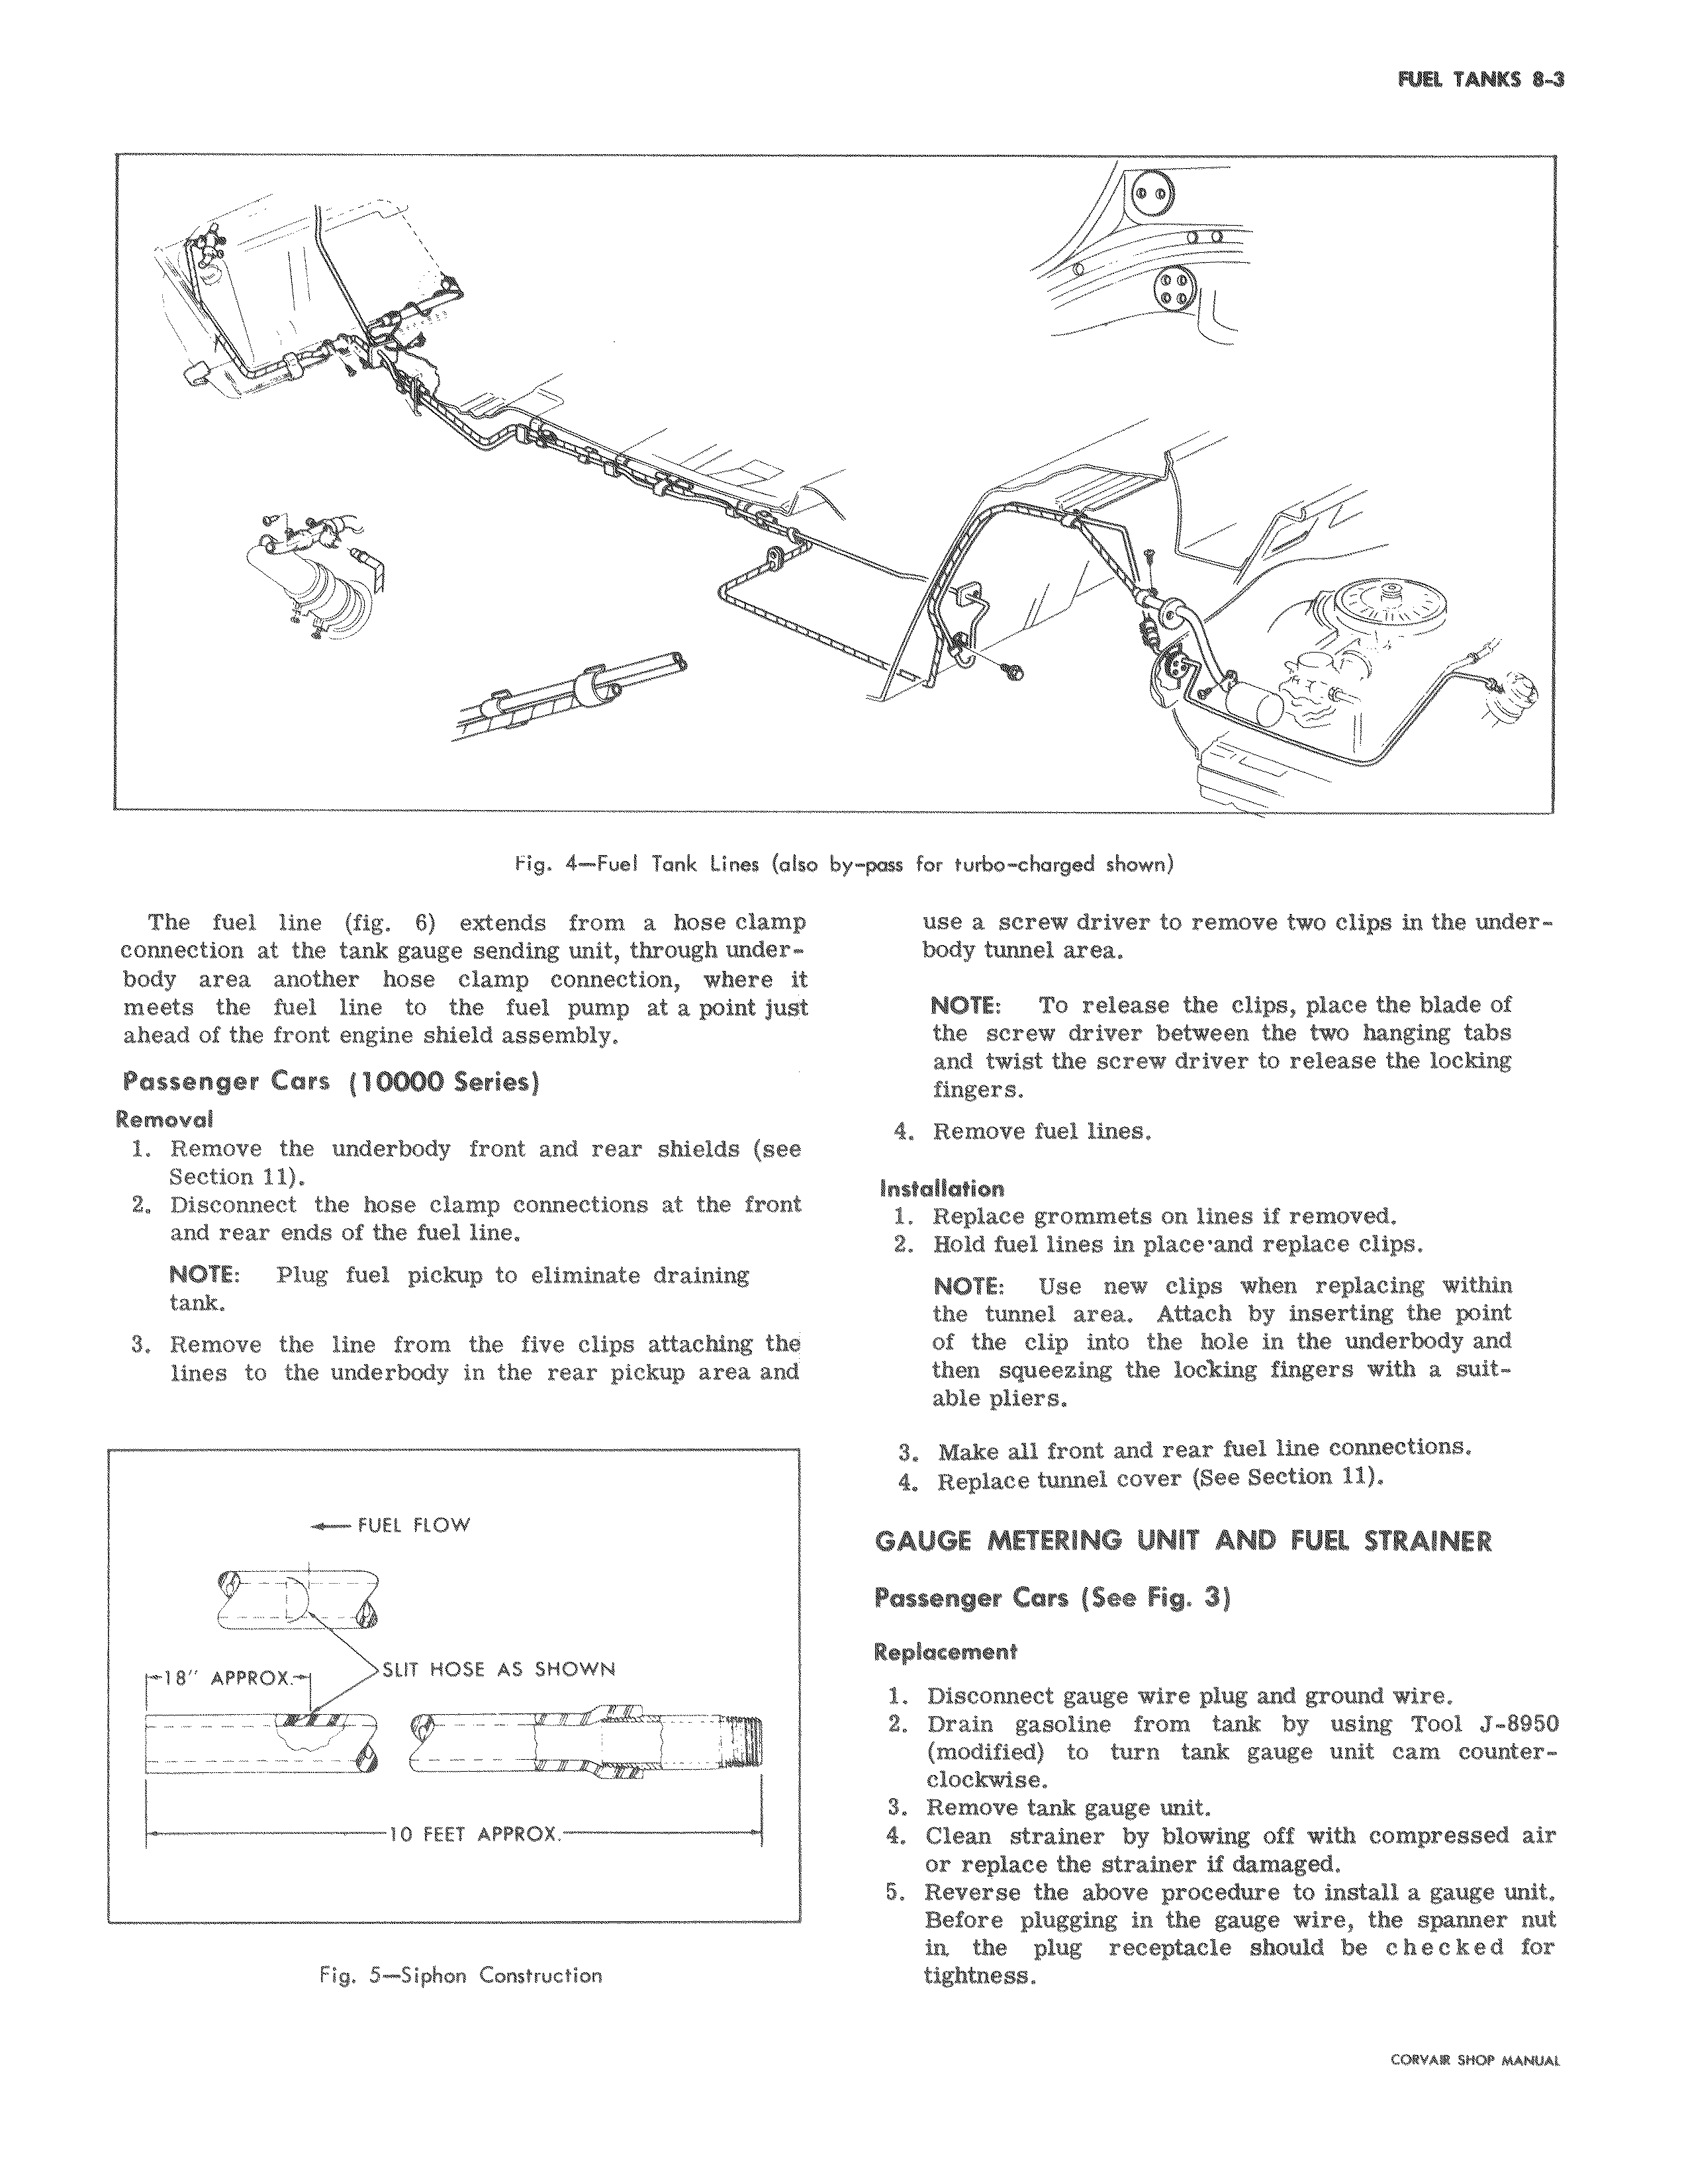
v Fig 4 Fuel Tank Lines als The fuel line fig 6 extends from a hose clamp connection at the tank gauge sending unit through underbody area another hose clamp connection where ii meets the fuel line to the fuel pump at a point jusi ahead of the front engine shield assembly Passenger Cars 10000 Series Removal 1 Remove the underbody front and rear shields see Section il 2 Disconnect the hose clamp connections at the front and rear ends of the fuel line NOTE Plug fuel pickup to eliminate draining tank 3 Remove the line from the five clips attaching the lines to the underbody in the rear pickup area and FUEL FLOW F 18 APPROX j SLIT HOSE AS SHOWN 10 FEET APPROX Fig 5 Siphon Construction e 0 o by pass for turbo charged shown use a screw driver to remove two clips in the underbody tunnel area NOTE To release the clips place the blade of the screw driver between the two hanging tabs and twist the screw driver to release the locking fingers 4 Remove fuel lines Installation 1 Replace grommets on lines if removed 2 Hold fuel lines in place and replace clips NOTE Use new clips when replacing within the tunnel area Attach by inserting the point of the clip into the hole in the underbody and then squeezing the locking fingers with a suitable pliers 3 Make all front and rear fuel line connections 4 Replace tunnel cover See Section 11 GAUGE METERING UNIT AND FUEL STRAINER Passenger Cars See Fig 3 Replacement 1 Disconnect gauge wire plug and ground wire 2 Drain gasoline from tank by using Tool J 8950 modified to turn tank gauge unit cam counterclockwise 3 Remove tank gauge unit 4 Clean strainer by blowing off with compressed air or replace the strainer if damaged 5 Reverse the above procedure to install a gauge unit Before plugging in the gauge wire the spanner nut in the plug receptacle should be checked for tightness GelV 517 w M1 1