Jeep Parts Wiki | Ford Parts Wiki
Home | Search | Browse | Marketplace | Messages | FAQ | Guest
|
Corvair Chassis Shop Manual December 1964 |
|
Prev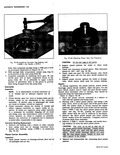
 Next
Next
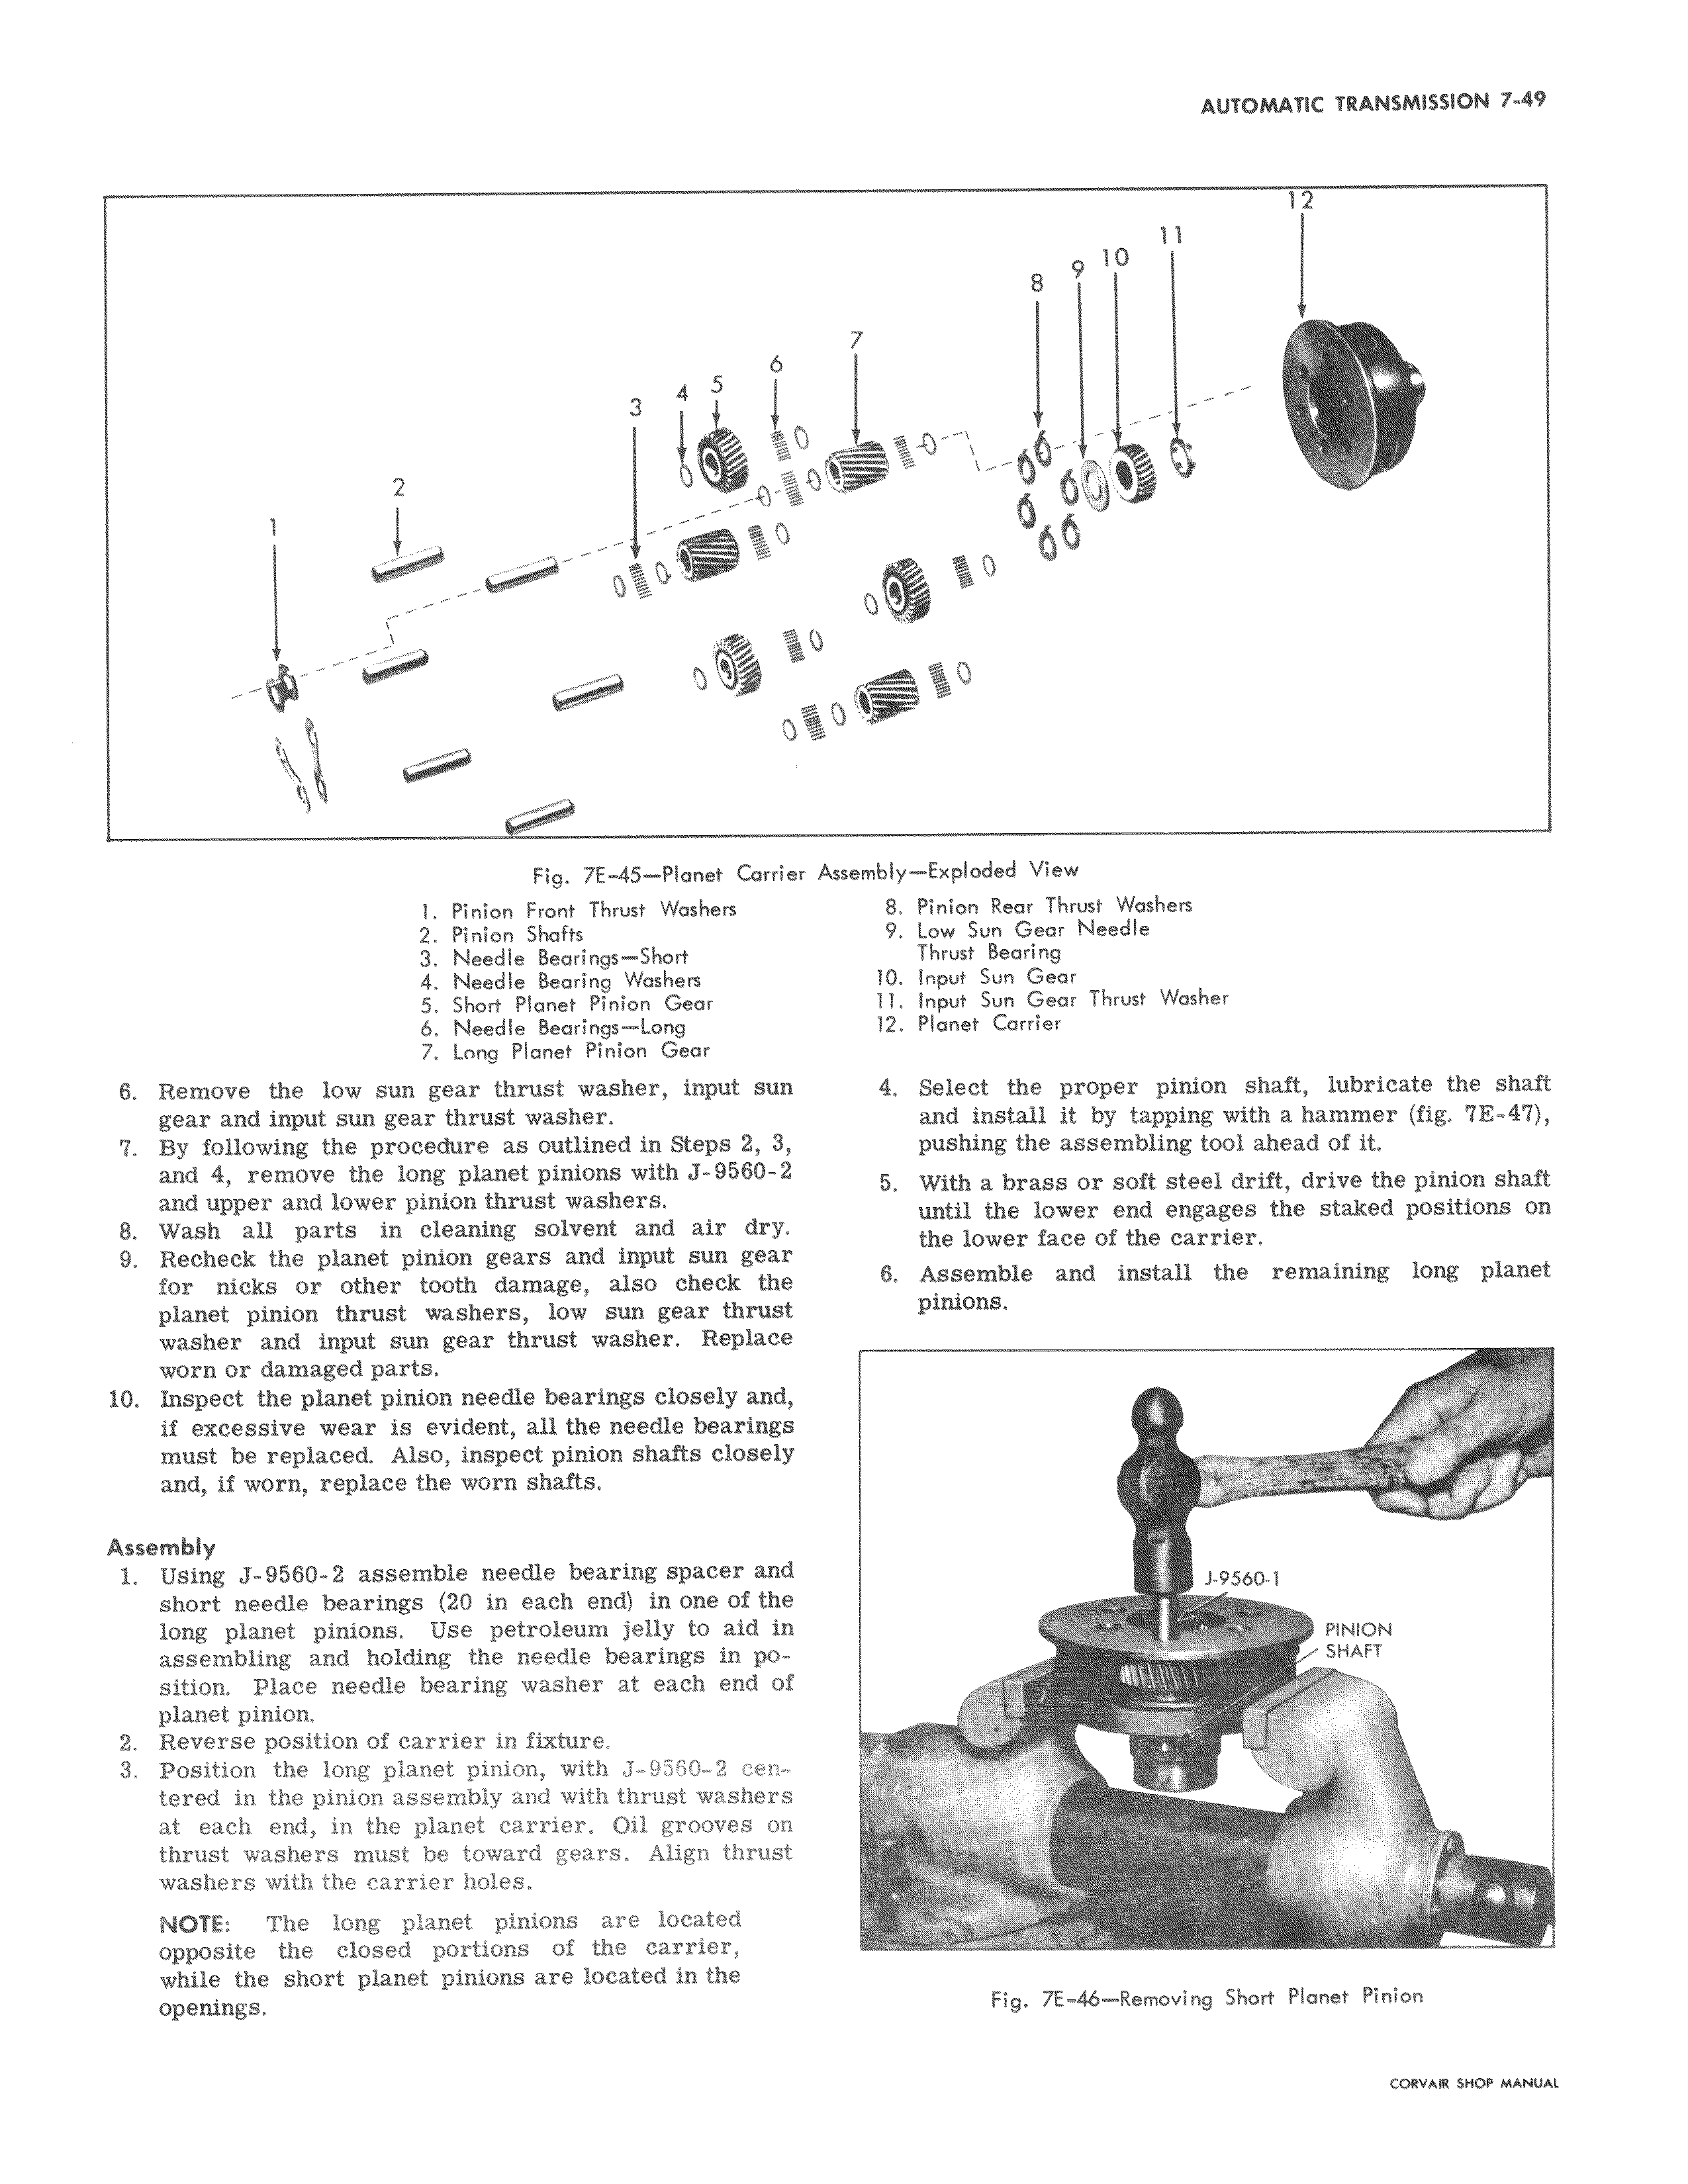
b 3 4 5 2 t D I Fig 7E 45 Planet Carriei 1 Pinion Front Thrust Washers 2 Pinion Shafts 3 Needle Bearings Short 4 Needle Bearing Washers 5 Short Planet Pinion Gear 6 Needle Bearings Long 7 Long Planet Pinion Gear 6 Remove the low sun gear thrust washer input sun gear and input sun gear thrust washer 7 By following the procedure as outlined in Steps 2 3 and 4 remove the long planet pinions with J 9560 2 and upper and lower pinion thrust washers 8 Wash all parts in cleaning solvent and air dry 9 Recheck the planet pinion gears and input sun gear for nicks or other tooth damage also check the planet pinion thrust washers low sun gear thrust washer and input sun gear thrust washer Replace worn or damaged parts 10 Inspect the planet pinion needle bearings closely and if excessive wear is evident all the needle bearings must be replaced Also inspect pinion shafts closely and if worn replace the worn shafts Assembly 1 Using J 9560 2 assemble needle bearing spacer and short needle bearings 20 in each end in one of the long planet pinions Use petroleum jelly to aid in assembling and holding the needle bearings in position Place needle bearing washer at each end of planet pinion 2 Reverse position of carrier in fixture 3 Position the long planet pinion with J 9550 2 centered in the pinion assembly and with thrust washers at each end in the planet carrier Oil grooves on thrust washers must be toward gears Align thrust washers with the carrier holes NOTE The long planet pinions are located opposite the closed portions of the carrier while the short planet pinions are located in the openings 1 r 12 a i v v sc W W v z e SHAFT Ann