Jeep Parts Wiki | Ford Parts Wiki
Home | Search | Browse
|
Corvair Chassis Shop Manual December 1964 |
|
Prev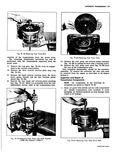
 Next
Next
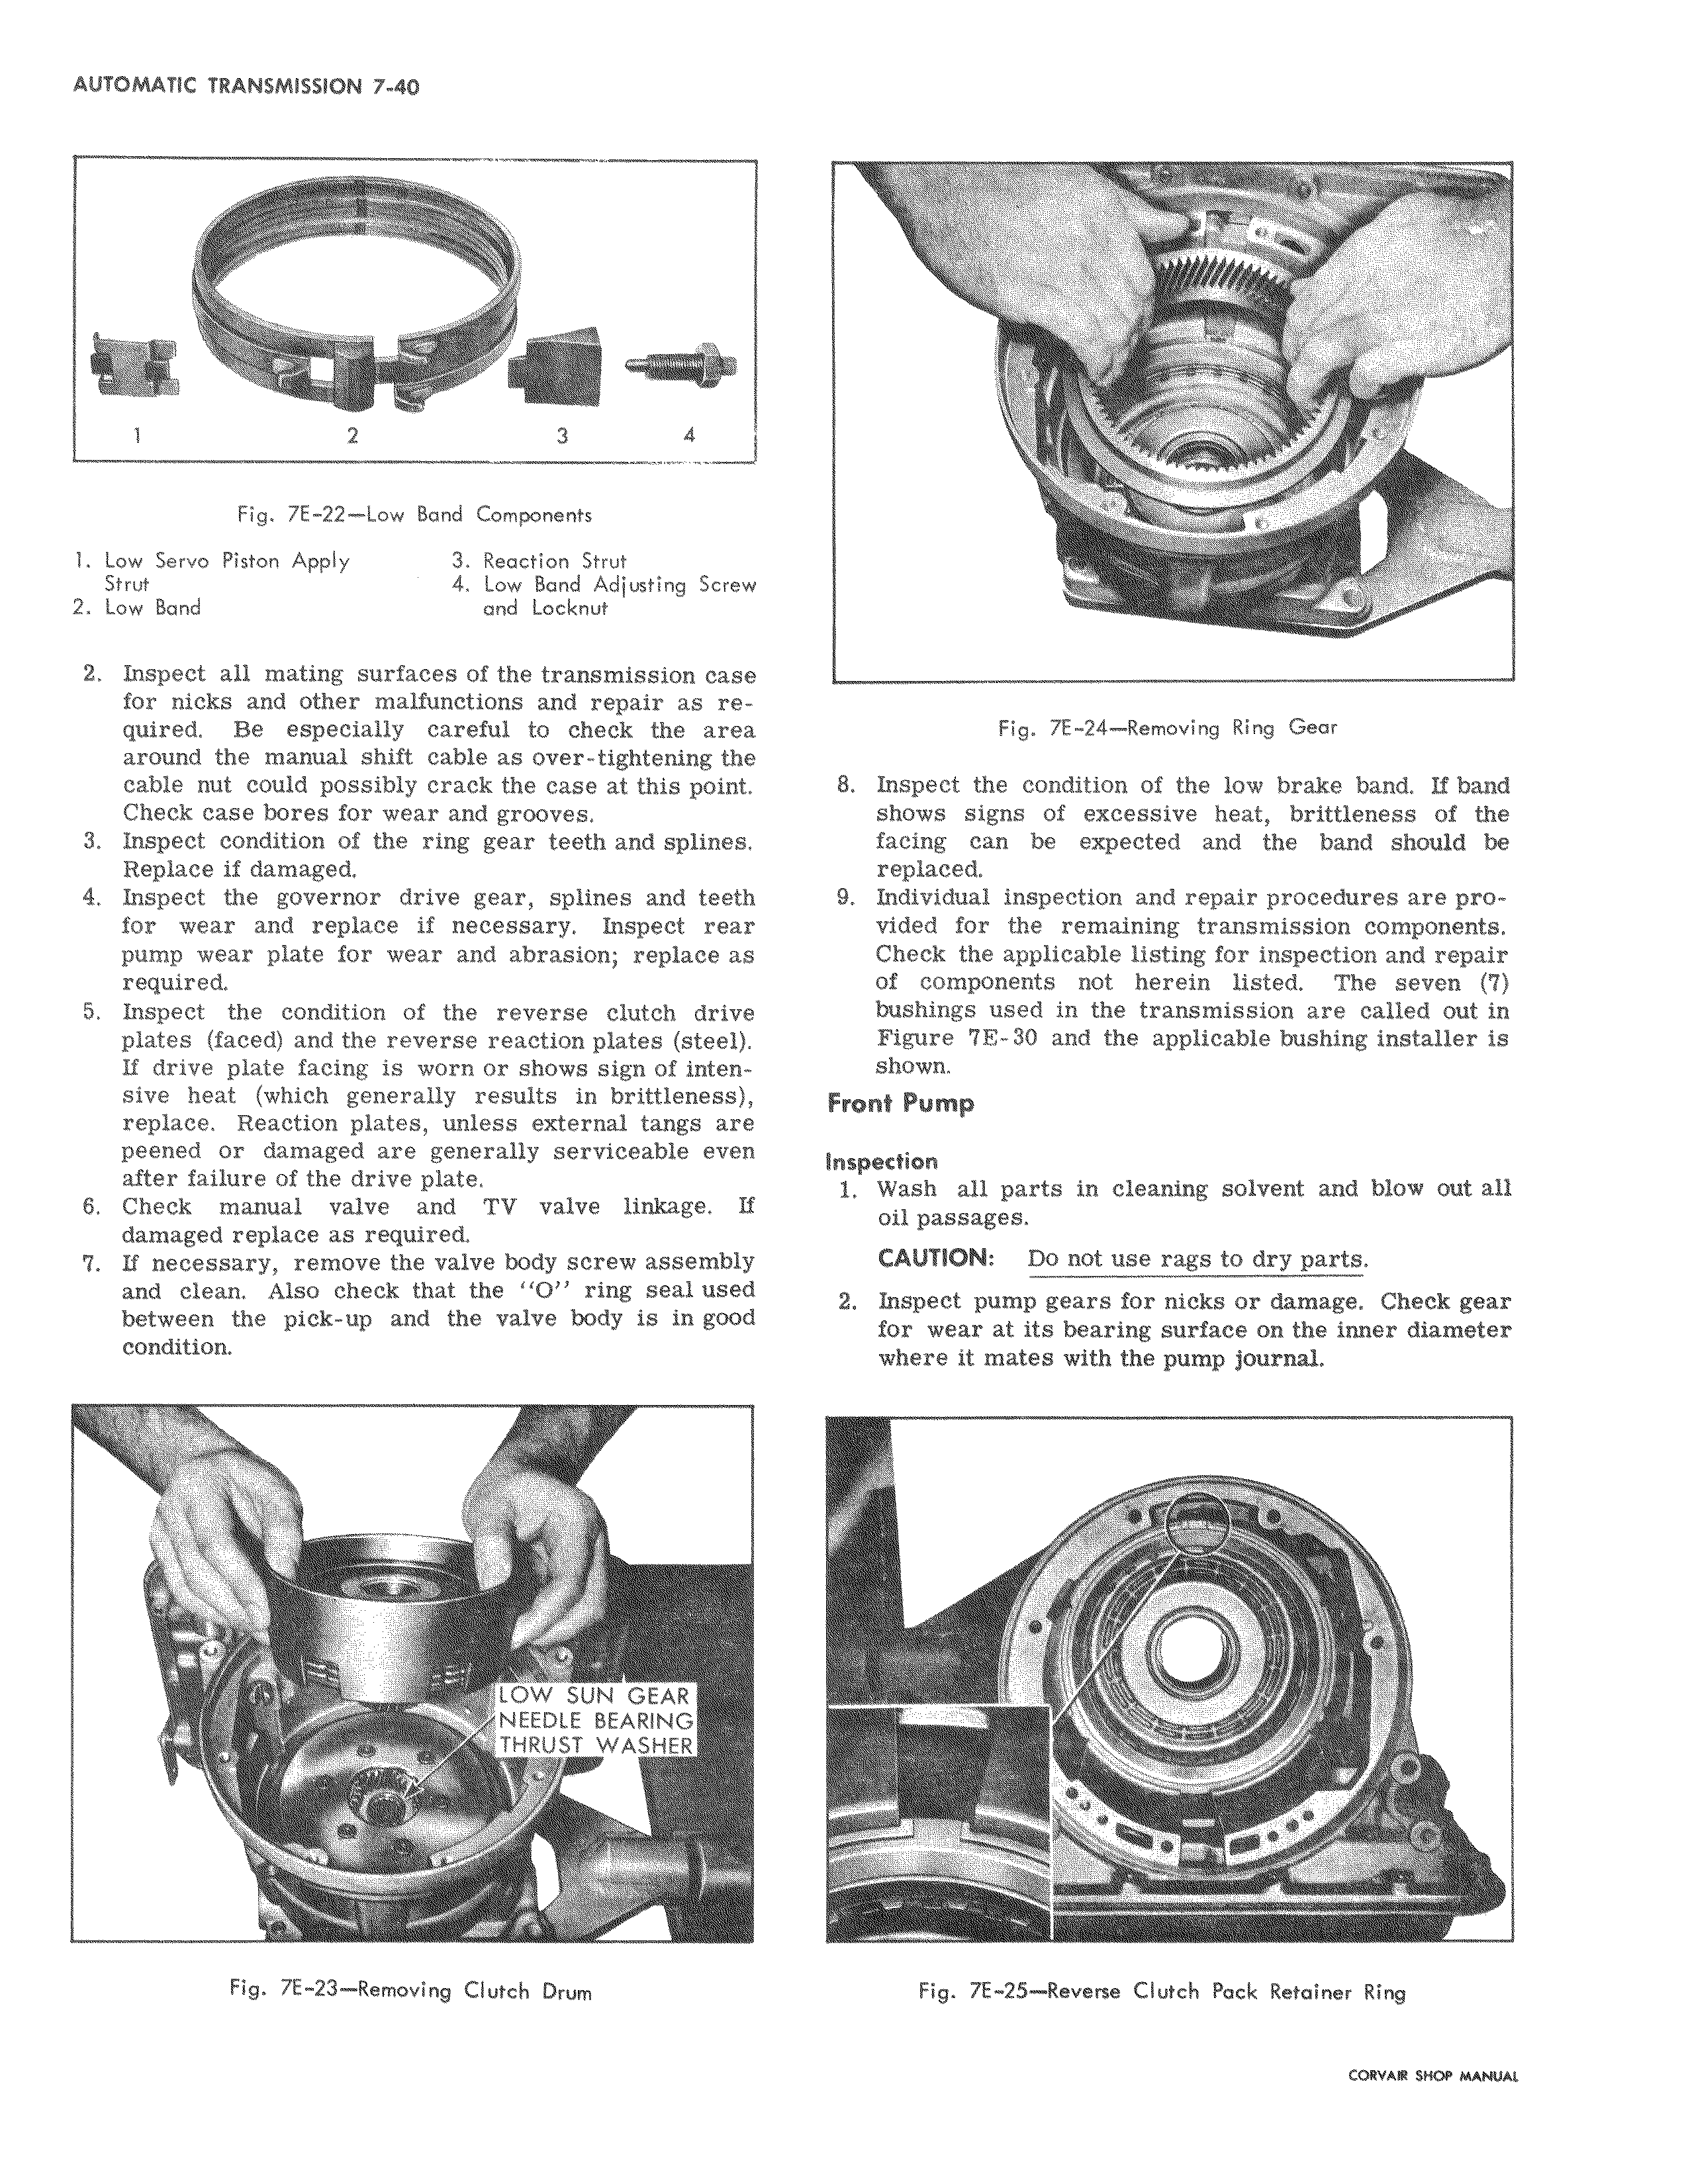
48 2 3 4 Fig 7E 22 Low Band Components 1 Low Servo Piston Apply 3 Reaction Strut Strut 4 Low Band Adjusting Scre 2 Low Band and Locknut 1 2 Inspect all mating surfaces of the transmission ca e for nicks and other malfunctions and repair as r quired Be especially careful to check the area around the manual shift cable as over tightening the cable nut could possibly crack the case at this poin Check case bores for wear and grooves 3 Inspect condition of the ring gear teeth and splines Replace if damaged i 4 Inspect the governor drive gear splines and tee for wear and replace if necessary Inspect rear pump wear plate for wear and abrasion replace as required i 5 Inspect the condition of the reverse clutch dri e plates faced and the reverse reaction plates steel If drive plate facing is worn or shows sign of inte sl sive heat which generally results in brittlene s replace Reaction plates unless external tangs I peened or damaged are generally serviceable even after failure of the drive plate 6 Check manual valve and TV valve linkage if damaged replace as required 7 If necessary remove the valve body screw assembly and clean Also check that the 110 ring seal us d between the pick up and the valve body is in g condition L NEEDLE BEARING THRUST WASHER Fig 7E 23 Removing Clutch Drum NIL Fig 7E 24 Removing Ring Gear 8 Inspect the condition of the low brake band If band shows signs of excessive heat brittleness of the facing can be expected and the band should be replaced 9 Individual inspection and repair procedures are provided for the remaining transmission components Check the applicable listing for inspection and repair of components not herein listed The seven 7 buAhings used in the transmission are called out in Figure 7E 30 and the applicable bushing installer is shown Front Pump inspection I Wash all parts in cleaning solvent and blow out all od passages CAUTION Do not use rags to dry parts 2 Inspect pump gears for nicks or damage Cheek gear for wear at its bearing surface on the inner diameter where it mates with the pump journal Fig 7E 25 Reverse Clutch Pock Retainer Ring