Jeep Parts Wiki | Ford Parts Wiki
Home | Search | Browse
Prev
 Next
Next
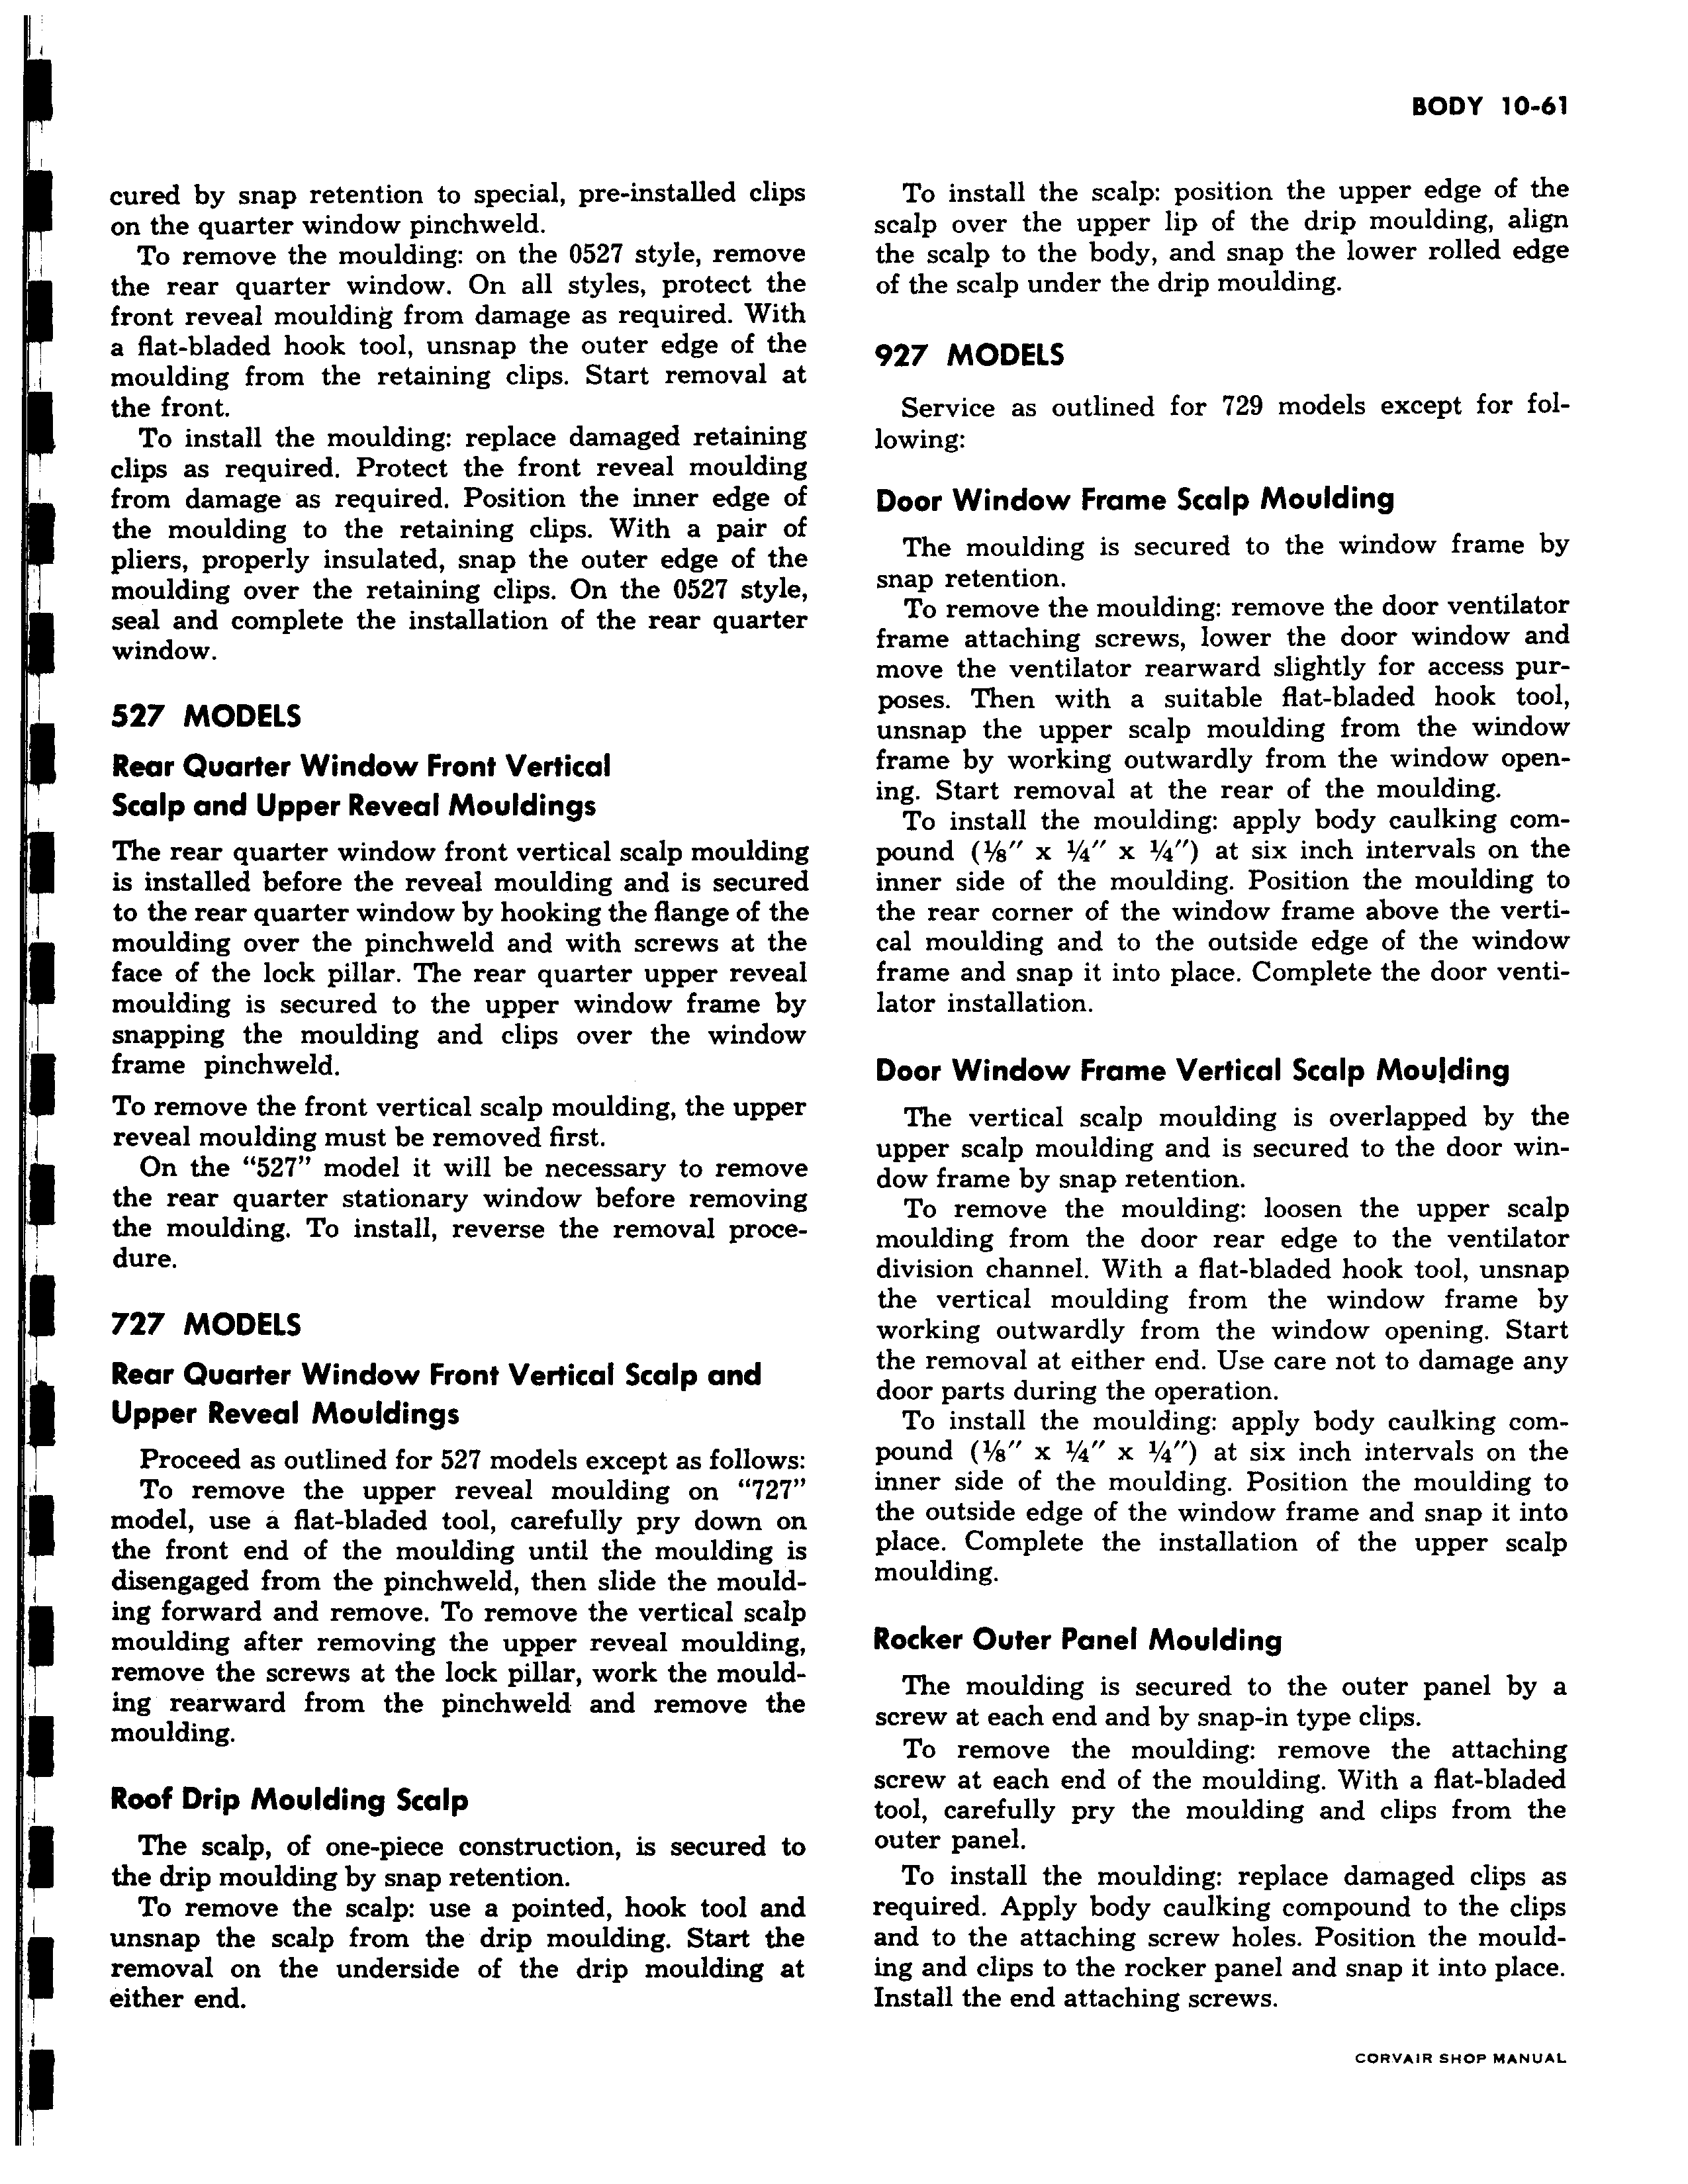
cured by snap retention to special pre installed clips on the quarter window pinchweld To remove the moulding on the 0527 style remove the rear quarter window On all styles protect the front reveal moulding from damage as required With a flat bladed hook tool unsnap the outer edge of the moulding from the retaining clips Start removal at the front To install the moulding replace damaged retaining clips as required Protect the front reveal moulding from damage as required Position the inner edge of the moulding to the retaining clips With a pair ol pliers properly insulated snap the outer edge of the moulding over the retaining clips On the 0527 style seal and complete the installation of the rear quarter window 527 MODELS Rear Quarter Window Front Vertical Scalp and Upper Reveal Mouldings The rear quarter window front vertical scalp mouldin is installed before the reveal moulding and is securec to the rear quarter window by hooking the flange of the moulding over the pinchweld and with screws at the face of the lock pillar The rear quarter upper reveal moulding is secured to the upper window frame by snapping the moulding and clips over the window frame pinchweld To remove the front vertical scalp moulding the upper reveal moulding must be removed first On the 527 model it will be necessary to remove the rear quarter stationary window before removing the moulding To install reverse the removal procedure I 727 MODELS Rear Quarter Window Front Vertical Scalp and Upper Reveal Mouldings s Proceed as outlined for 527 models except as follows To remove the upper reveal moulding on 27 model use a flat bladed tool carefully pry down on the front end of the moulding until the moulding is disengaged from the pinchweld then slide the mould ing forward and remove To remove the vertical scalp moulding after removing the upper reveal moulding remove the screws at the lock pillar work the moulding rearward from the pinchweld and remove the moulding Roof Drip Moulding Scalp The scalp of one piece construction is secured to the drip moulding by snap retention To remove the scalp use a pointed hook tool and I unsnap the scalp from the drip moulding Start the removal on the underside of the drip moulding at either end To install the scalp position the upper edge of the scalp over the upper lip of the drip moulding align the scalp to the body and snap the lower rolled edge of the scalp under the drip moulding 927 MODELS Service as outlined for 729 models except for following Door Window Frame Scalp Moulding The moulding is secured to the window frame by snap retention To remove the moulding remove the door ventilator frame attaching screws lower the door window and move the ventilator rearward slightly for access purposes Then with a suitable flat bladed hook tool unsnap the upper scalp moulding from the window frame by working outwardly from the window opening Start removal at the rear of the moulding To install the moulding apply body caulking compound 1 s x 1 4 x 1 4 at six inch intervals on the inner side of the moulding Position the moulding to the rear corner of the window frame above the vertical moulding and to the outside edge of the window frame and snap it into place Complete the door ventilator installation Door Window Frame Vertical Scalp Moulding The vertical scalp moulding is overlapped by the upper scalp moulding and is secured to the door window frame by snap retention To remove the moulding loosen the upper scalp moulding from the door rear edge to the ventilator division channel With a flat bladed hook tool unsnap the vertical moulding from the window frame by working outwardly from the window opening Start the removal at either end Use care not to damage any door parts during the operation To install the moulding apply body caulking compound 1 s x 1 4 x 1 4 at six inch intervals on the inner side of the moulding Position the moulding to the outside edge of the window frame and snap it into place Complete the installation of the upper scalp moulding Rocker Outer Panel Moulding The moulding is secured to the outer panel by a screw at each end and by snap in type clips To remove the moulding remove the attaching screw at each end of the moulding With a flat bladed tool carefully pry the moulding and clips from the outer panel To install the moulding replace damaged clips as required Apply body caulking compound to the clips and to the attaching screw holes Position the moulding and clips to the rocker panel and snap it into place Install the end attaching screws