Jeep Parts Wiki | Ford Parts Wiki
Home | Search | Browse
Prev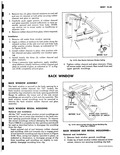
 Next
Next
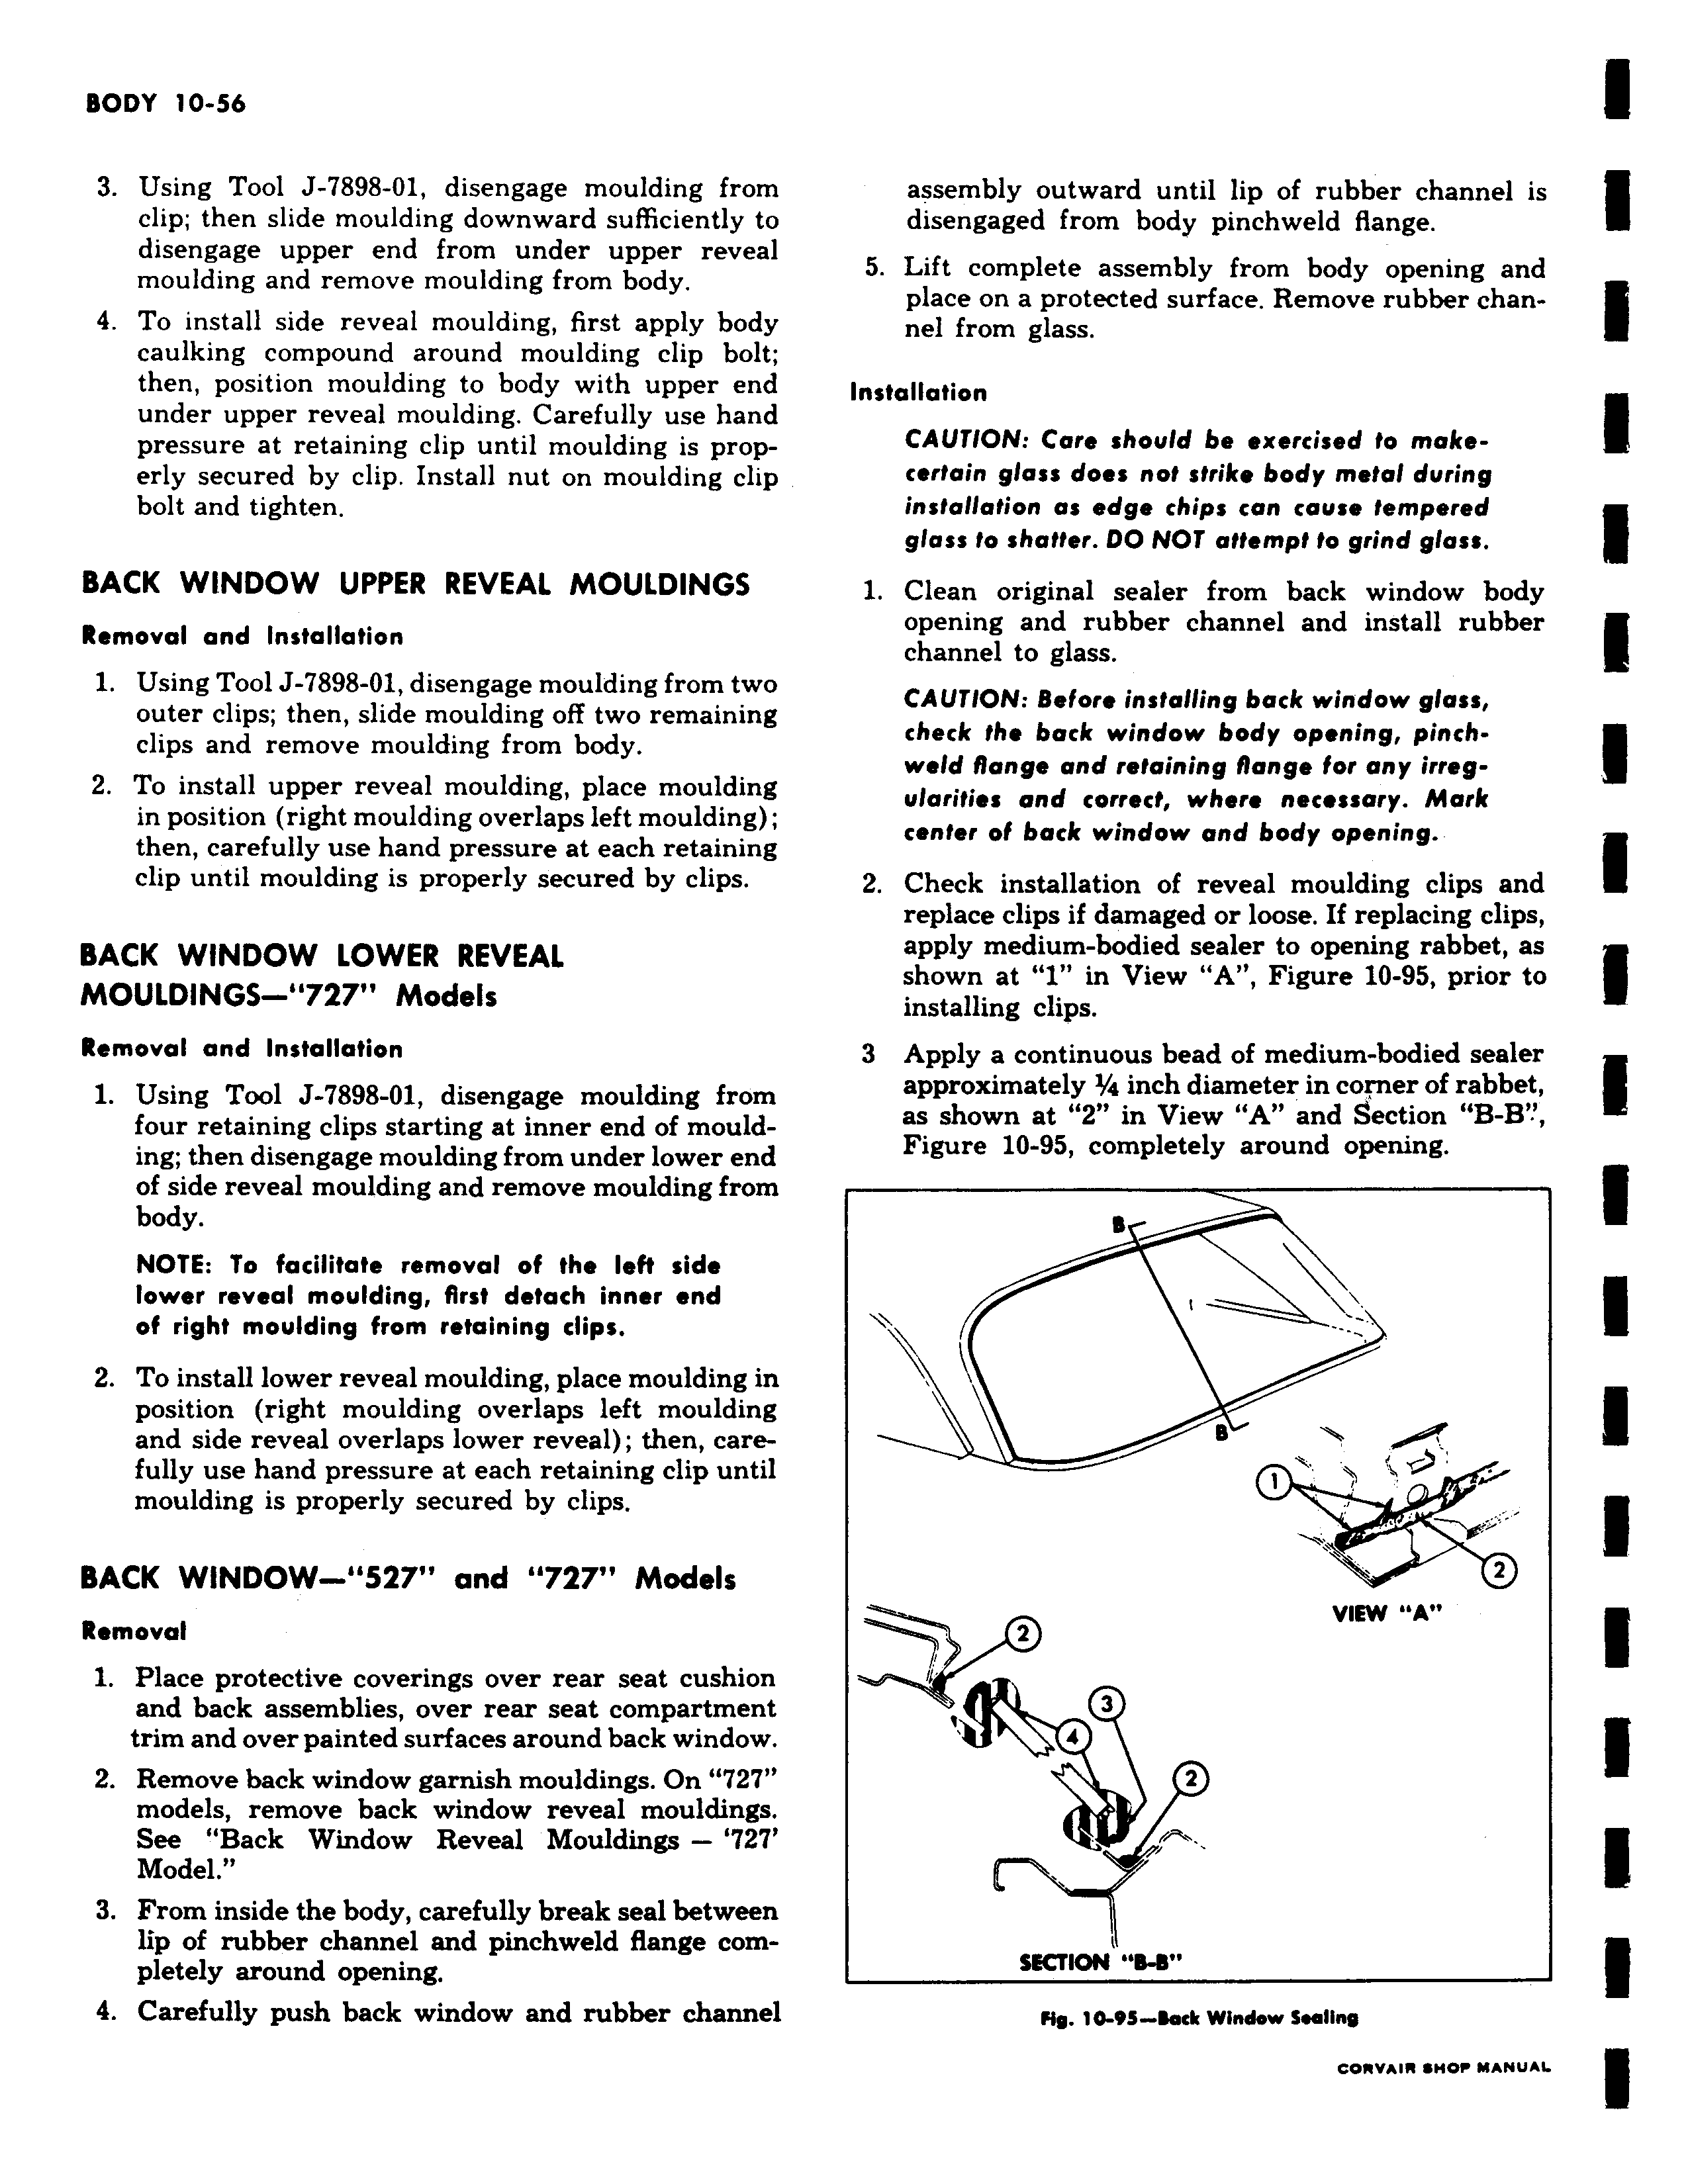
3 Using Tool J 7898 01 disengage moulding from clip then slide moulding downward sufficiently to disengage upper end from under upper reveal moulding and remove moulding from body 4 To install side reveal moulding first apply body caulking compound around moulding clip bolt then position moulding to body with upper end under upper reveal moulding Carefully use hand pressure at retaining clip until moulding is properly secured by clip Install nut on moulding clip bolt and tighten BACK WINDOW UPPER REVEAL MOULDINGS Removal and Installation 1 Using Tool J 7898 O1 disengage moulding from two outer clips then slide moulding off two remaining clips and remove moulding from body 2 To install upper reveal moulding place moulding in position right moulding overlaps left moulding then carefully use hand pressure at each retaining clip until moulding is properly secured by clips BACK WINDOW LOWER REVEAL MOULDINGS 727 Models Removal and Installation 1 Using Tool J 7898 O1 disengage moulding from four retaining clips starting at inner end of moulding then disengage moulding from under lower end of side reveal moulding and remove moulding from body NOTE To facilitate removal of the left side lower reveal moulding first detach inner end of right moulding from retaining dips 2 To install lower reveal moulding place moulding in position right moulding overlaps left moulding and side reveal overlaps lower reveal then carefully use hand pressure at each retaining clip until moulding is properly secured by clips BACK WINDOW 527 and 727 Models Removal 1 Place protective coverings over rear seat cushion and back assemblies over rear seat compartment trim and over painted surfaces around back window 2 Remove back window garnish mouldings On 727 models remove back window reveal mouldings See Back Window Reveal Mouldings 727 Model 3 From inside the body carefully break seal between lip of rubber channel and pinchweld flange completely around opening 4 Carefully push back window and rubber channel assembly outward until lip of rubber channel is disengaged from body pinchweld flange 5 Lift complete assembly from body opening and place on a protected surface Remove rubber channel from glass Installation CAUTION Care should be exercised to makecertain glass does not strike body metal during installation as edge chips can cause tempered glass to shatter DO NOT attempt to grind glass 1 Clean original sealer from back window body opening and rubber channel and install rubber channel to glass CAUTION Before installing back window glass check the back window body opening pinchweld flange and retaining flange for any irregularities and correct where necessary Mark center of back window and body opening 2 Check installation of reveal moulding clips and replace clips if damaged or loose If replacing clips apply medium bodied sealer to opening rabbet as shown at 1 in View A Figure 10 95 prior to installing clips 3 Apply a continuous bead of medium bodied sealer approximately 1Ya inch diameter in corner of rabbet as shown at 2 in View A and Section B B Figure 10 95 completely around opening s v e r 2 VIEW A 2 3 4 2 SECTION Fig 10 95 beck Window soalino