Jeep Parts Wiki | Ford Parts Wiki
Home | Search | Browse | Marketplace | Messages | FAQ | Guest
Prev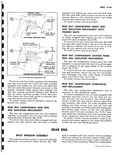
 Next
Next
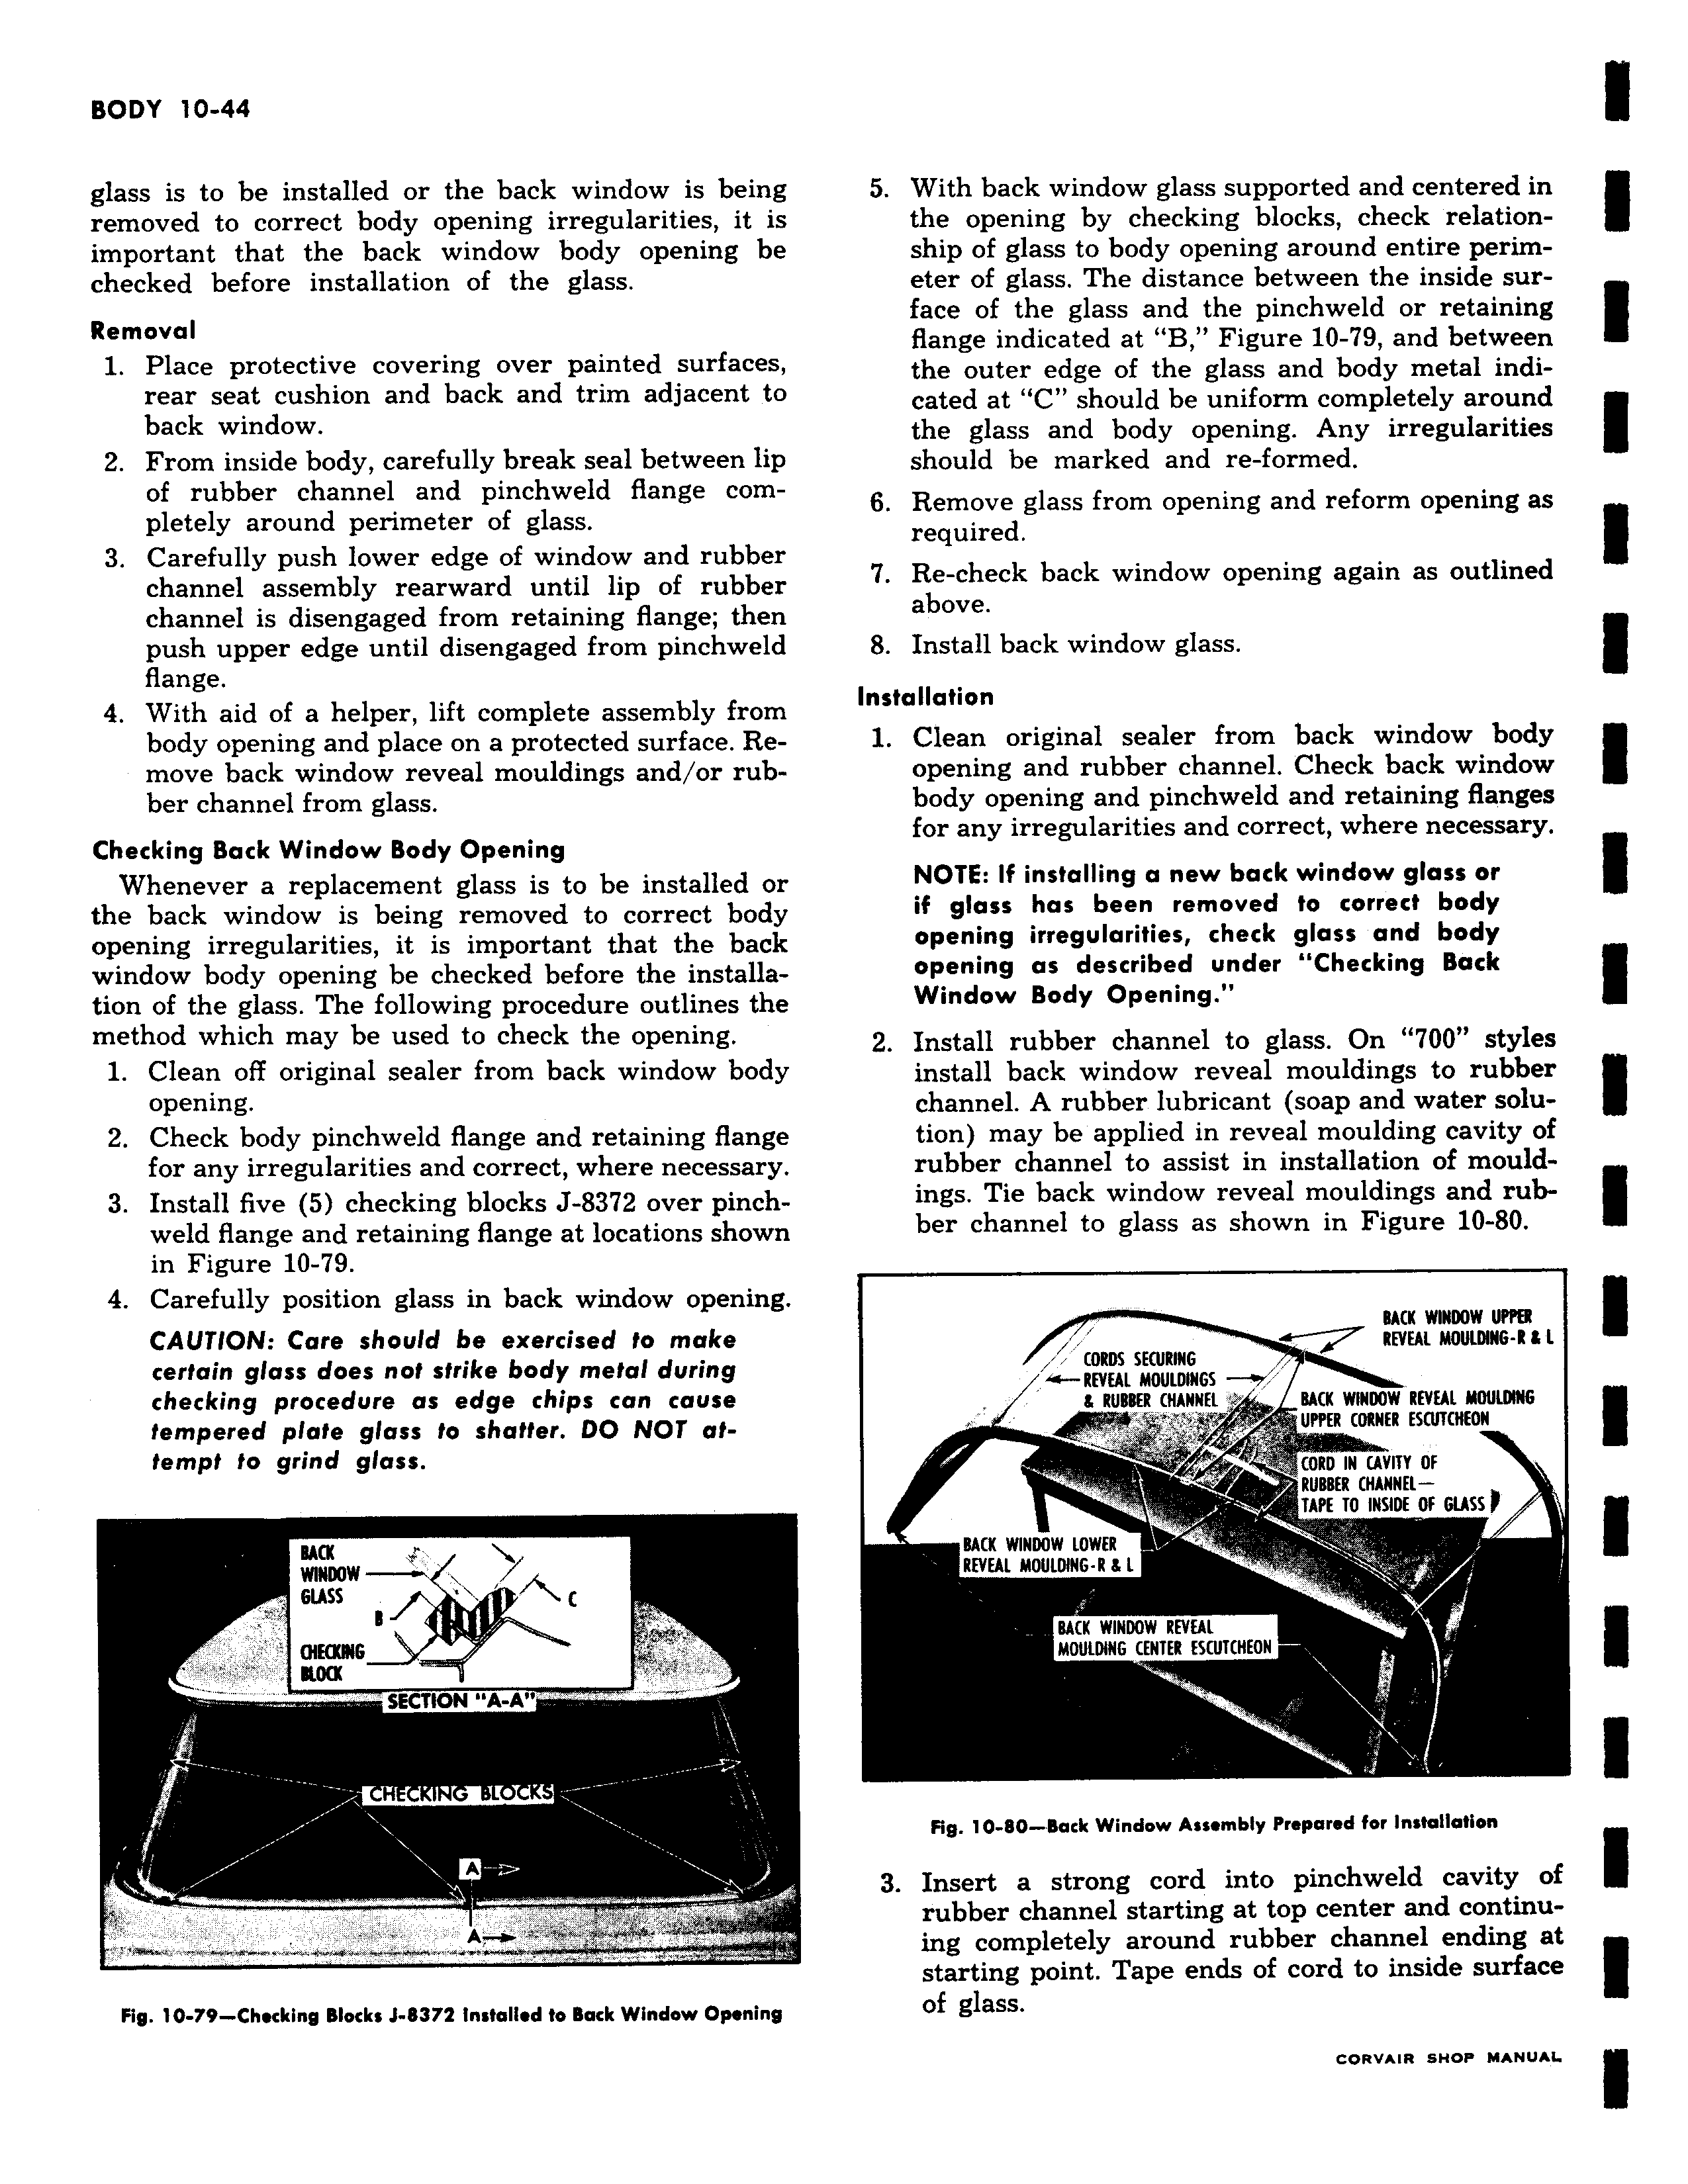
glass is to be installed or the back window is being removed to correct body opening irregularities it is important that the back window body opening be checked before installation of the glass Removal 1 Place protective covering over painted surfaces rear seat cushion and back and trim adjacent to back window 2 From inside body carefully break seal between lip of rubber channel and pinchweld flange completely around perimeter of glass 3 Carefully push lower edge of window and rubber channel assembly rearward until lip of rubber channel is disengaged from retaining flange then push upper edge until disengaged from pinchweld flange 4 With aid of a helper lift complete assembly from body opening and place on a protected surface Remove back window reveal mouldings and or rubber channel from glass Checking Back Window Body Opening Whenever a replacement glass is to be installed or the back window is being removed to correct body opening irregularities it is important that the back window body opening be checked before the installation of the glass The following procedure outlines the method which may be used to check the opening 1 Clean off original sealer from back window body opening 2 Check body pinchweld flange and retaining flange for any irregularities and correct where necessary 3 Install five 5 checking blocks J 8372 over pinchweld flange and retaining flange at locations shown in Figure 10 79 4 Carefully position glass in back window opening CAUTION Care should 6e exercised to make certain glass does not strike body metal during checking procedure as edge chips can cause tempered plate glass to shatter DO NOT attempt to grind glass BACK r SS W GLASS C R CHECKING SLOa SECTION Iln A r Fig 10 79 Checking Blocks J 8374 Installed to Back Window Opening 5 With back window glass supported and centered in the opening by checking blocks check relationship of glass to body opening around entire perimeter of glass The distance between the inside surface of the glass and the pinchweld or retaining flange indicated at B Figure 10 79 and between the outer edge of the glass and body metal indicated at C should be uniform completely around the glass and body opening Any irregularities should be marked and re formed 6 Remove glass from opening and reform opening as required 7 Re check back window opening again as outlined above 8 Install back window glass Installation 1 Clean original sealer from back window body opening and rubber channel Check back window body opening and pinchweld and retaining flanges for any irregularities and correct where necessary NOTE If installing a new back window glass or if glass has been removed to correct body opening irregularities check glass and body opening as described under Checking Back Window Body Opening 2 Install rubber channel to glass On 700 styles install back window reveal mouldings to rubber channel A rubber lubricant soap and water solu tion may be applied in reveal moulding cavity of rubber channel to assist in installation of mouldings Tie back window reveal mouldings and rubber channel to glass as shown in Figure 10 80 RACK WINDOW UPPER CORDS SECURING REVEAL MOULDING 11 i L REVEAL MOULDINGS 3 RUBBER CHANNEL BACK WINDOW REVEAL MOULDING UPPER CORNER ESCUTCHEON CORD IN CAVITY OF RUBBER CHANNEL iAPE TO INSIDE OF GLASS BACK WINDOW LOWER REVEAL MOULDING R 3 L BACK WINDOW REVEAL r MOULDING CENTER ESCUTCHEON Fig 10 80 Back Window Assembly Prepared for Installation 3 Insert a strong cord into pinchweld cavity of rubber channel starting at top center and continuing completely around rubber channel ending at starting point Tape ends of cord to inside surface of glass e e e ww