Jeep Parts Wiki | Ford Parts Wiki
Home | Search | Browse
Prev

 Next
Next
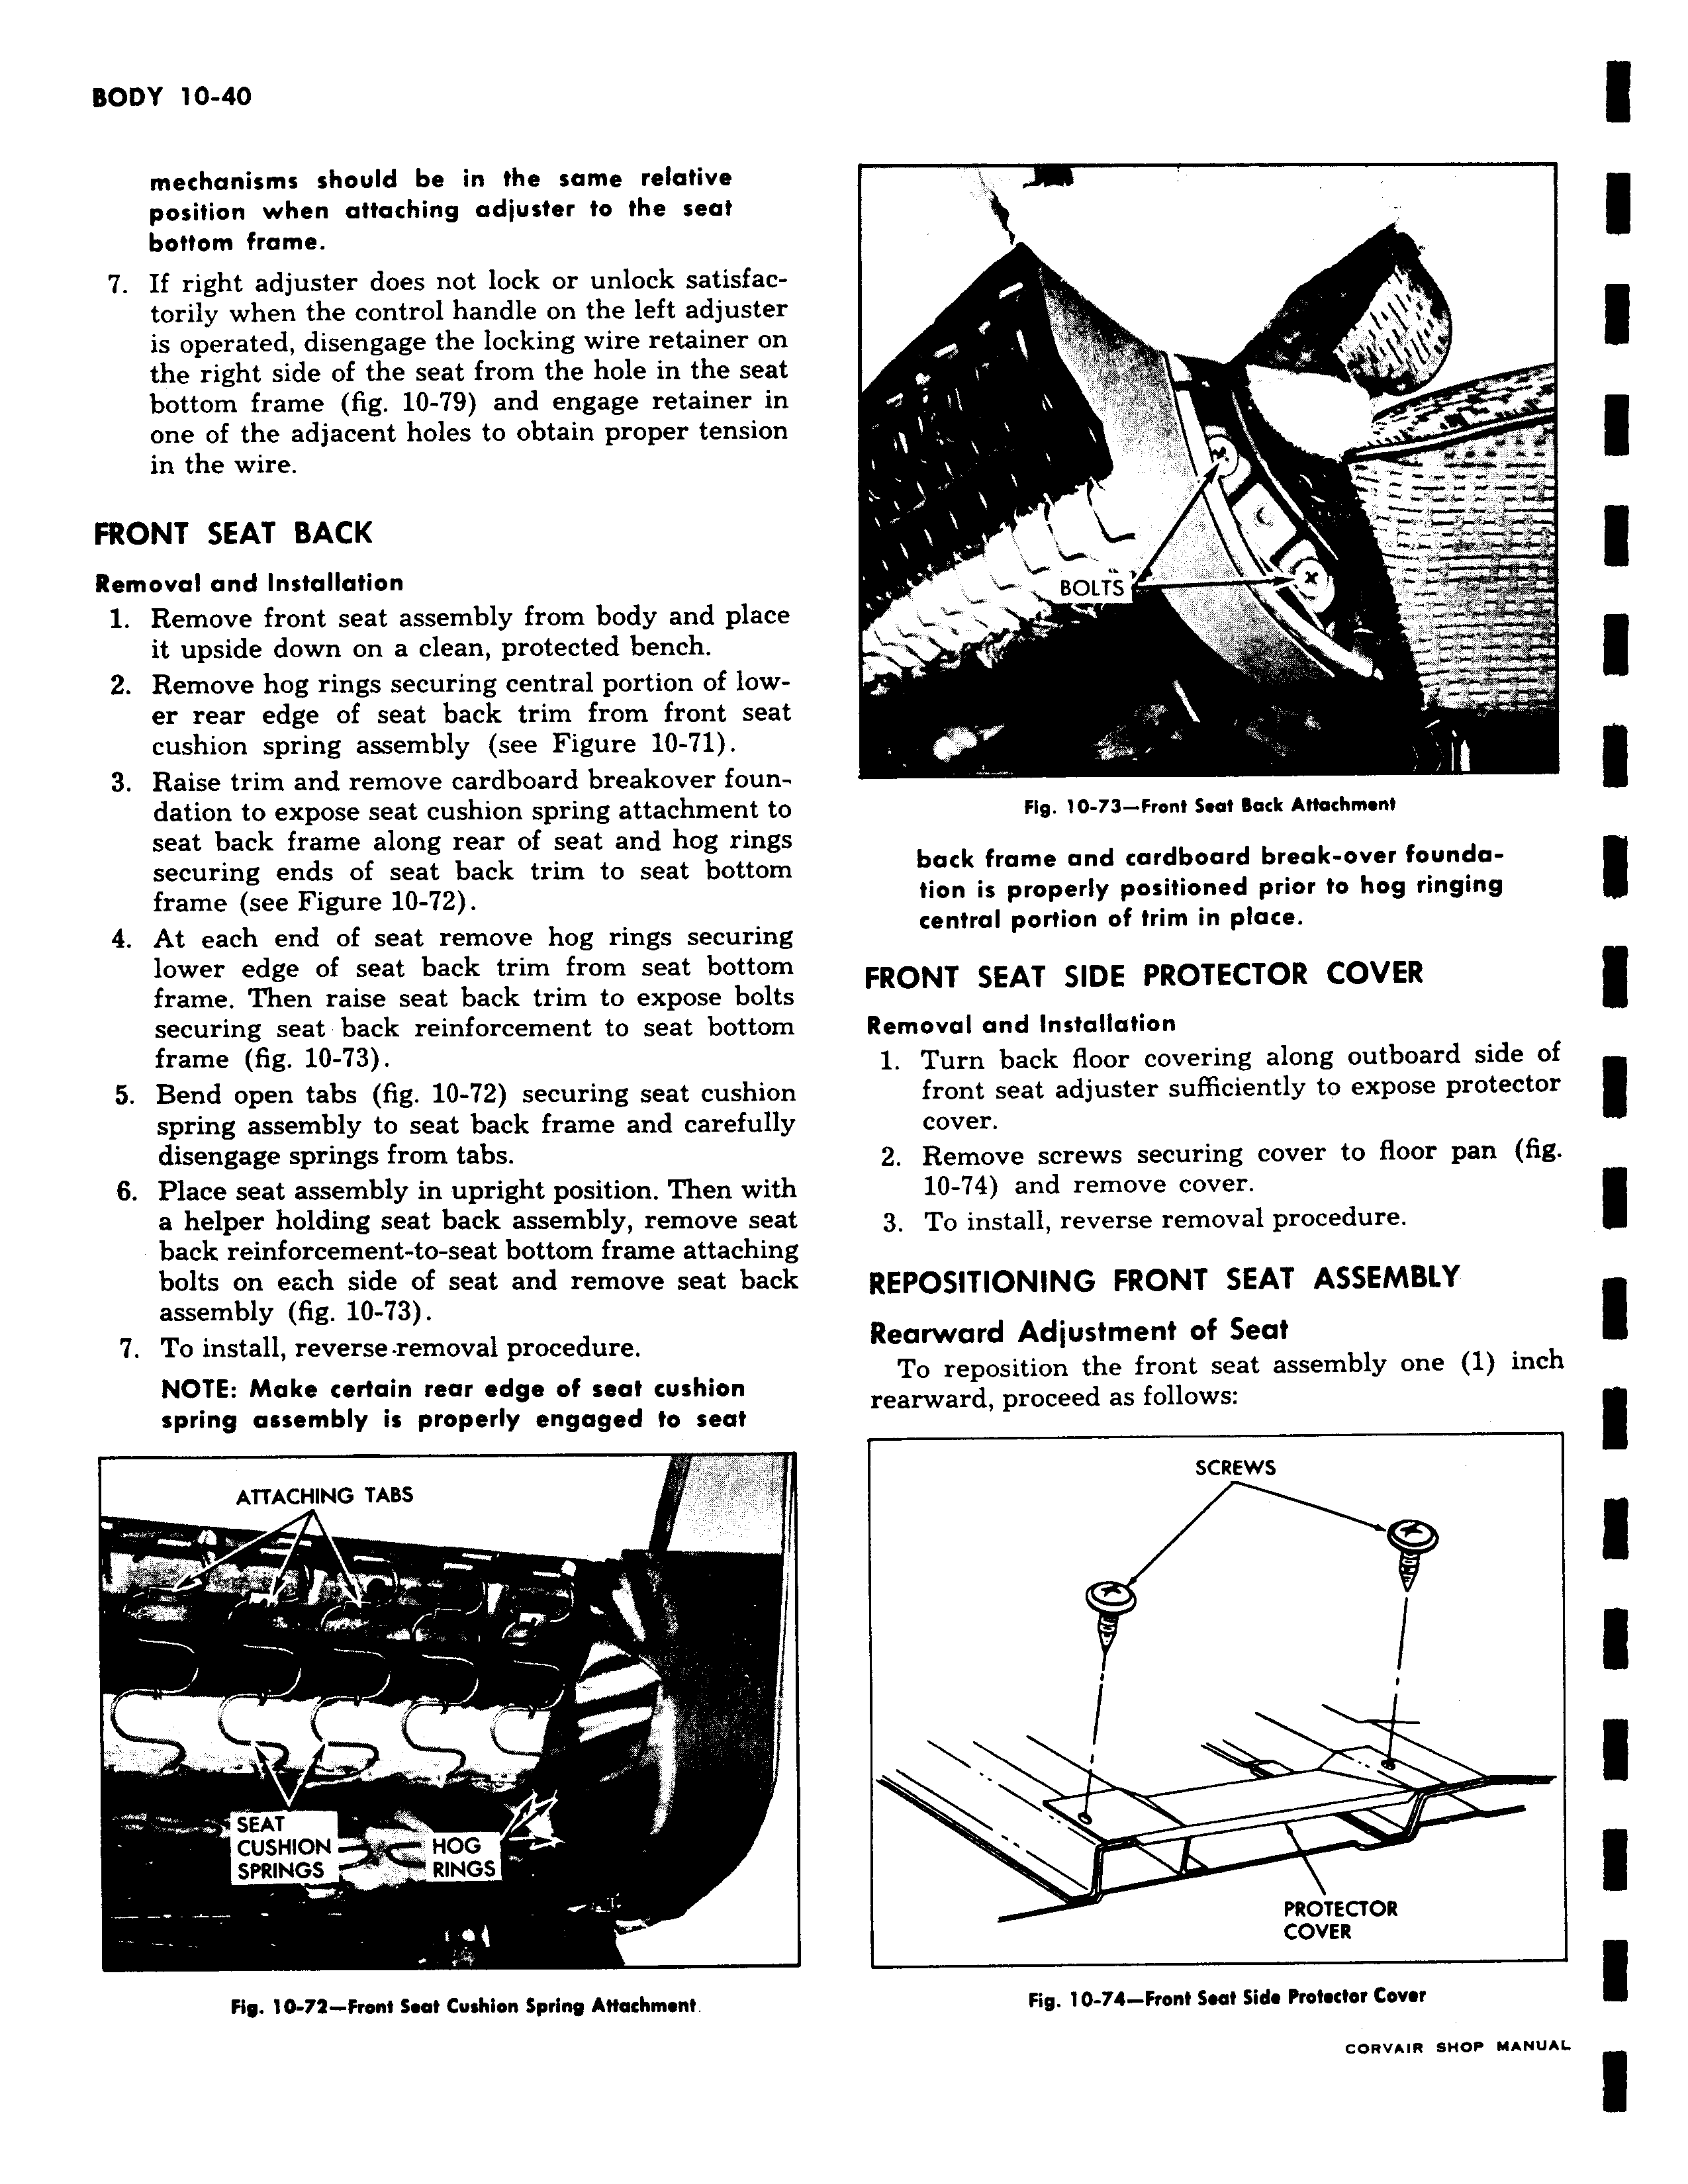
mechanisms should be in the same relative position when attaching adjuster to the seat bottom frame 7 If right adjuster does not lock or unlock satisfactorily when the control handle on the left adjuster is operated disengage the locking wire retainer on the right side of the seat from the hole in the seat bottom frame fig 10 79 and engage retainer in one of the adjacent holes to obtain proper tension in the wire FRONT SEAT BACK Removal and Installation 1 Remove front seat assembly from body and place it upside down on a clean protected bench 2 Remove hog rings securing central portion of lower rear edge of seat back trim from front seat cushion spring assembly see Figure 10 71 3 Raise trim and remove cardboard breakover foundation to expose seat cushion spring attachment to seat back frame along rear of seat and hog rings securing ends of seat back trim to seat bottom frame see Figure 10 72 4 At each end of seat remove hog rings securing lower edge of seat back trim from seat bottom frame Then raise seat back trim to expose bolts securing seat back reinforcement to seat bottom frame fig 10 73 5 Bend open tabs fig 10 72 securing seat cushion spring assembly to seat back frame and carefully disengage springs from tabs 6 Place seat assembly in upright position Then with a helper holding seat back assembly remove seat back reinforcement to seat bottom frame attaching bolts on each side of seat and remove seat back assembly fig 10 73 7 To install reverse removal procedure NOTE Make certain rear edge of seat cushion spring assembly is properly engaged to seat ATTACHING TABS SEAT CUSHION HOG SPRINGS RINGS Fig 10 72 Front Seat Cushion Spring Attachment t a r JIM BOLTS t Y Fig 10 73 Front Seat Back Attachment back frame and cardboard break over foundation is properly positioned prior to hog ringing central portion of trim in place FRONT SEAT SIDE PROTECTOR COVER Removal and Installation 1 Turn back floor covering along outboard side of front seat adjuster sufficiently to expose protector cover 2 Remove screws securing cover to floor pan fig 10 74 and remove cover 3 To install reverse removal procedure REPOSITIONING FRONT SEAT ASSEMBLY Rearward Adjustment of Seat To reposition the front seat assembly one 1 inch rearward proceed as follows SCREWS I PROTECTOR COVER Fig 10 74 Front Seat Side Protector Cover CORVAIR SHOP MANUAL

 Next
Next