Jeep Parts Wiki | Ford Parts Wiki
Home | Search | Browse
Prev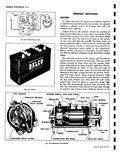
 Next
Next
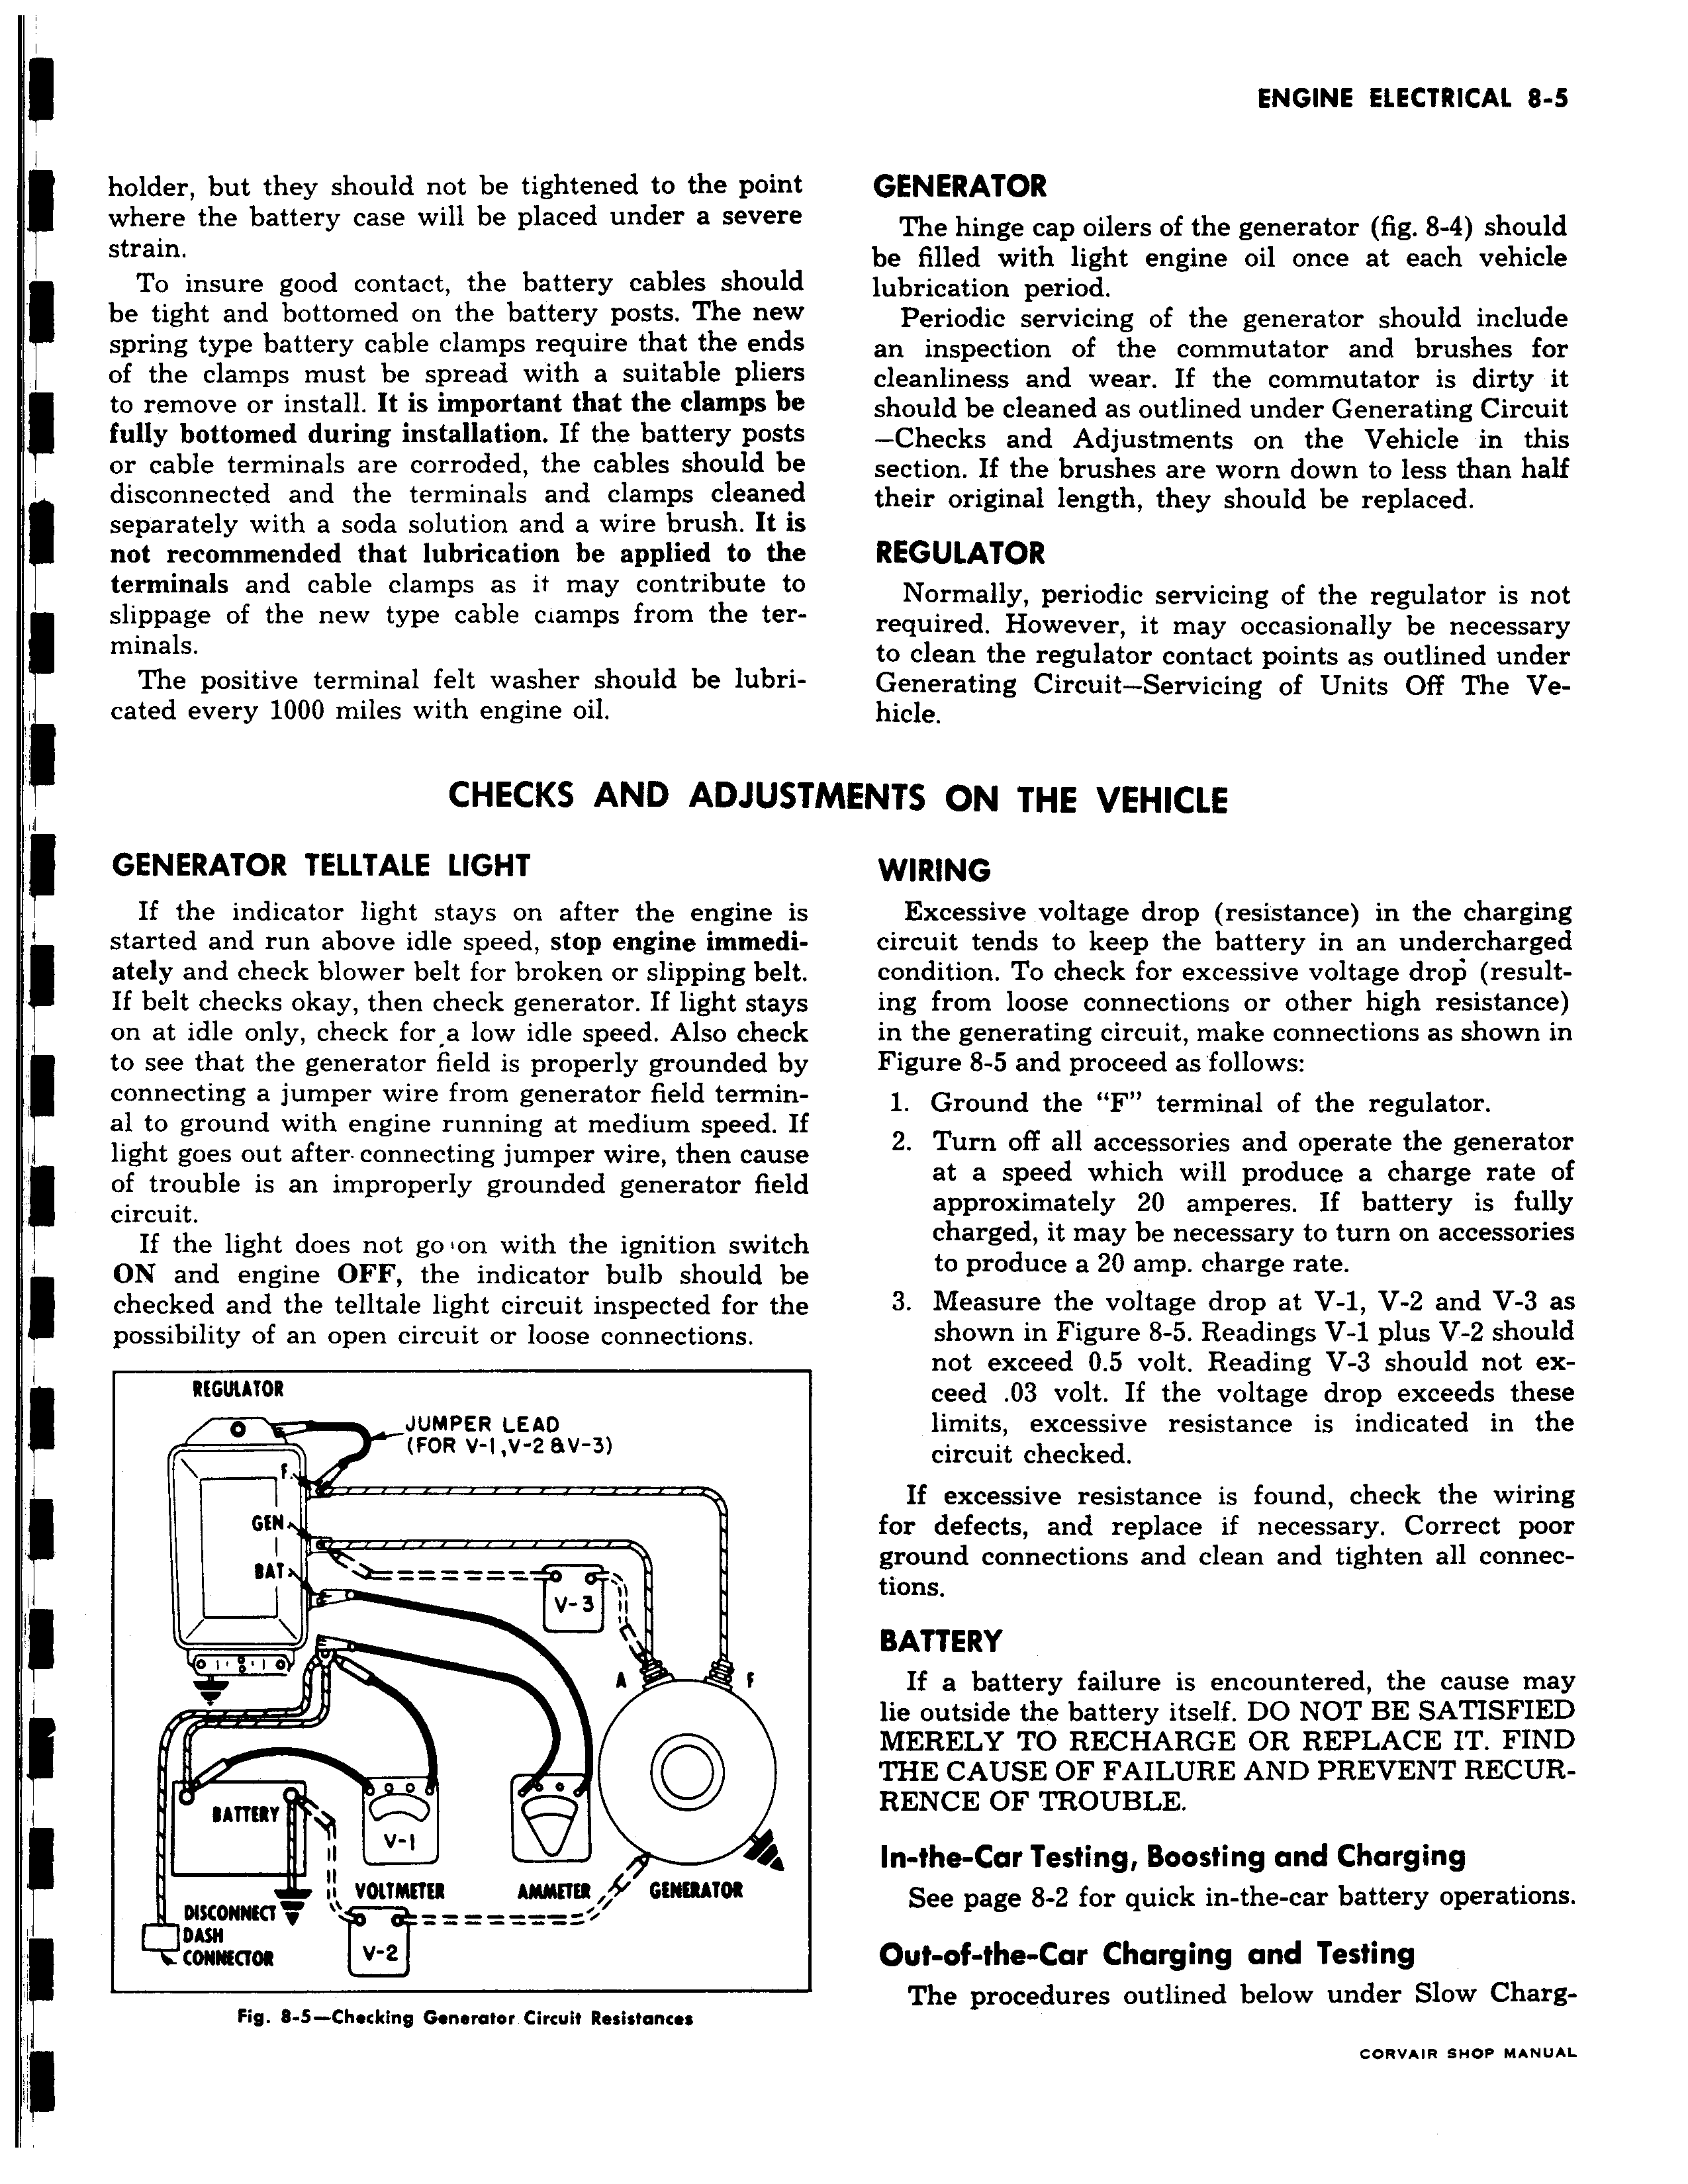
holder but they should not be tightened to the point where the battery case will be placed under a severe strain To insure good contact the battery cables should RRR be tight and bottomed on the battery posts The new spring type battery cable clamps require that the ends of the clamps must be spread with a suitable pliers to remove or install It is important that the clamps be fully bottomed during installation If the battery posts or cable terminals are corroded the cables should be disconnected and the terminals and clamps cleaned separately with a soda solution and a wire brush It is not recommended that lubrication be applied to the terminals and cable clamps as it may contribute to I slippage of the new type cable ciamps from the terminals The positive terminal felt washer should be lubricated every 1000 miles with engine oil CHECKS AND AD JUS1 GENERATOR TELLTALE LIGHT If the indicator light stays on after the engine i started and run above idle speed stop engine immedi ately and check blower belt for broken or slipping belt If belt checks okay then check generator If light stay on at idle only check for a low idle speed Also check to see that the generator field is properly grounded by connecting a jumper wire from generator field terminal to ground with engine running at medium speed Ii light goes out after connecting jumper wire then cause I of trouble is an improperly grounded generator fielc circuit If the light does not go on with the ignition switcl ON and engine OFF the indicator bulb should be checked and the telltale light circuit inspected for the possibility of an open circuit or loose connections REGUIATOR p JUMPER LEAD FOR V 1 V 2 9V 3 f GIN I BAT V 3 A F o e O SATTERr n ii VOLTMETER AMMETER 41 GENERATOR DISCONNECT 17 DASH CONNECTOR Fig 8 5 Checking Generator Circuit Resistances r GENERATOR The hinge cap oilers of the generator fig 8 4 should be filled with light engine oil once at each vehicle lubrication period Periodic servicing of the generator should include an inspection of the commutator and brushes for cleanliness and wear If the commutator is dirty it should be cleaned as outlined under Generating Circuit Checks and Adjustments on the Vehicle in this section If the brushes are worn down to less than half their original length they should be replaced REGULATOR Normally periodic servicing of the regulator is not required However it may occasionally be necessary to clean the regulator contact points as outlined under Generating Circuit Servicing of Units Off The Vehicle rMENTS ON THE VEHICLE WIRING Excessive voltage drop resistance in the charging circuit tends to keep the battery in an undercharged condition To check for excessive voltage drop resulting from loose connections or other high resistance in the generating circuit make connections as shown in Figure 8 5 and proceed as follows 1 Ground the F terminal of the regulator 2 Turn off all accessories and operate the generator at a speed which will produce a charge rate of approximately 20 amperes If battery is fully charged it may be necessary to turn on accessories to produce a 20 amp charge rate 3 Measure the voltage drop at V 1 V 2 and V 3 as shown in Figure 8 5 Readings V 1 plus V 2 should not exceed 0 5 volt Reading V 3 should not exceed 03 volt If the voltage drop exceeds these limits excessive resistance is indicated in the circuit checked If excessive resistance is found check the wiring for defects and replace if necessary Correct poor ground connections and clean and tighten all connections BATTERY If a battery failure is encountered the cause may lie outside the battery itself DO NOT BE SATISFIED MERELY TO RECHARGE OR REPLACE IT FIND THE CAUSE OF FAILURE AND PREVENT RECURRENCE OF TROUBLE In the Car Testing Boosting and Charging See page 8 2 for quick in the car battery operations Out of the Car Charging and Testing The procedures outlined below under Slow ChargCORVAIR SHOP MANUAL