Jeep Parts Wiki | Ford Parts Wiki
Home | Search | Browse
Prev

 Next
Next
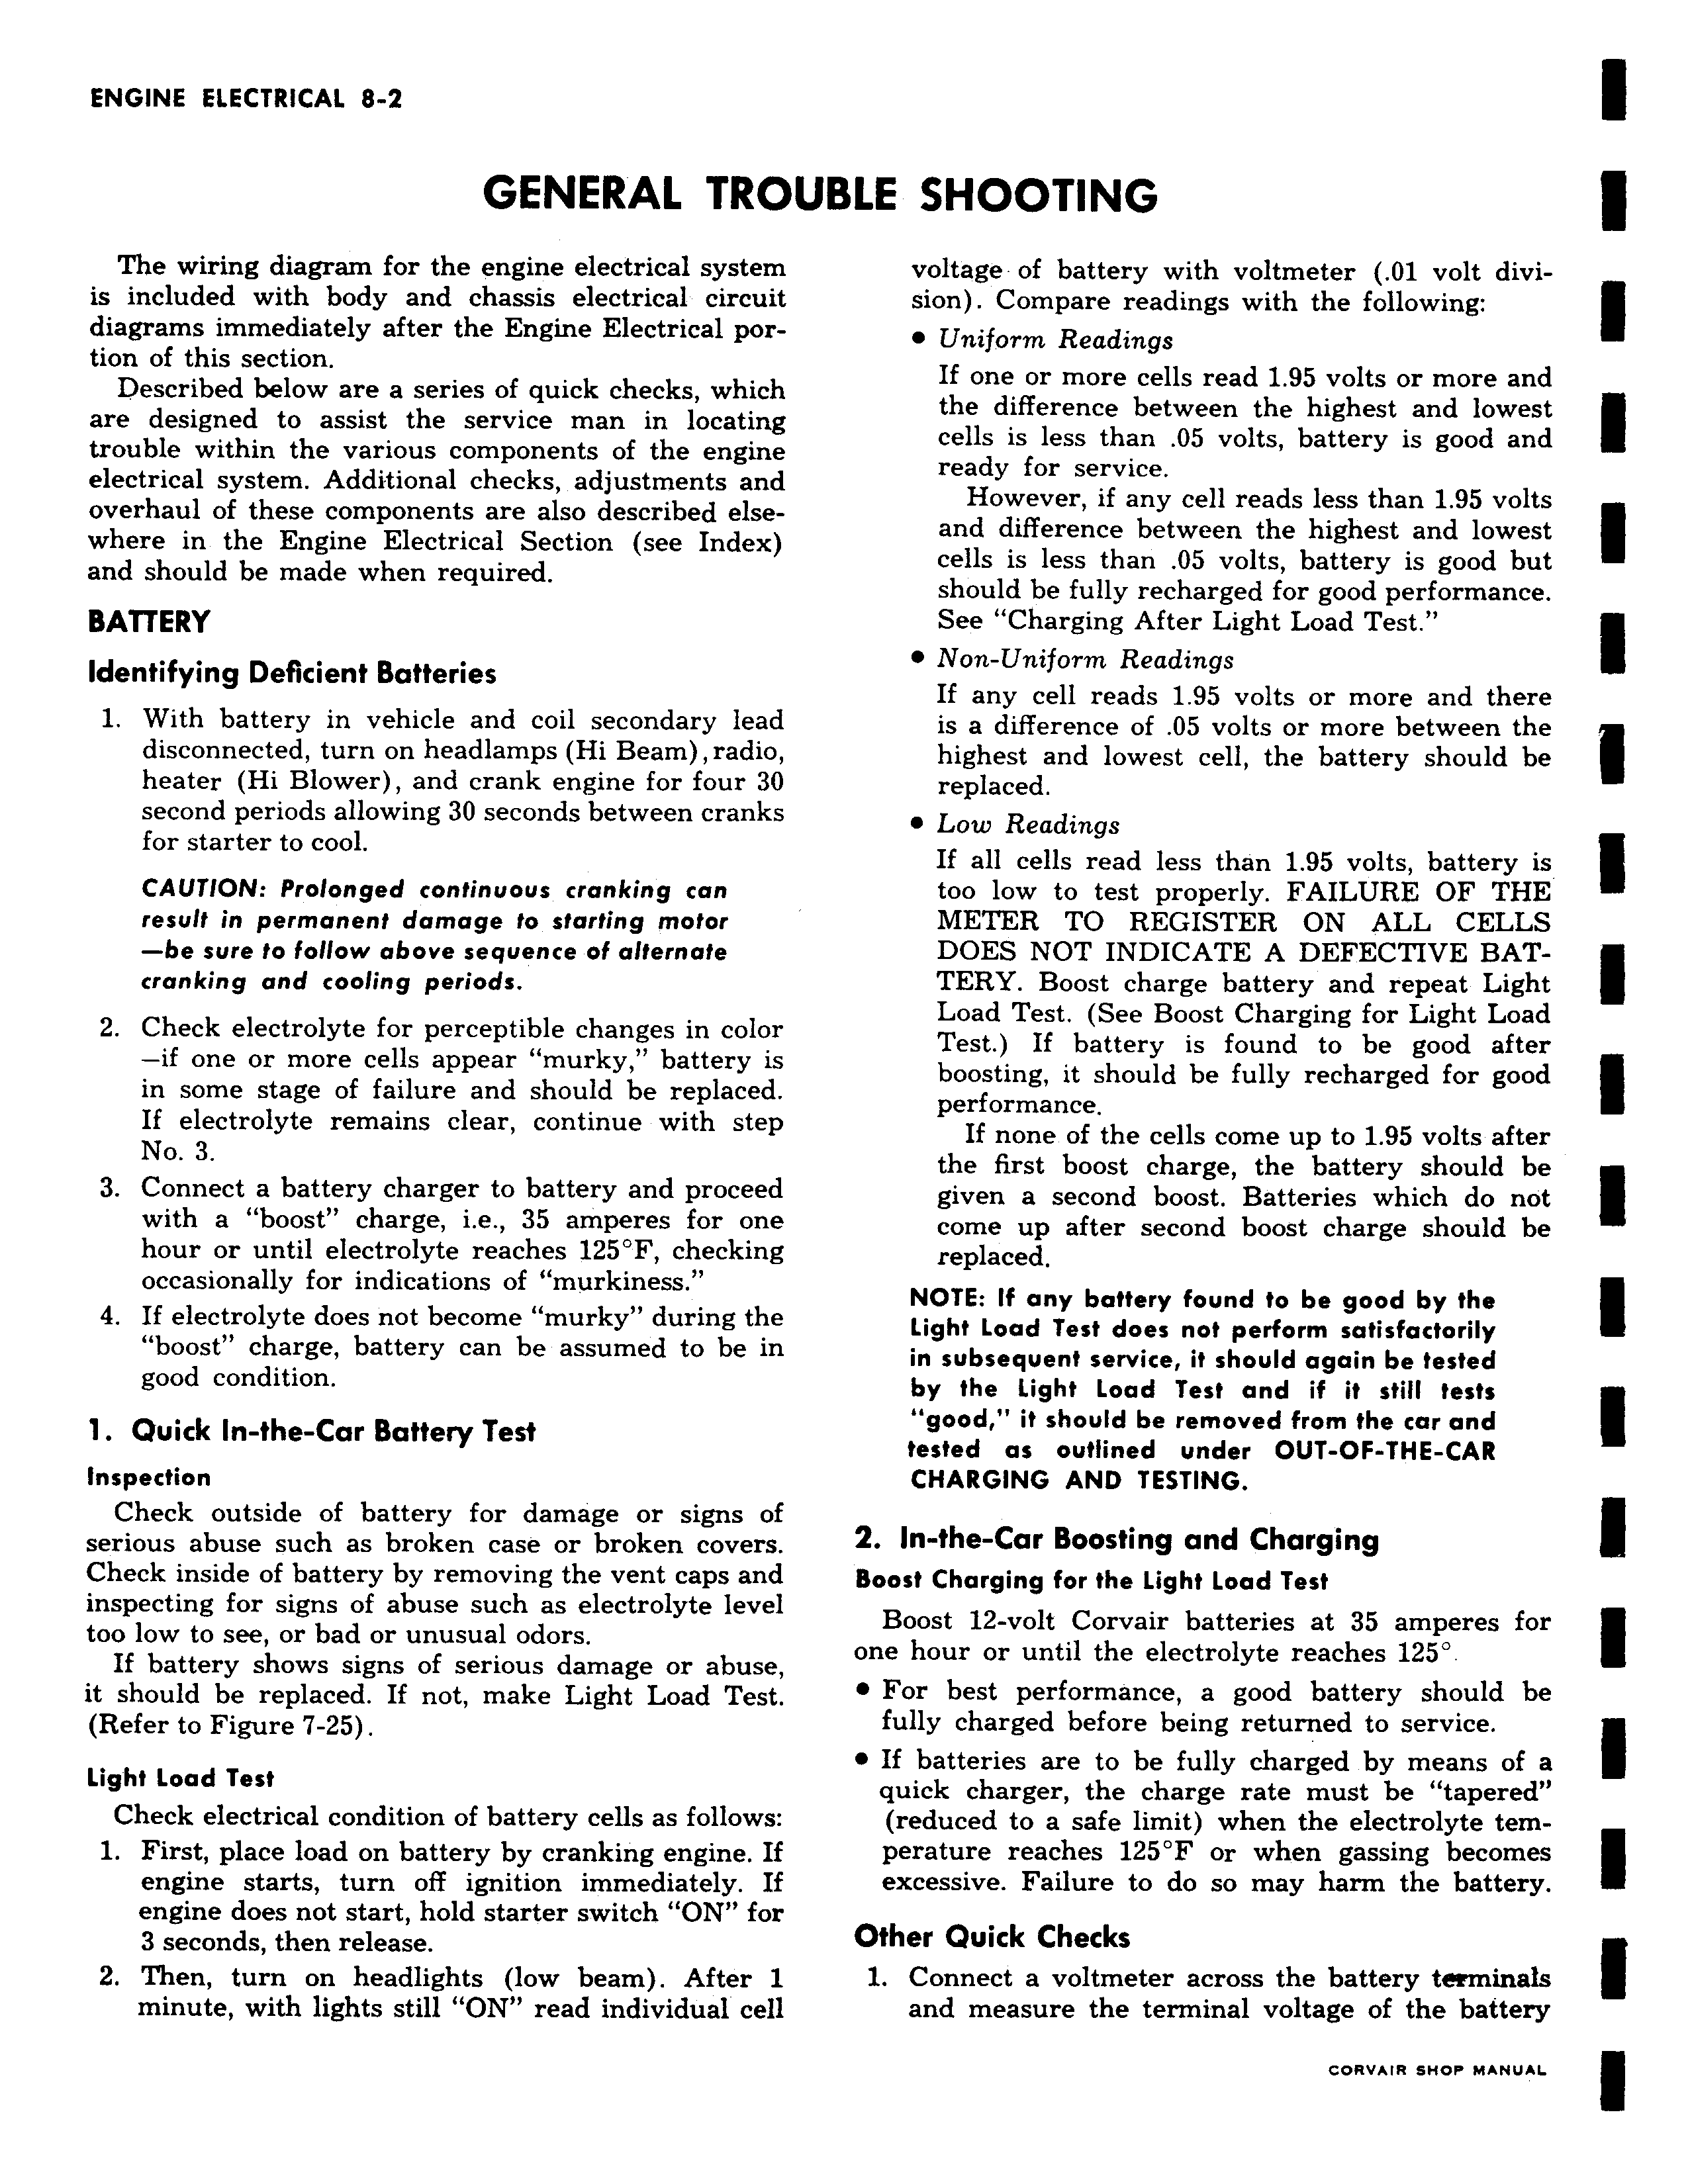
GENERAL TROI The wiring diagram for the engine electrical system is included with body and chassis electrical circuit diagrams immediately after the Engine Electrical portion of this section Described below are a series of quick checks which are designed to assist the service man in locating trouble within the various components of the engine electrical system Additional checks adjustments and overhaul of these components are also described elsewhere in the Engine Electrical Section see Index and should be made when required BATTERY Identifying Deficient Batteries 1 With battery in vehicle and coil secondary lead disconnected turn on headlamps Hi Beam radio heater Hi Blower and crank engine for four 30 second periods allowing 30 seconds between cranks for starter to cool CAUTION Prolonged continuous cranking can result in permanent damage to starting motor be sure to follow above sequence of alternate cranking and cooling periods 2 Check electrolyte for perceptible changes in color if one or more cells appear murky battery is in some stage of failure and should be replaced If electrolyte remains clear continue with step No 3 3 Connect a battery charger to battery and proceed with a boost charge i e 35 amperes for one hour or until electrolyte reaches 125 F checking occasionally for indications of murkiness 4 If electrolyte does not become murky during the boost charge battery can be assumed to be in good condition 1 Quick In the Car Battery Test Inspection Check outside of battery for damage or signs of serious abuse such as broken case or broken covers Check inside of battery by removing the vent caps and inspecting for signs of abuse such as electrolyte level too low to see or bad or unusual odors If battery shows signs of serious damage or abuse it should be replaced If not make Light Load Test Refer to Figure 7 25 Light Load Test Check electrical condition of battery cells as follows 1 First place load on battery by cranking engine If engine starts turn off ignition immediately If engine does not start hold starter switch ON for 3 seconds then release 2 Then turn on headlights low beam After 1 minute with lights still ON read individual cell JBLE SHOOTING voltage of battery with voltmeter Ol volt division Compare readings with the following Uniform Readings If one or more cells read 1 95 volts or more and the difference between the highest and lowest cells is less than 05 volts battery is good and ready for service However if any cell reads less than 1 95 volts and difference between the highest and lowest cells is less than 05 volts battery is good but should be fully recharged for good performance See Charging After Light Load Test Non Uniform Readings If any cell reads 1 95 volts or more and there is a difference of 05 volts or more between the highest and lowest cell the battery should be replaced Low Readings If all cells read less than 1 95 volts battery is too low to test properly FAILURE OF THE METER TO REGISTER ON ALL CELLS DOES NOT INDICATE A DEFECTIVE BATTERY Boost charge battery and repeat Light Load Test See Boost Charging for Light Load Test If battery is found to be good after boosting it should be fully recharged for good performance If none of the cells come up to 1 95 volts after the first boost charge the battery should be given a second boost Batteries which do not come up after second boost charge should be replaced NOTE If any battery found to be good by the Light Load Test does not perform satisfactorily in subsequent service it should again be tested by the Light Load Test and if it still tests good it should be removed from the car and tested as outlined under OUT OF THE CAR CHARGING AND TESTING 2 In the Car Boosting and Charging Boost Charging for the Light Load Test Boost 12 volt Corvair batteries at 35 amperes for one hour or until the electrolyte reaches 125 For best performance a good battery should be fully charged before being returned to service If batteries are to be fully charged by means of a quick charger the charge rate must be tapered reduced to a safe limit when the electrolyte temperature reaches 125 F or when gassing becomes excessive Failure to do so may harm the battery Other Quick Checks 1 Connect a voltmeter across the battery tern inals and measure the terminal voltage of the battery

 Next
Next