Jeep Parts Wiki | Ford Parts Wiki
Home | Search | Browse | Marketplace | Messages | FAQ | Guest
Prev

 Next
Next
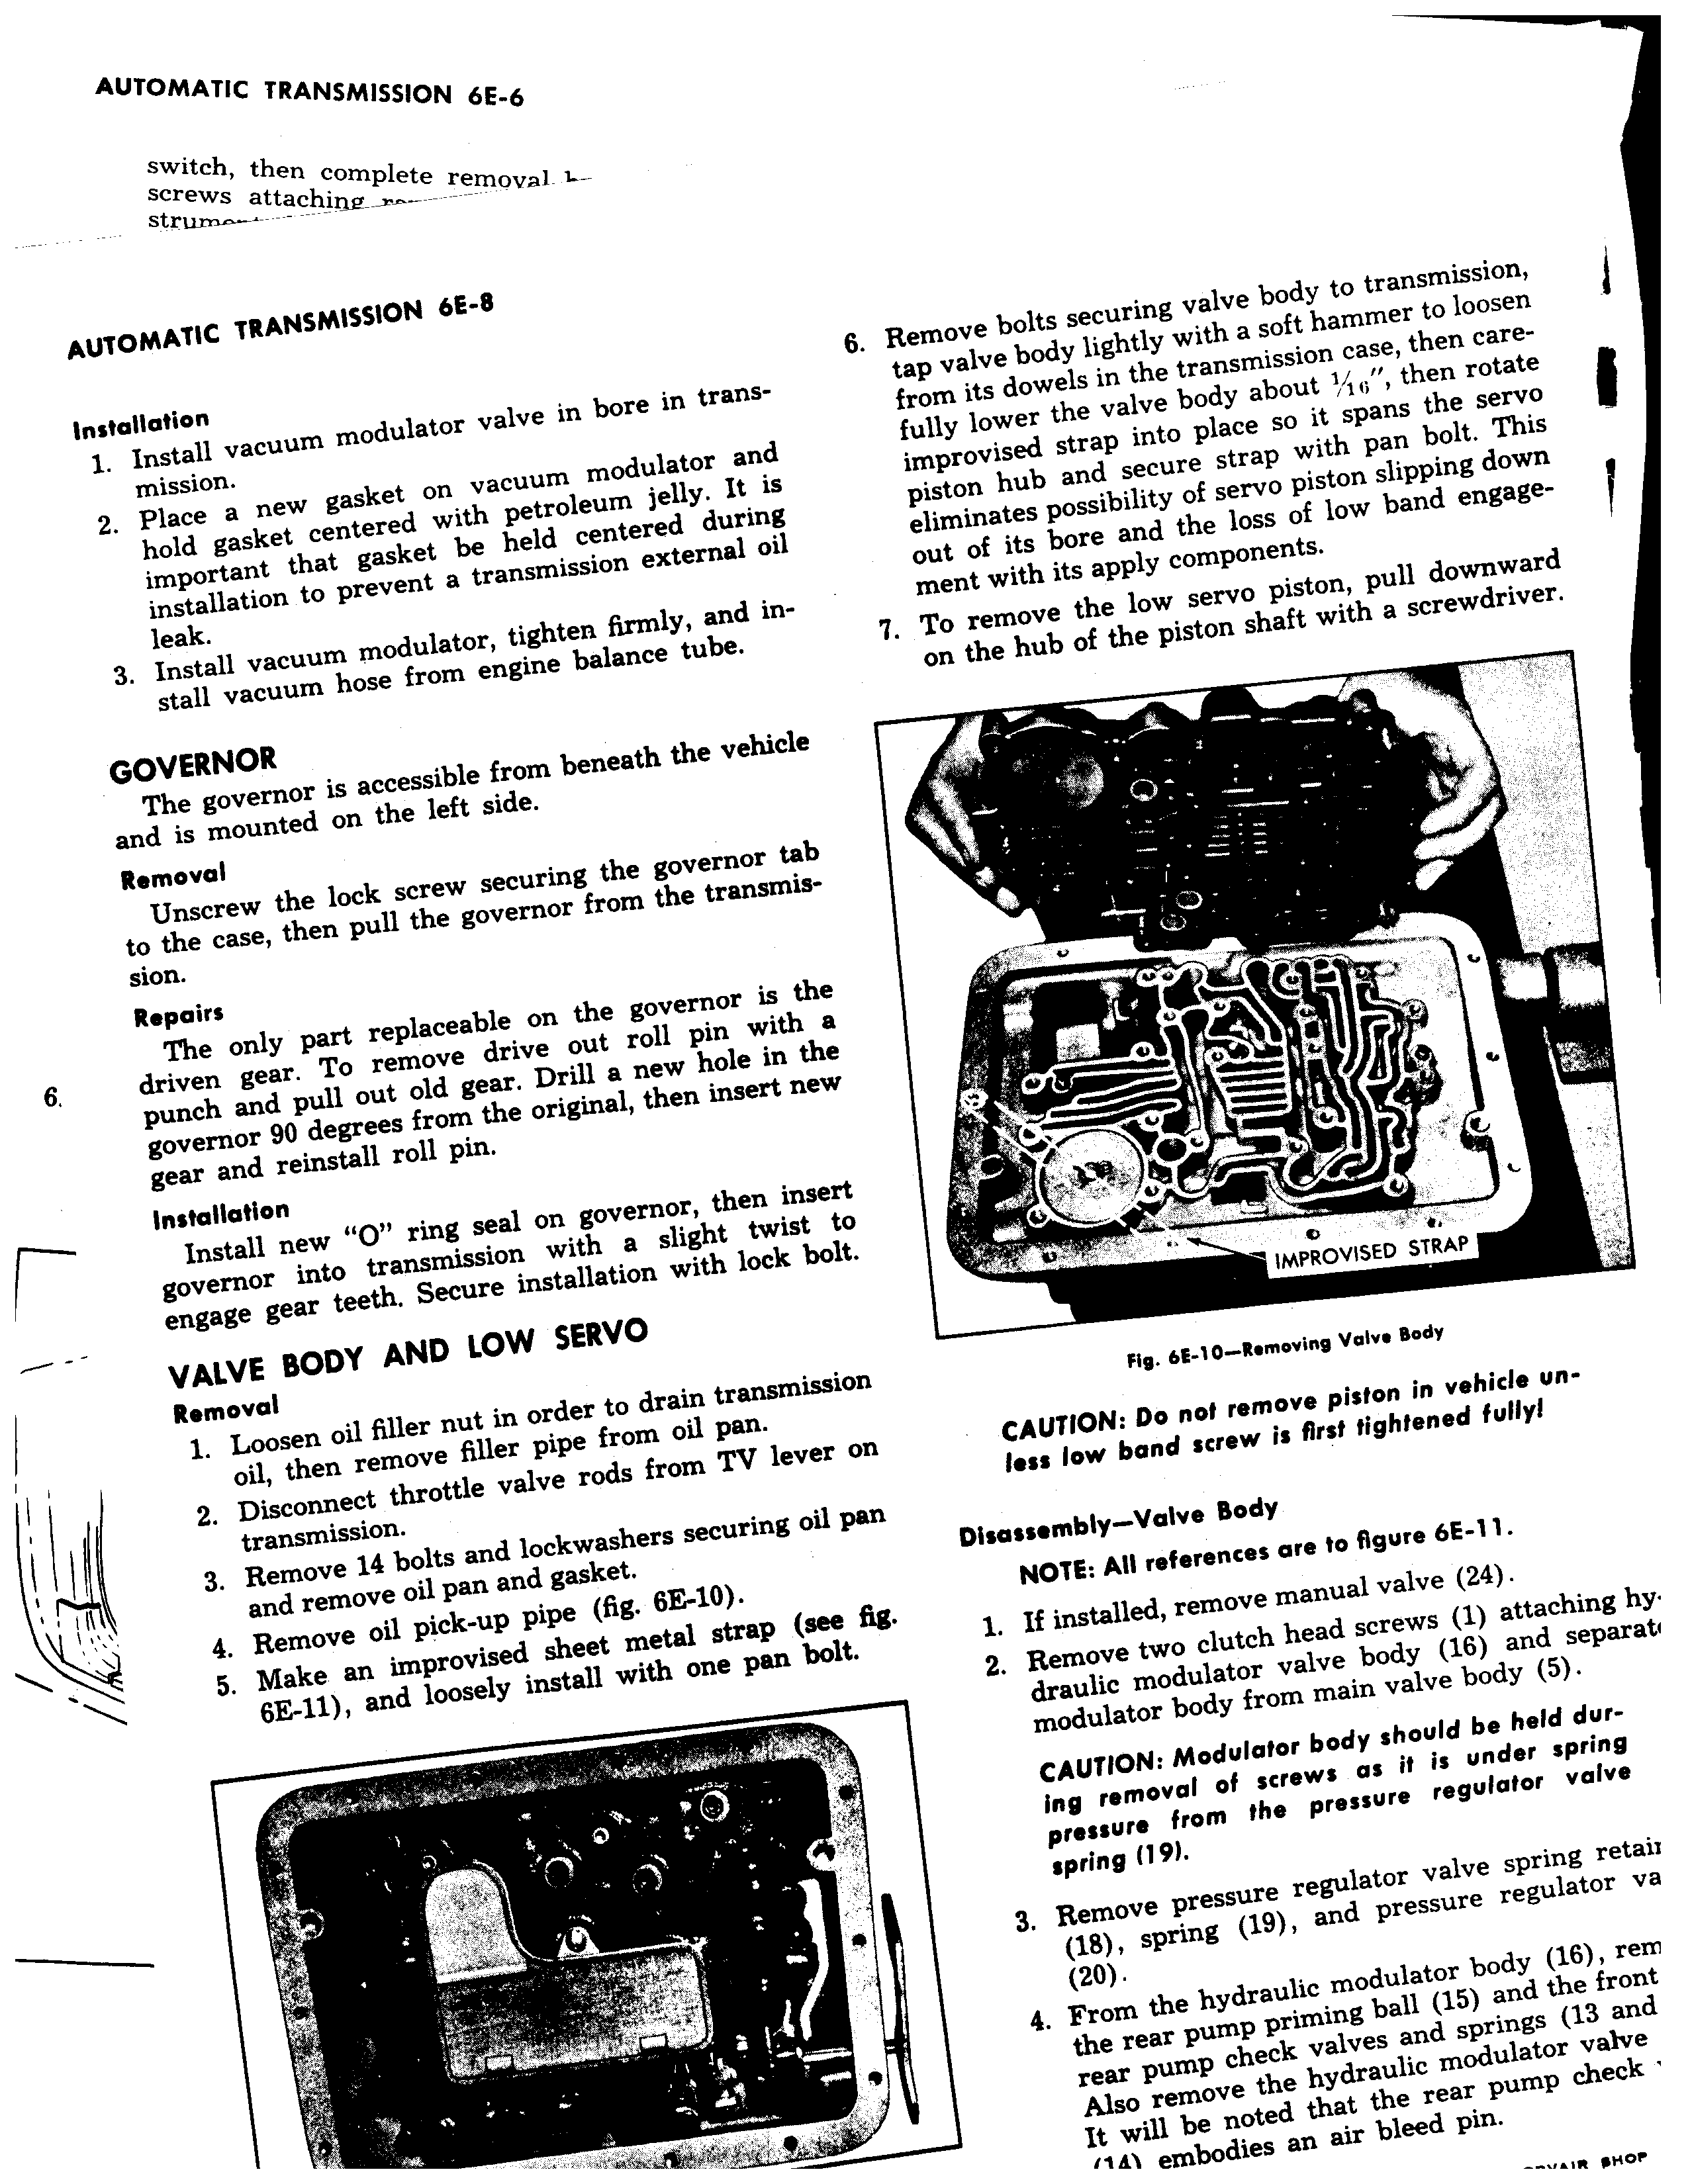
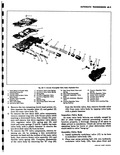
Str S attacl i lsiete reiiioVaL L AUTOMATIC TRANSMISSION 6E 8 Installation 1 Install vacuum modulator valve in bore in tra mission 2 Place a new gasket on vacuum modulator hold gasket centered with petroleum jelly I important that gasket be held centered duz installation to prevent a transmission external leak 3 Install vacuum modulator tighten firmly and stall vacuum hose from engine balance tube GOVERNOR The governor is accessible from beneath the veh and is mounted on the left side Removal Unscrew the lock screw securing the governor to the case then pull the governor from the transn sion Repairs The only part replaceable on the governor is 6 driven gear To remove drive out roll pin witl punch and pull out old gear Drill a new hole in governor 90 degrees from the original then insert n gear and reinstall roll pin Installation Install new O ring seal on governor then ins governor into transmission with a slight twist engage gear teeth Secure installation with lock b VALVE BODY AND LOW SERVO Removal 1 Loosen oil filler nut in order to drain transmiss oil then remove filler pipe from oil pan 2 Disconnect throttle valve rods from TV lever transmission 3 Remove 14 bolts and lockwashers securing oil I and remove oil pan and gasket 4 Remove oil pick up pipe fig 6E 10 F 5 Make an improvised sheet metal strap see 6E 11 and loosely install with one pan bolt 11 I 1 I 4X 3 6 Remove bolts securing valve body to transmissio ns tap valve body lightly with a soft hammer to loosi from its dowels in the transmission case then car md fully lower the valve body about i then rota is improvised strap into place so it spans the serv ing piston hub and secure strap with pan bolt Tl oil eliminates possibility of servo piston slipping dov out of its bore and the loss of low band engag in ment with its apply components 7 To remove the low servo piston pull downwa on the hub of the piston shaft with a screwdriv icle tab iisthe i a the ew ert 46 IMPROVISED STRAP ton Fig 611 10 Rtmoving Volvo body on CAUTION Do not remove piston in vehicle unless low band screw is first tightened fuilyt an Disaasmbly Yaive Body NOTE All references are to figure 6E 11 1 If installed remove manual valve 24 2 Remove two clutch head screws 1 attaching h draulic modulator valve body 16 and separa modulator body from main valve body 5 CAUTION Modulator body should be hold during removal of screws as it ms under spring pressure from the pressure regulator valve spring 19 3 Remove pressure regulator valve spring retair 18 spring 19 and pressure regulator va ZO 4 From the hydraulic modulator body 16 rem 1 r

 Next
Next